Command-line wizard
The built-in command-line wizard helps you generate command-line syntax based on the options you select. You can save the generated command to a .bat file and use it to schedule or automate documentation generation tasks.
Open the command-line wizard
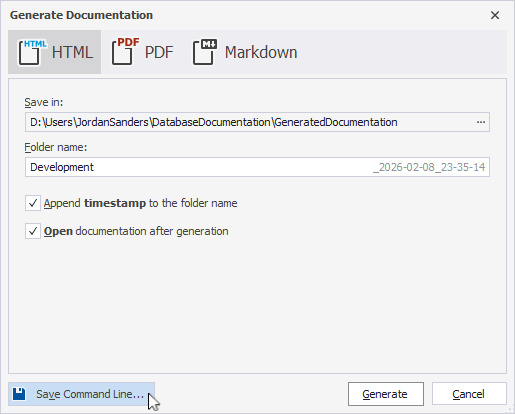
To open the command-line wizard, in the lower-left corner of the Generate Documentation dialog, click Save Command Line.
For more information on generating database documentation, see Generate a database document.
Command-line wizard options
The table provides options available in the command-line wizard.
Note
To include an option, select the checkbox for the option. To exclude an option, clear its checkbox.
| Option | Description |
|---|---|
| Project File | Specifies the full path and file name of a project file (.ddoc). Click the ellipsis (…) to browse for the file. Note: You can create the project file in the Generate Documentation dialog. For more information, see Generate a database document. Usage: /reportfile:<file_path> |
| Connection | Specifies the connection string. To generate the connection string, click the ellipsis (…) and select an existing database connection or create a new one. Usage: /connection:<connection_string> |
| Database | Specifies the databases to include in the generated documentation. You can provide a single database name or multiple database names separated by commas. To include all the databases on the server, set the option to ALLDATABASES.Usage: /database:<database_name> |
| Password | Specifies the server password. This value overrides the password in the connection string. Usage: /password:<pw> |
| Document format | Specifies the output format of the generated documentation. Available options:
Usage: /format:<HTML|PDF|MARKDOWN> |
| Save in | Specifies the folder where the generated documentation is saved. Click the ellipsis (…) to browse for the folder. Usage: /path:<folder_path> |
| Folder name | Specifies an output file name for PDF documentation or folder name for HTML or Markdown documentation. Usage: /output:<file_or_folder_name> |
| Author | Specifies the author name for the generated documentation. This value overrides the author name in the project file (.ddoc). Usage: /author:<author_name> |
| Copyright | Specifies the copyright details for the generated documentation. This value overrides the copyright details in the project file (.ddoc). Usage: /copyright:<copyright_text> |
| Created | Specifies the creation date for the generated documentation. This value overrides the creation date in the project file (.ddoc). The default format is MM/DD/YYYY. Usage: /created:<date> |
| Document title | Specifies the document title for the generated documentation. This value overrides the document title in the project file (.ddoc). Usage: /doctitle:<title> |
| Document Logo | Specifies the path to the logo image for the generated documentation. This value overrides the logo path in the project file (.ddoc). Click the ellipsis (…) to browse for the file. Usage: /doclogo:<path> |
| Document description | Specifies the document description for the generated documentation. This value overrides the document description in the project file (.ddoc). Usage: /docdescription:<description> |
| Breadcrumbs | Specifies whether to include breadcrumbs in the generated documentation. To enable the option, specify: Yes, Y, On, True, T.To disable the option, specify: No, N, Off, False, F.The default value for the option is Y.Usage: /breadcrumbs:<value> |
| Permissions | Specifies whether to include database object permissions in the generated documentation. To turn on the option, specify: Yes, Y, On, True, T.To turn off the option, specify: No, N, Off, False, F.Usage: /permissions:<value> |
| Echo OFF | Wraps all text in the .bat file within the @Echo OFF ... Echo ON block, preventing commands from being displayed in the command window. |
| Keep opened | Adds the pause command at the end of the .bat file to keep the command window open after execution. |
| PowerShell | Adds the & symbol at the beginning of the .bat file to ensure PowerShell compatibility. |
The text box displays the generated script with the specified options.
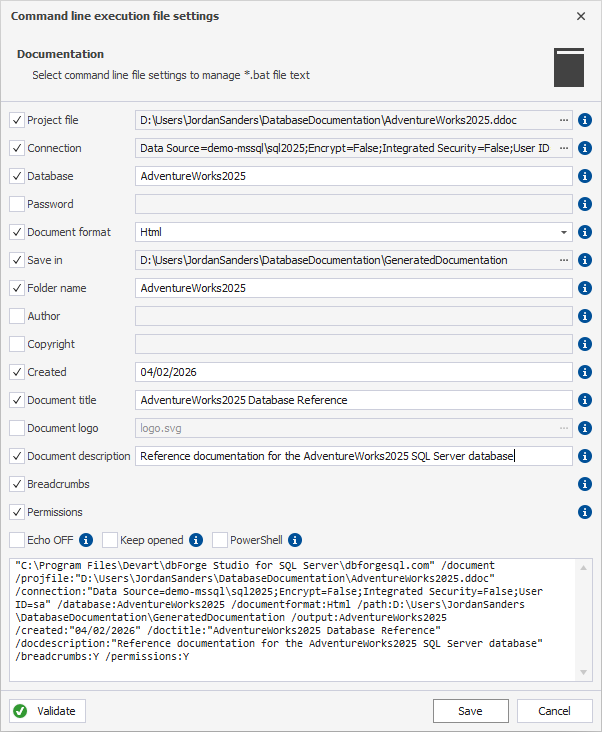
To save the settings in the .bat file, click Save.
To close the dialog, click Cancel.
Command-line validation
To verify the settings, click Validate.
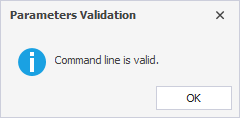
If the parameter validation succeeds, the following message appears:
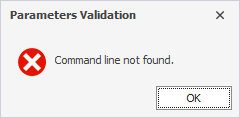
If the parameter validation fails the tool displays the error, for example: