Command-line wizard
The built-in command-line wizard helps you generate command-line syntax based on the options you select. You can save the generated command to a .bat file and use it to schedule or automate data export tasks.
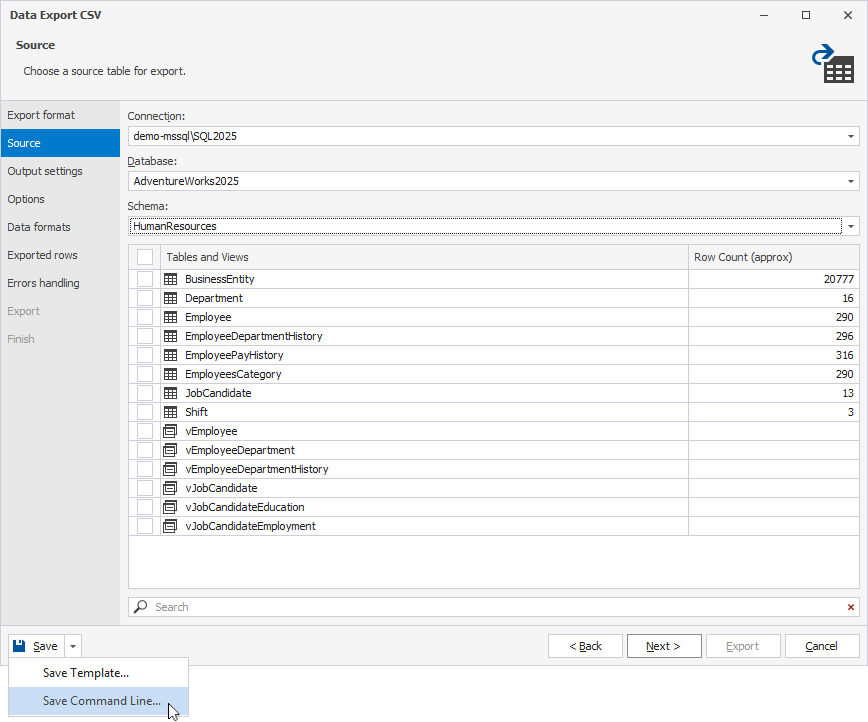
Open the command-line wizard
To open the command-line wizard, on any page of the Data Export wizard, click the arrow next to Save, then select Save Command Line.
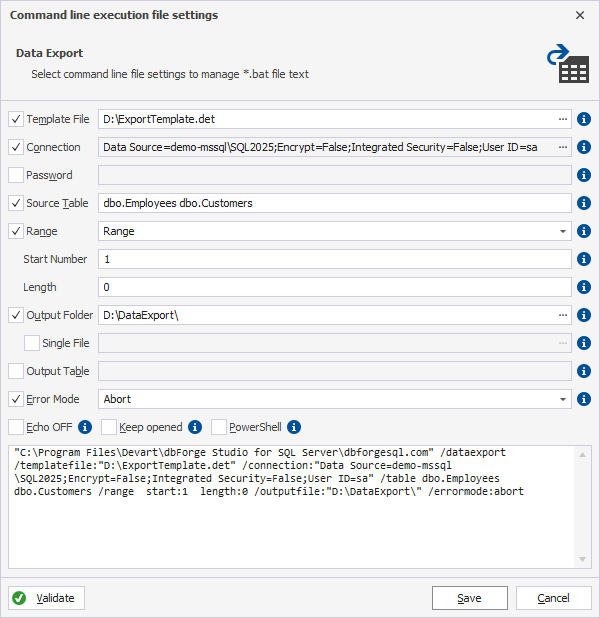
Command-line wizard options
The table provides the options available in the command-line wizard.
Tip
To include the option, select the checkbox. To exclude the option, clear the checkbox.
| Name | Description |
|---|---|
| Template File | Specifies a data export template file (.det) to use. Click the ellipsis (…) and select the template file. You can create the template file in the Data Export wizard. Usage: /templatefile:<file_path> |
| Connection | Specifies the connection string. Click the ellipsis (…) and select the existing connection, then click OK. Alternatively, in Connection Manager that opens, click New to create a new connection or Edit to modify the existing one. Usage: /connection:<connection_string> |
| Password | Specifies the server password. The option overrides the values in the /connection parameter. Usage: /password:<pw> |
| Source Table | Specifies one or more tables to export. Usage: /table: <tablename> [<tablename>] |
| Range | Specifies which rows to export. Select one of the following options:
|
| Output Folder | (Unavailable for the ODBC format) Specifies the path to the folder to store the export. Click the ellipsis (…) and select the folder. When you export multiple tables, a separate file is created for each table. Usage: /outputfile:<file_path> |
| Single File | Specifies the path to the file to store the export. Click the ellipsis (…) and select the file. When you export multiple tables, they are all included in a single file. Note: Single File is available when Output Folder is selected. Usage: /singlefile:file name |
| Output Table | (Available only for the SQL, ODBC and MS Access formats) Specifies a destination table name. Usage: /outputtable:<tablename> |
| Error Mode | Specifies how the export process should respond to errors. Select one of the following options:
Usage: /errormode:<ignore|abort> |
| Echo OFF | Wraps all text in the .bat file within the @Echo OFF ... Echo ON block. |
| Keep opened | Adds the pause command at the end of the .bat file to keep the command window open after execution. |
| PowerShell | Adds the & symbol at the beginning of the .bat file to ensure PowerShell compatibility. |
The text box displays the generated script with the specified options.
To save the settings in the .bat file, click Save.
To close the dialog, click Cancel.
Command-line validation
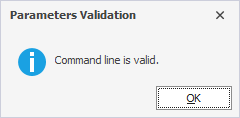
To verify the settings, click Validate.
If the parameter validation succeeds, the following message appears:
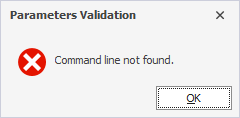
If the parameter validation fails the tool displays the error, for example: