Managing Database Connections
dbForge Fusion for SQL Server provides features for managing objects in instances of the database engine.
Database Explorer provides a hierarchical user interface to view and manage database connections and database objects. To open Database Explorer, on the Fusion menu, click Database Explorer. By default, Database Explorer displays recently used database connections. The list of available connections is empty, while opening the Database Explorer window for the first time.
To use Database Explorer, you must first connect to a server.
Create a database connection
To create a database connection:
1. Click the New Connection button on the Database Explorer toolbar. The Database Connection Properties dialog box opens.
2. On Data Source, select a database server you want to connect to.
3. Set up connection parameters. For more information see - Connecting to a Database.
Open a database connection
Double-click a connection in Database Explorer. The connection icon will be changed to and the connection node will be opened to show database objects.
Close a database connection
Right-click a connection in Database Explorer, and then select Close. The connection icon will be changed to indicate the close.
Edit a database connection
Right-click a connection in Database Explorer and select Modify Connection. The Database Connection Properties dialog box opens.
Duplicate a database connection
Right-click a connection in Database Explorer, and then select Duplicate Connection. A copy of the connection will appear in the Database Explorer window.
Delete a database connection
Right-click a connection in Database Explorer and select Delete. The message appears asking “Are you sure you want to remove database connection ‘name’?”. Click Yes to drop the connection. Click No to cancel dropping.
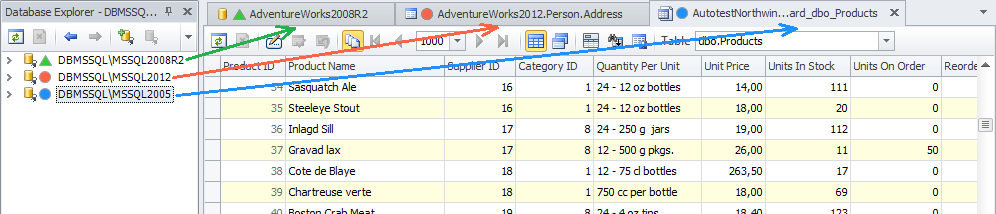
Windows connection coloring
Window connection coloring allows you to immediately know which server you are connected to. You can add coloring for each server connection.
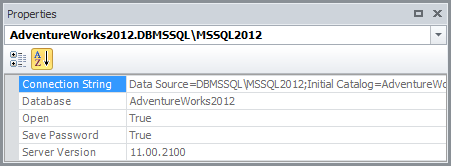
View database connection information
Right-click a connection in Database Explorer and select Properties. The Properties window opens displaying the connection properties info.