Saving and Using Templates During Import
A template is a set of import settings stored in a file.
It’s no use wasting your time on selecting the same settings each time you import data. Select once, save multiple settings to a file, and use it to have customized import without efforts.
For example, you need to import data stored in text format into an existing table once a day. You can set up the import options once, and next time all you need to do is to select Text import format and a location of Source data and click Import. To illustrate the case, let’s import .txt Source file to an existing table create a template, and then use it.
Creating Template
- Open the Data Import wizard, and select Text import format and a path to .txt Source file.
- Move to the Destination table wizard page, and select a Target MySQL connection and a database. Select Existing table and in the drop-down list select the table.
-
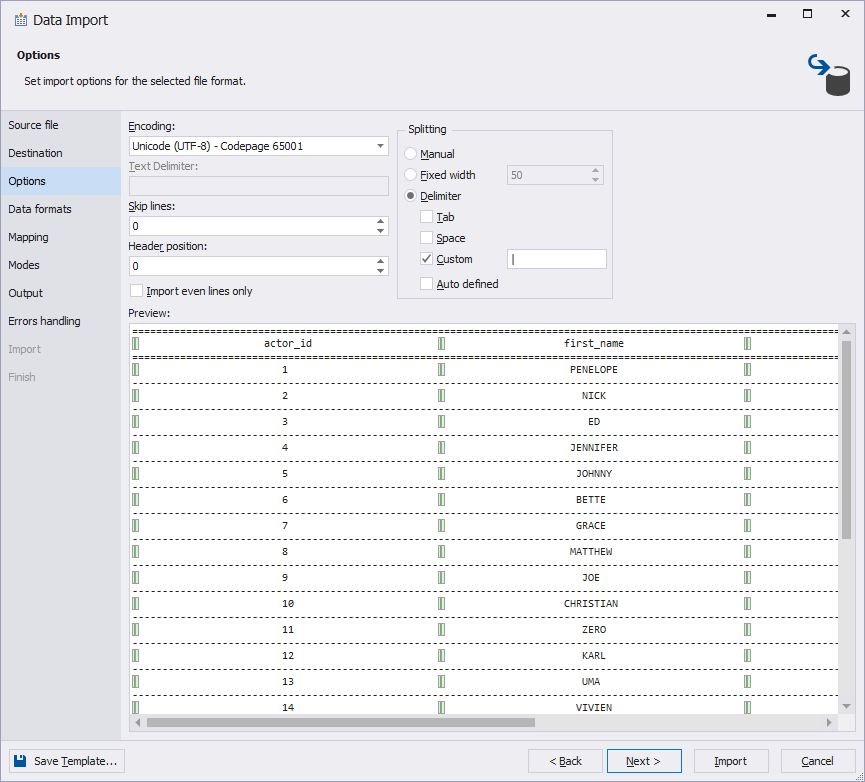
On the Options wizard page in the Skip lines field, enter 3 to start importing the Source data from the 4th line. As there is a header in the Source with column names, let’s specify its position, otherwise the imported columns will get default names - column1, column2. Enter 2 in the corresponding field. Select to import only even lines and Fixed width type of splitting for the Source data.
- On the Mapping wizard page, you can see that Fusion for MySQL has mapped all the Source and Target columns, as all of them have the same names.
- One more thing is left. Let’s set Universal sortable date\time format for the Source data. On the Data formats wizard page, let’s clear the Autodetect Date and Time format check box and select the format from the drop-down list.
- Everything is appropriate, so click Import to start importing the data.
- Click the Save Template at the bottom and specify a name and a location of a template file in the Save As dialog box. Let’s call it _txt_template. This template will appear in the User templates section.
Loading Template:
- Click _txt_template, which was created following the aforementioned steps, in the Templates section on the first page of the Data Import wizard.
- Select Text import format and a location of Source data.
- On the Destination table wizard page, select the Target connection and database. Select Existing table and in the drop-down list select the table.
- Move to the Options wizard page and see the Skip lines and Header position fields and Fixed width splitting type already selected. The same happens with mapping and a date\time format on the other wizard pages.