Setting up data generator
This topic describes how to set up Data Generator to generate test data.
It is recommended to back up the database that you are going to populate before you generate the data. You can adjust the settings and repeat the data generation if you are not satisfied with the results. To generate data, select a MySQL server instance and a database you want to populate.
To generate data, do the following:
- On the Standard toolbar, click New Data Generation.
-
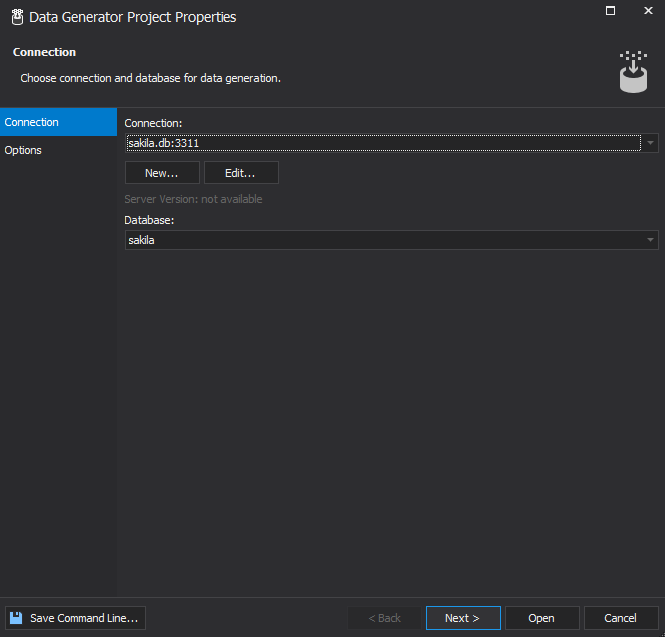
In the Data Generator Project Properties dialog that opens, specify the connection and select a required database, and then click Next.
-
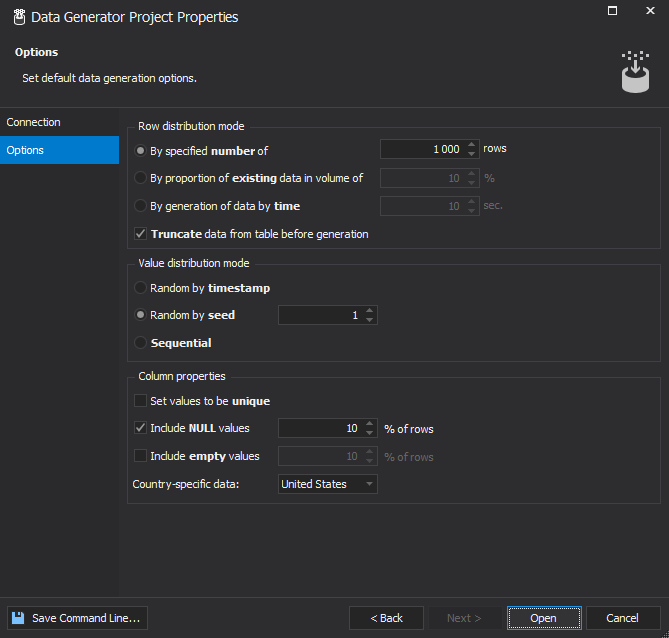
In the Options tab, set required options.
-
To execute data generation, click Open.
The data generation result will look as follows:
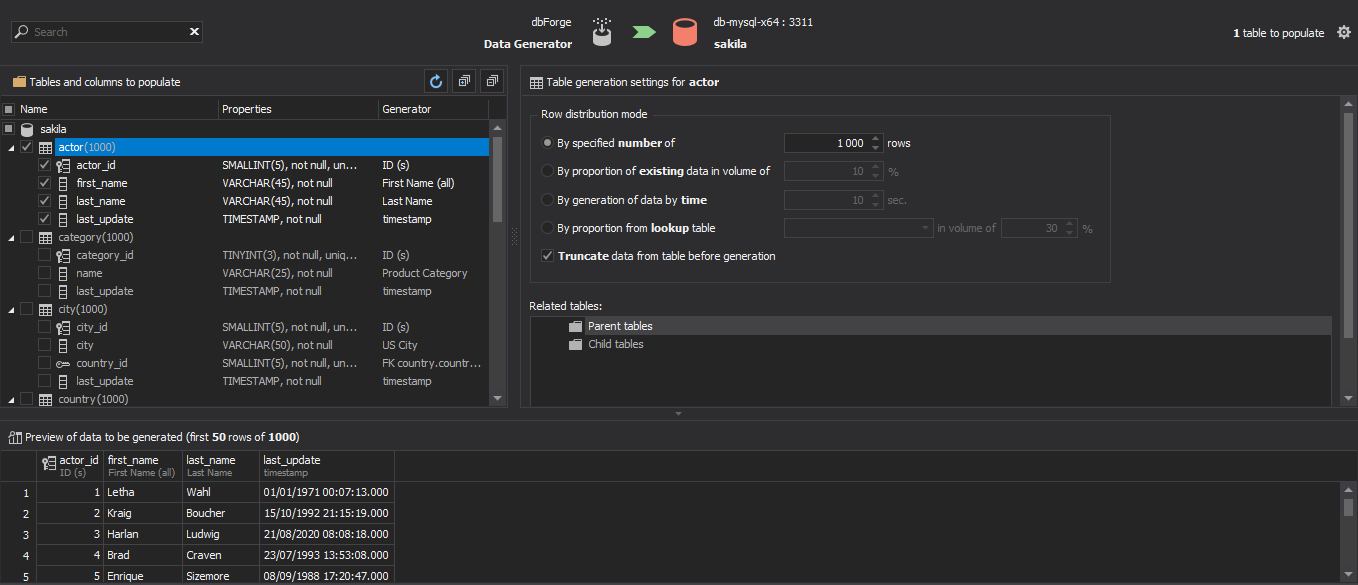
You can specify the tables that you want to populate by selecting the check box that is located next to the table name. Further, you can define how you want the data to be generated: click the table name in the tree view and specify the details in the settings pane. All the changes are displayed in real-time.
Note:
There may be errors during data generation. For example, a column may be a foreign key of a table, that is not included into generation.
To resolve such issues, navigate to the Related Tables section of Table generation settings, and include-exclude parent and child tables from data generation.
For more information on how to popuate the database, see Populating a Database.