How to install Data Generator
dbForge tools can be installed using the installation wizard, Chocolatey, or from the command line.
Install Data Generator using the installation wizard
To install dbForge Data Generator for MySQL:
- Run datageneratormysql.exe to begin the installation.
- On the Welcome to dbForge Data Generator for MySQL page, click Install.
-
On the Select Destination page, select the directory where dbForge Data Generator for MySQL will be installed. To change the default directory, click Browse. To restore the default directory, click Restore default location.
Optionally, you can clear the Create a desktop icon option if you don’t want the Wizart to create a desktop icon for the tool.
Optionally, click the Licence Agreement link to learn the End-User Agreement for Devart products. If you agree to the Devart dbForge Data Generator for MySQL License Terms, click Next.
- On the File Associations page, select the document types and file extensions that will be associated with this application when it is installed on your computer. Click Next.
- On the Startup Optimization page, select the option that fits your needs best. Click Next.
- Optionally, on the Installing page, you can interrupt the installation by clicking the Cancel button.
- On the final page, click Finish to exit Setup wizard. Optionally, you can select the Launch “dbForge Data Generator for MySQL” option to start the application immediately after installation.
Install Data Generator using Chocolatey
You can download and install dbForge Data Generator using Chocolatey, which is a package manager for Windows. Before you start, ensure you have Chocolatey installed on your machine. If not, you can download it from the official website.
Once you have Chocolatey installed, you can follow these steps to install dbForge Data Generator:
1. Open PowerShell as Administrator. For this, right-click the Windows PowerShell app, and select Run as administrator.
2. Ensure that the Get-ExecutionPolicy is not restricted. For this, run
Get-ExecutionPolicy
If it returns Restricted, then run
Set-ExecutionPolicy AllSigned
or
Set-ExecutionPolicy Bypass -Scope Process
This will allow PowerShell to run scripts for the current session.
3. Initiate the installation of Data Generator. For this, enter the following command in the PowerShell window and press Enter:
choco install dbforge-mysql-dg
4. Agree to run the script by pressing Y or A.
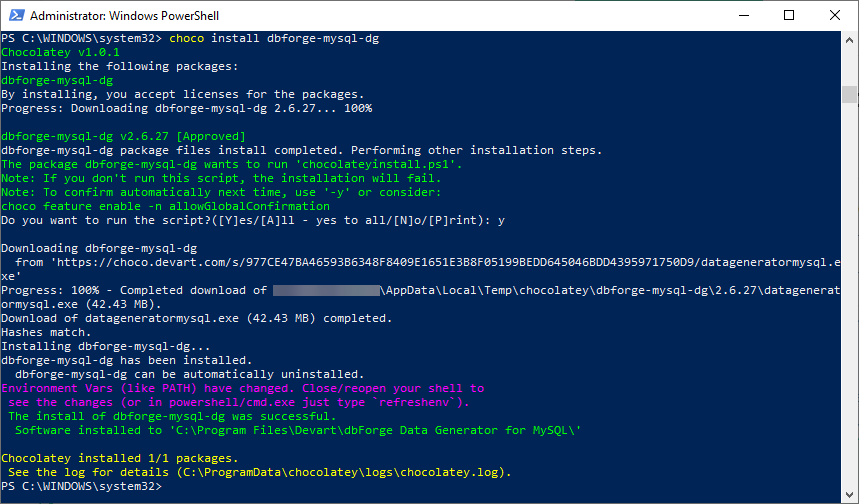
5. Wait for installation to complete. Chocolatey will download the dbForge Data Generator package and install it on your computer.
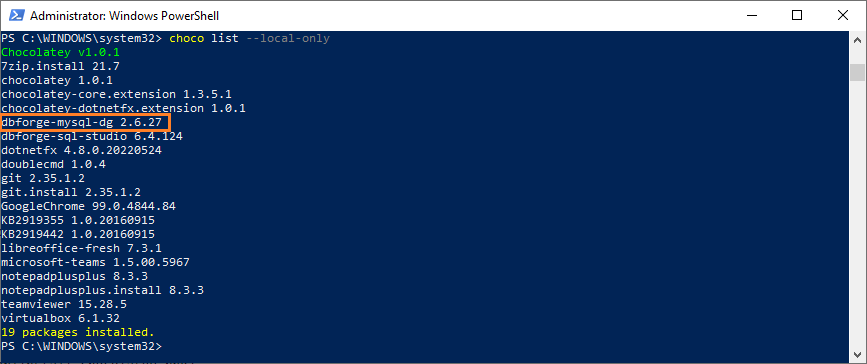
6. Confirm the installation. Once the installation is complete, you can confirm it by running:
choco list --local-only
This command will list all the packages installed on your computer through Chocolatey. If the installation was successful, you should see dbforge-mysql-dg in this list.