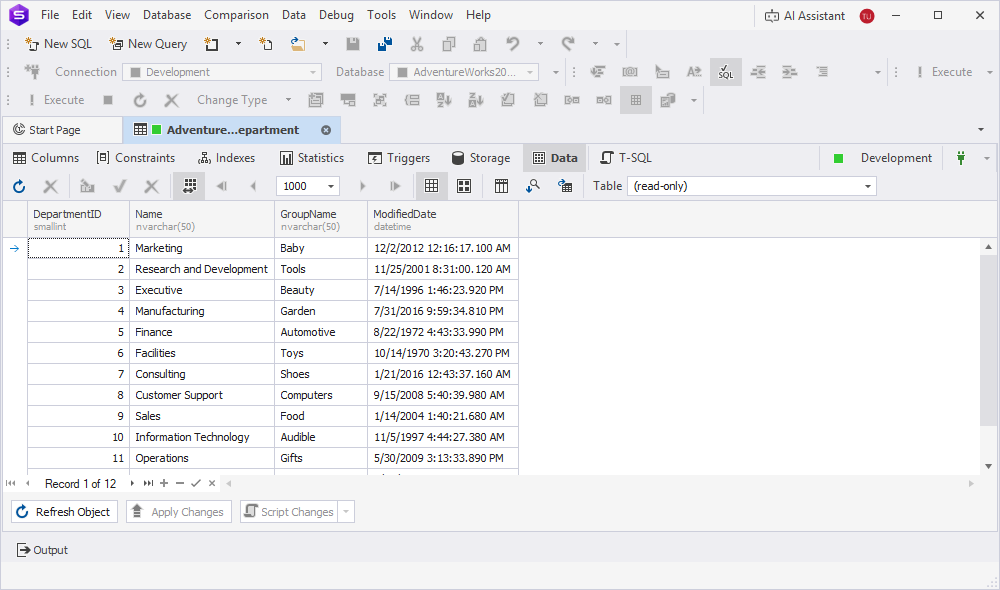
View and edit data in the Grid View mode
Data Editor lets you view and quickly edit data in the grid, similar to working in an Excel spreadsheet.
You can also view, edit, and print rows in the Card View mode.
Work with the results output
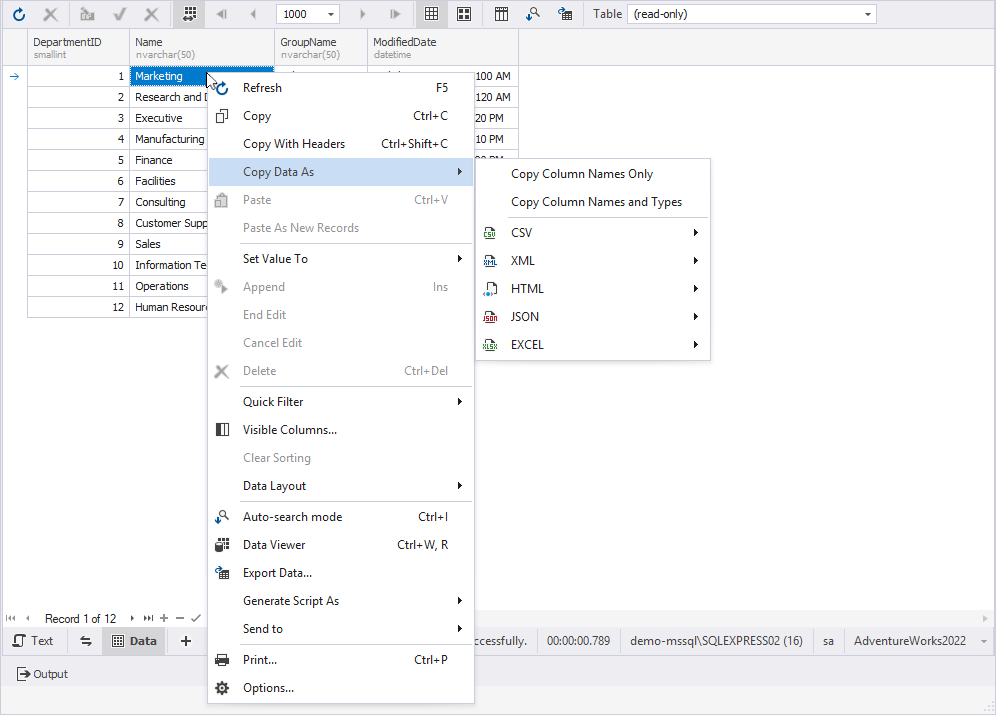
Use the shortcut menu to modify the results output.
Change the column order or width
To change the column order, drag the column headers into the required place.
To adjust the column width to fit its content, right-click the required header and select Best Fit.
To adjust the widths of all columns, select Best Fit (all columns).
Note
Adjusting the widths of all columns may take some time if the grid contains a large number of records.
Refresh data
To refresh data, use one of the following ways:
- In the top menu, select Data > Refresh.
- Right-click the results grid and select Refresh.
- On the Data Editor toolbar, click Refresh.
- Press F5.
To cancel a refresh operation that is taking too long, use one of the following ways:
- In the top menu, select Data > Stop Refresh.
- On the Data Editor toolbar, click Stop Refresh.
You can also view, edit, and print rows in the grid as cards.
Print data
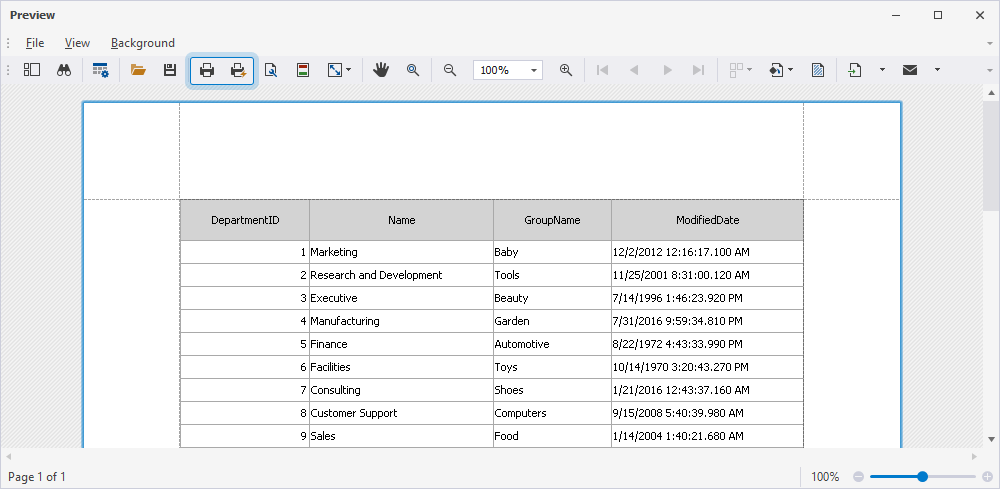
1. Right-click a grid and select Print, or press Ctrl+P.
2. In the Preview window that opens, adjust the print settings as needed.
You can view thumbnails for each page, search for required data, customize printing options, open or save printing documents in the .prnx format, conduct page setup (format, width, height, orientation, and margins), add header and footer, zoom in and out, and quickly navigate across pages.
3. Select File > Print.
Alternatively, on the Preview toolbar, click Print.
Configure printing options
1. In the top menu, select Tools > Options.
Alternatively, right-click the grid and select Options.
2. Select Data Editor > Print.
3. Configure printing options.
4. Click OK to save the changes.
Edit data
When dbForge Studio executes a statement returning a result set, the retrieved data is displayed in the same SQL document in Data Editor.
Note
To prevent accidental data loss, the query results grid is set to the read-only mode by default.
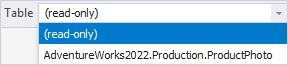
To edit data in the grid:
1. From the Table list, select the required table.
2. Double-click the cell and enter a new value.
3. On the bottom toolbar, click  to save the changes.
Add a row to the grid
1. On the bottom toolbar, click  .
.
Alternatively, right-click the grid and select Append.
2. Enter the values.
3. Click to save the changes.
Tip
You can use the down arrow to add an empty row to the table displayed in the grid. If you have added an empty row accidentally, you can easily delete it using the up arrow.
Delete a row from the grid
1. Select the row you want to delete.
2. On the bottom toolbar, click  .
.
Alternatively, right-click the selected row and select Delete, or press Ctrl+Del.
3. In the confirmation message box asking whether you want to delete the record, select Yes to confirm the deletion.
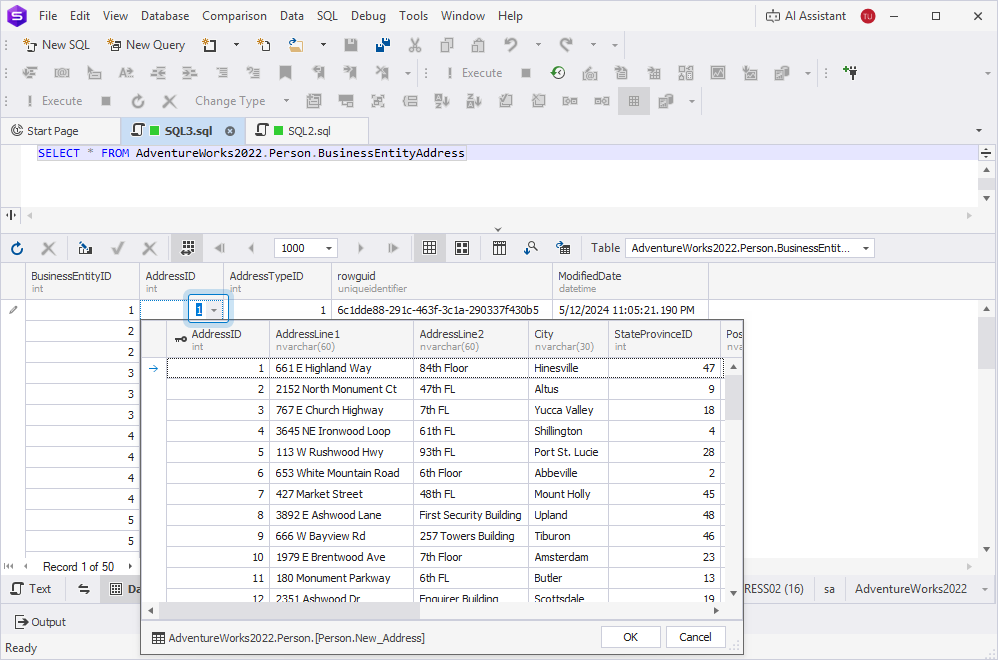
Note
If you edit data in a table that has a foreign key, you can use the foreign key lookup in Data Editor to view data from the related table.
When you click the
arrow control for the field you want to edit, the data from the related table appears, and the corresponding row is automatically selected.
Insert data
You can insert data into the cards by using the shortcut menu or the options under the cards.
To insert NULL instead of an empty string, in the shortcut menu, select Set Value To > Null, or press Ctrl+0.
Note
Use the Set Value To menu to set an empty string, zero, or the current date.
To insert data in a new record:
1. Add a row in one of these ways:
-
In the shortcut menu, select Append.
-
On the bottom toolbar, click
.
2. Enter the values.
3. Save the data.
Delete data
To delete a record from the grid, use one of the following ways:
-
In the shortcut menu, select Delete.
-
On the bottom toolbar, click
. -
Press Ctrl+Del.
Note
Some queries return read-only results. For example, queries using aggregate functions like
COUNTorAVG, or those retrieving data from non-updatable views, cannot be edited. Additionally, results generated by multiple SELECT statements are also non-editable.
Export data from the grid
1. On the top toolbar, click  .
.
2. In the Data Export wizard, export data to a required file format.
Row and cell indicators
When working with the data, you may see special indicators for the selected cell.
The table describes the indicators shown in the results grid.
| Icon | Name | Description |
|---|---|---|
| Active row | The row is active. | |
| Editing row | The row is being edited. | |
| Edited row | The row was edited. | |
| Incorrect value | An incorrect value was entered into a cell. You must fix the value or cancel changes made to the cell by pressing Escape. |
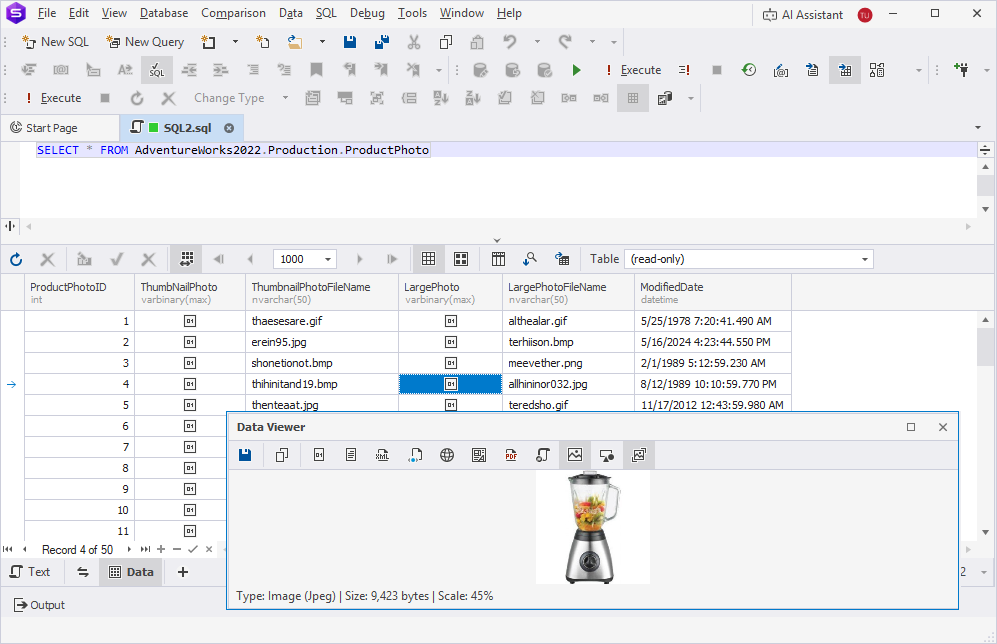
View and edit data in Data Viewer
You can view and edit data in the built-in Data Viewer.
To open Data Viewer, use one of the following ways:
- In the top menu, select View > Data Viewer.
- Right-click the cell you want to manage and select Data Viewer.
- Press Ctrl+W, R.
- Double-click the cell you want to view.
The Data Viewer toolbar has the following options:

 Save Data (Ctrl+S) lets you save data to a file.
 Copy (Ctrl+C) lets you copy data to the clipboard.
You can view data in multiple formats:
 Hexadecimal View (Ctrl+1)
 Text View (Ctrl+2)
 XML View (Ctrl+3)
 HTML View (Ctrl+4)
 Web View (Ctrl+5)
 Rich Text View (Ctrl+6)
 PDF View (Ctrl+7)
 JSON View (Ctrl+8)
 Image View (Ctrl+9)
 Fit Image (Ctrl+B)
 Spatial View - Geometry (Ctrl+Alt+0)
![]() View White Space makes white spaces visible.
View White Space makes white spaces visible.
 Word Wrap adjusts the display of long text in cells. When activated, the text automatically wraps to the next line, ensuring all content fits within the cell width.