Export SQL Server data to XML
XML (Extensible Markup Language) is a flexible, human- and machine-readable file format designed to store and transmit data, independent of the software or hardware used.
To export data to XML:
1. Open the Data Export wizard in one of these ways:
-
In the top grid, select the specific data or the entire grid you want to export.
-
On the top toolbar, click
 .
.
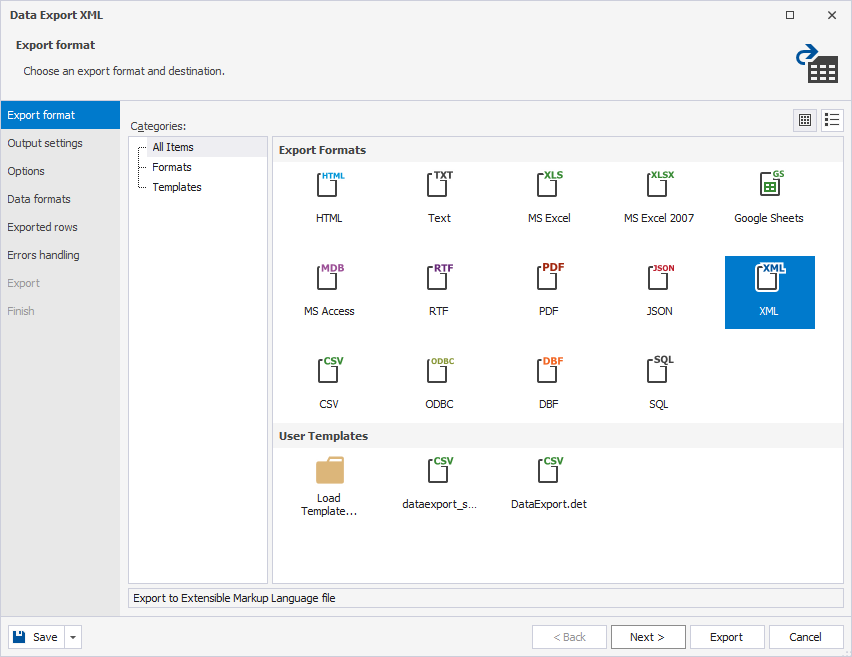
2. On the Export format page of the Data Export wizard, do one of the following:
- Under Export Formats, select XML.
- Under User Templates, load export options from a template file if you saved it previously.
3. On the Options page, the Use Unicode checkbox is selected by default. If you don’t want to use it in your XML file, clear the checkbox.
4. On the Data formats page, configure the export settings:
- On the Columns tab, select the columns to export. If needed, review or edit their aliases and data types.
- On the Formats tab, customize the default export format for the following data types: Date, Time, Date Time, Currency, Float, Integer, Boolean, and Null String.
5. On the Exported rows page, specify the data range to be exported:
-
Export all rows – Export the entire dataset.
-
Export only the selected rows – Export the rows currently selected in the data grid.
-
Export a specified range of rows – Specify the starting and ending row numbers to export a custom range.
Note
The Export only the selected rows option is available only when you export rows directly from the results grid in Data Editor.
6. On the Errors handling page, define how the export process should respond to errors and how they should be logged:
-
Abort at the first error – Stop the export immediately when the first error occurs.
-
Prompt a user for an action – Pause the export and prompt the user to choose how to proceed when an error occurs.
-
Ignore all errors – Continue the export process, skipping any errors without interruption.
Tip
To reuse your export configuration, click Save Template in the bottom-left corner of the wizard.
7. Click Export.
The Finish page appears, indicating whether the data export completed successfully or failed. From this page, you can:
- Open the exported file or folder.
- Start another export operation.
- View the log file.
- Click Finish to close the wizard.