Use an SSDT project as a data source
SQL Server Data Tools (SSDT) is a free add-in for Visual Studio for creating SQL Server relational databases, Azure SQL databases, Reporting Services reports, Analysis Services data models, and Integration Services packages. With the tool, you can develop and deploy any SQL data.
Prerequisites
- Download and install Visual Studio.
- Download and install SSDT.
- Create a database project.
- Import a database.
Create a new database project
1. Open Visual Studio.
2. In the top menu, select File > New > Project.
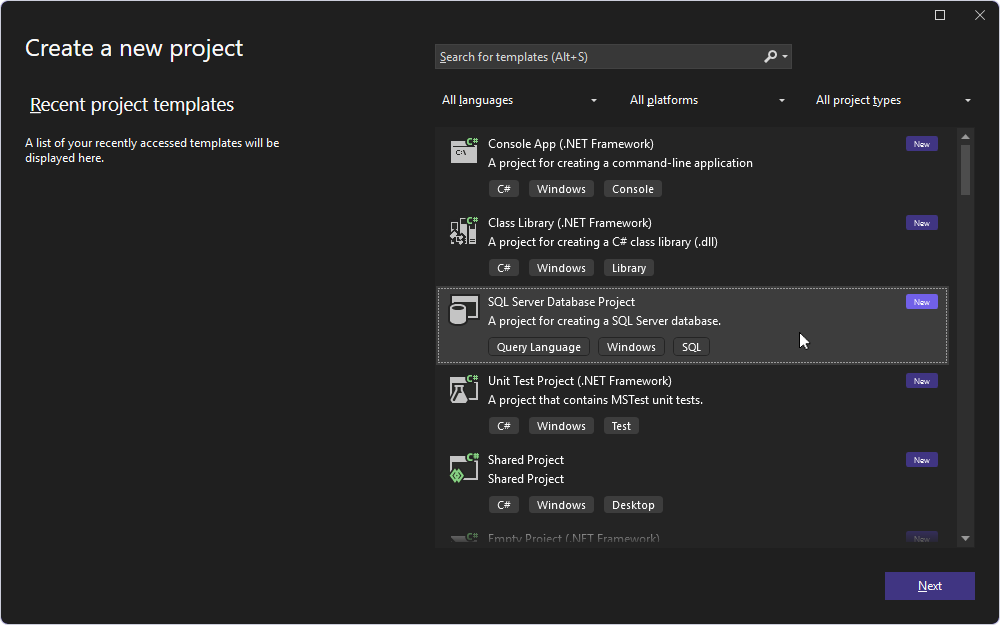
3. In the Create a new project dialog, select SQL Server Database Project, then click Next.
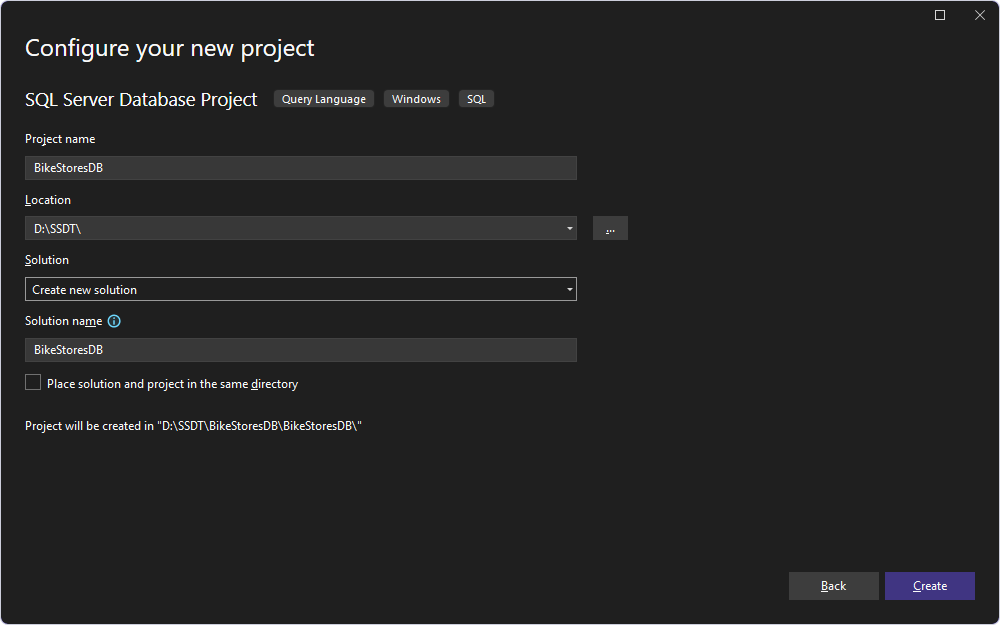
4. Configure the project settings:
- Project name – The name of the project.
- Location – The path to the project. To change the default path, click the ellipsis (…).
- Solution – The container that holds the projects. Select one of the following options:
- Create new solution – (default) Creates the name of the solution. Specify a solution name and folder location.
- Add to solution – Adds a new project to the currently open solution.
- Solution name – The name of the solution.
5. Click Create.
Import a database to the database project
1. In Visual Studio, select Project > Import > Database.
2. In the Import Database dialog, click Select Connection.
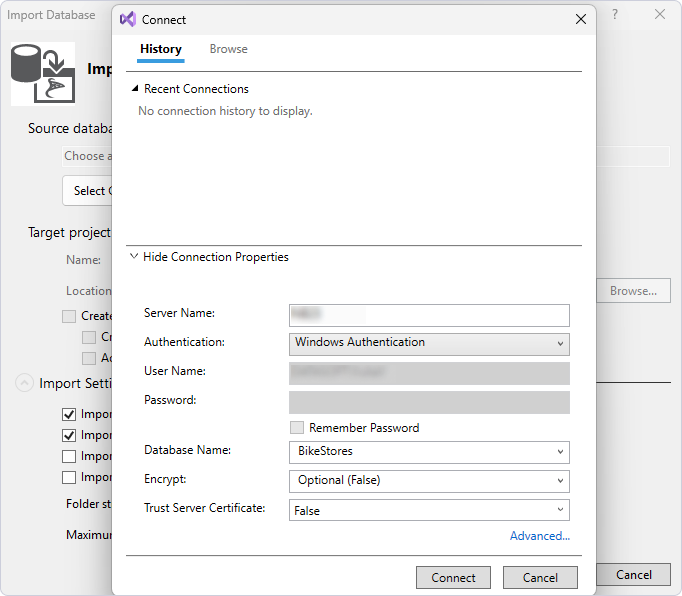
3. In the Connect dialog:
3.1. In Server Name, enter the server name.
3.2. In User Name, enter the database username.
3.3. In Password, enter the database user password.
3.4. In Database Name, select the database.
3.5. Click Connect.
4. In the Import Database dialog, click Start.
The Summary page opens, displaying the progress of the import operation.
5. Click Finish.
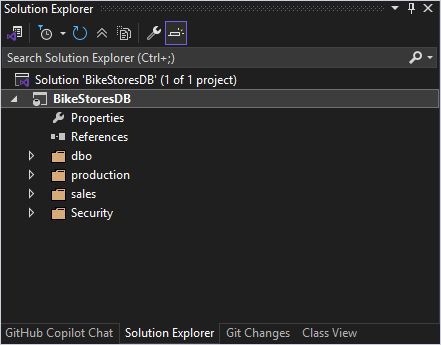
The imported database appears in Solution Explorer.
Compare schema changes
1. Open the New Schema Comparison wizard in one of these ways:
- In the top menu, select Comparison > New Schema Comparison.
- On the Start Page, select Database Sync > New Schema Comparison.
2. On the Source and Target page:
2.1. In Type, select Scripts Folder as the source or target.
2.2. In Database scripts folder, click the ellipsis (…) and select a root folder that stores SQL files of the SSDT project.
2.3. Select the other data source to deploy with the SSDT project, and configure its settings.
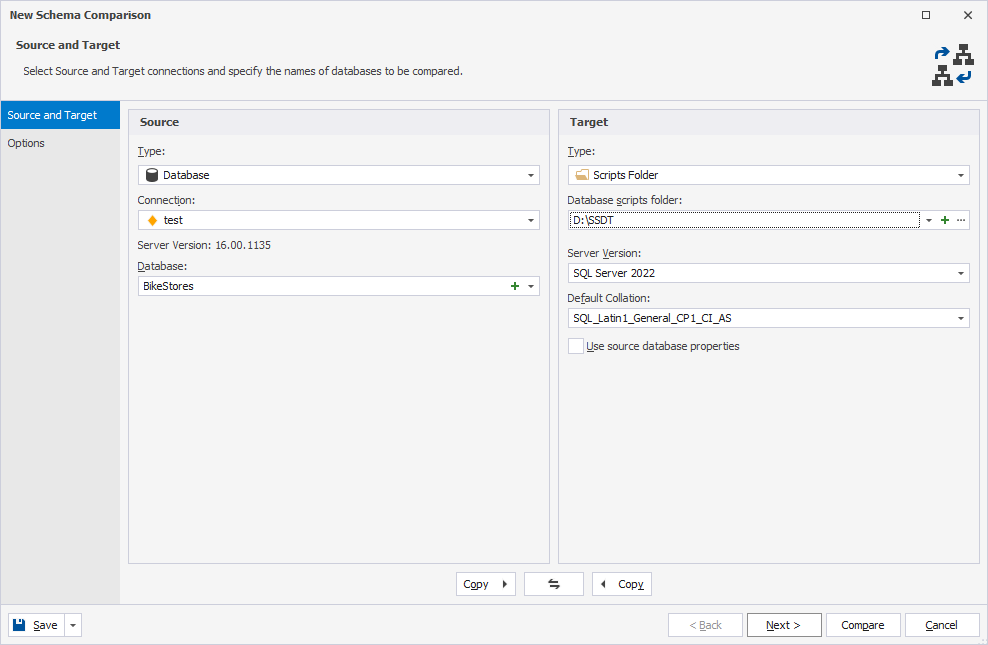
3. Optional: On the Options page, configure the comparison settings.
4. Click Compare.
5. In the Schema Comparison document, view the comparison results.
By default, all objects are selected for synchronization. You can exclude any objects from synchronization by clearing the checkboxes for the corresponding objects.
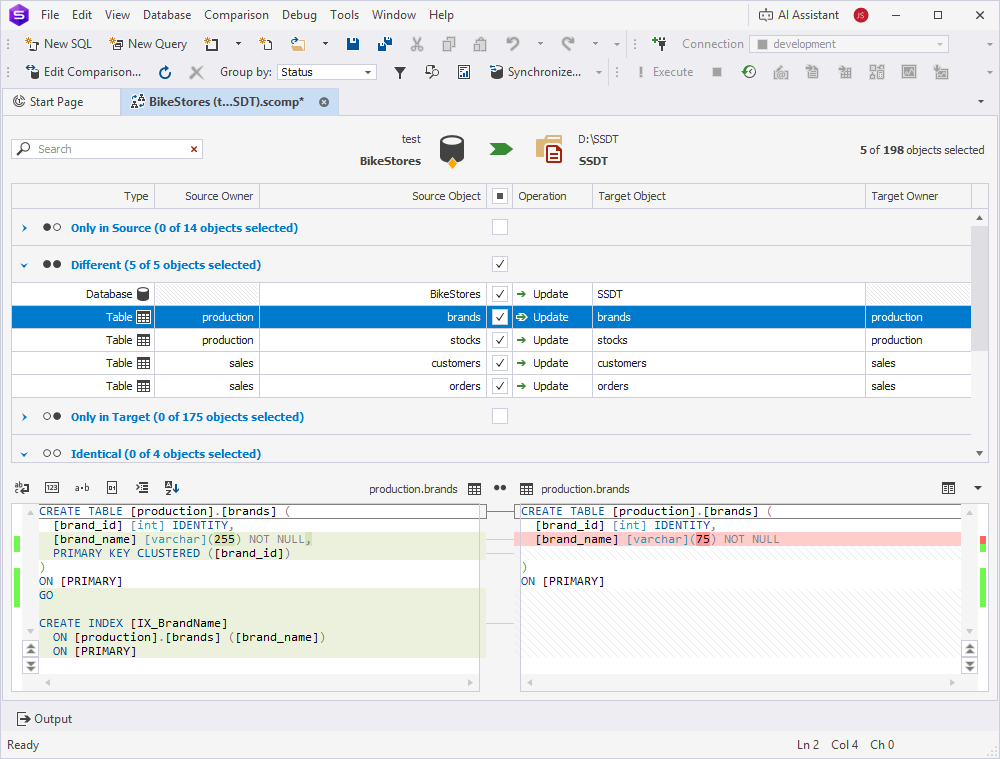
6. At the top of the document, click  to synchronize objects.
7. In the Schema Synchronization Wizard, select an output option to generate a synchronization script, and optionally configure the synchronization settings.
Tip
When the scripts folder is selected as the target, you can change the folder structure in the Scripts Folder Structure dialog. For this, select Update the scripts folder, then click Scripts Folder Structure.
8. Click Synchronize.