DACPAC as the data source
DACPAC (data-tier application package) is a package with a .dacpac file name extension that encapsulates a database schema and its objects, such as tables, views, stored procedures, and triggers, in a binary format. The package represents a database project compatible with SQL Server Data Tools (SSDT).
DACPAC files are commonly used for database deployment and migration. Since the file is version-independent, it enables you to transfer a database schema between different SQL Server versions without modifying the code.
Note
In dbForge Studio for SQL Server, you can compare DACPAC files using a scripts folder as the data source.
To compare a DACPAC file with other data sources:
1. Open the New Schema Comparison wizard in one of these ways:
- In the top menu, select Comparison > New Schema Comparison.
- On the Start Page, select Database Sync > New Schema Comparison.
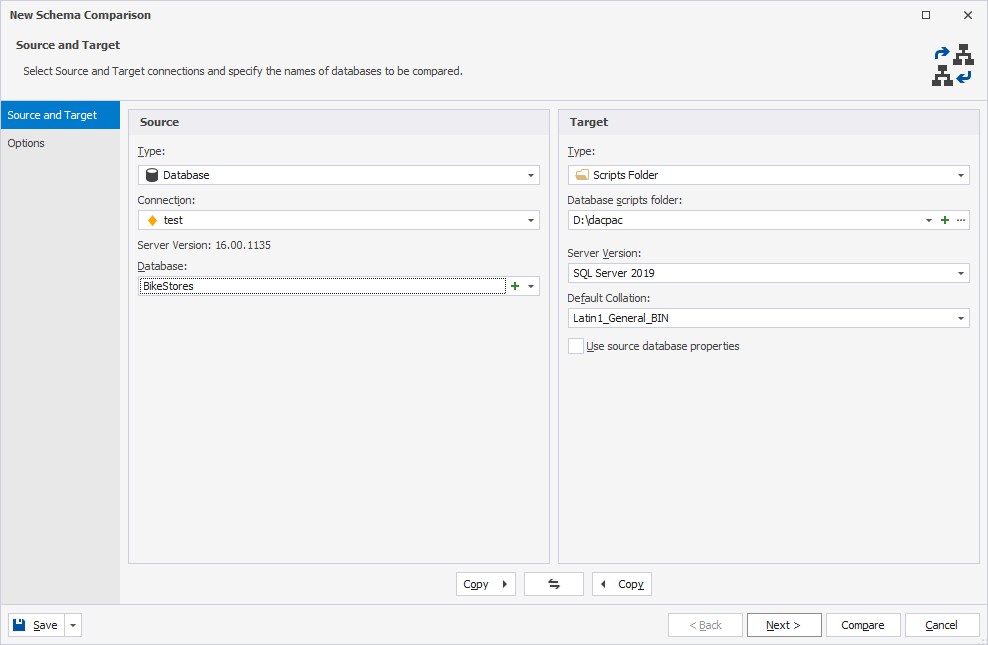
2. On the Source and Target page:
2.1. In Type, select a Scripts Folder as the source or target.
2.2. In Database scripts folder, select one of the following options:
- Select the previously added scripts folder with a .dacpac file.
- Click the ellipsis (…) and select an existing scripts folder with a .dacpac file.
2.3. Select the target data source to compare with the DACPAC file, and configure its settings.
3. Optional: On the Options page, configure comparison settings.
4. Click Compare.
The comparison results appear in the Schema Comparison document.
By default, all objects are selected for synchronization. To exclude any objects from synchronization, clear the checkboxes for the corresponding objects.
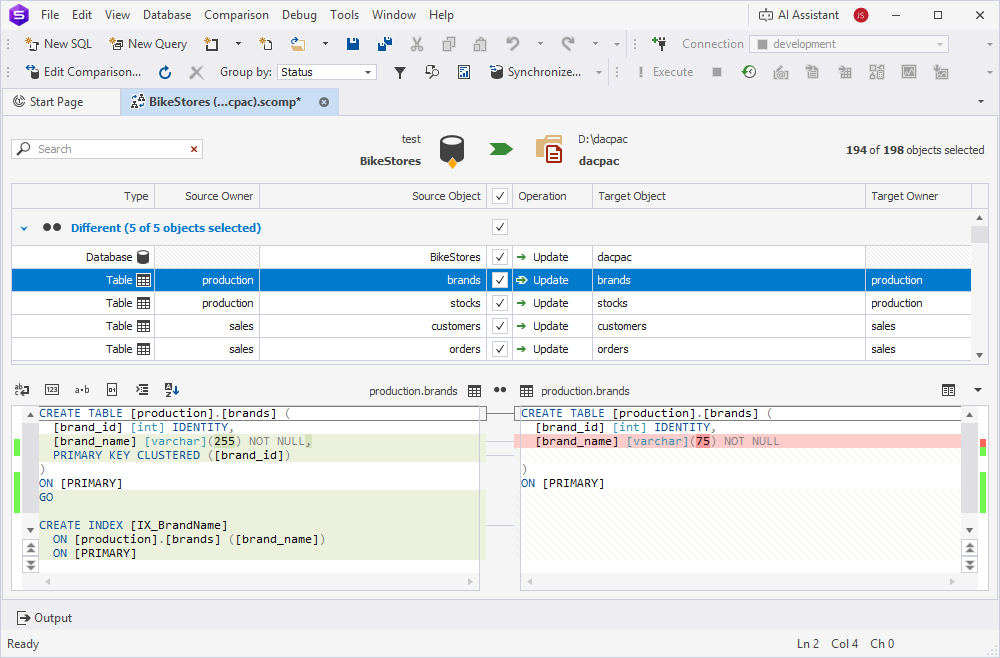
5. At the top of the document, click  to open the Schema Synchronization Wizard.
6. Select an output option to generate a synchronization script, and optionally configure the synchronization settings.
Tip
When the scripts folder is selected as the target, you can change the folder structure in the Scripts Folder Structure dialog. For this, select Update the scripts folder, then click Scripts Folder Structure.
7. Click Synchronize.