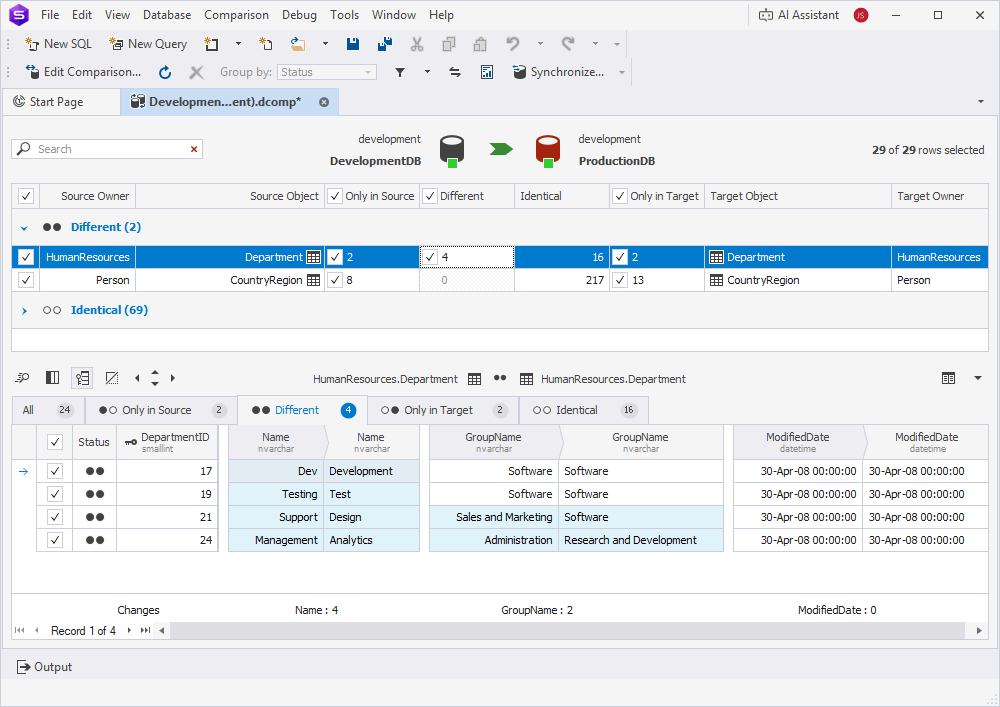
Select data for synchronization
After you perform data comparison, the Data Comparison document opens, allowing you to select the rows you want to synchronize.
Note
Changes made during data synchronization are applied only to the target database. The source database is not affected.
Include or exclude rows for synchronization
By default, all rows that differ in the source and target are selected for deployment.
You can include or exclude all rows, specific rows, or all rows within a section.
Note
Selections are saved automatically when you save the project.
To include or exclude the rows:
- Specific row: Select the checkbox for the row to include it, or clear the checkbox to exclude it.
- All rows: Select the checkbox in the upper-left corner of the Data Comparison grid to include all rows, or clear it to exclude them.
- Rows only in source: Select the Only in Source checkbox to include those rows, or clear it to exclude them.
- Rows only in target: Select the Only in Target checkbox to include those rows, or clear it to exclude them.
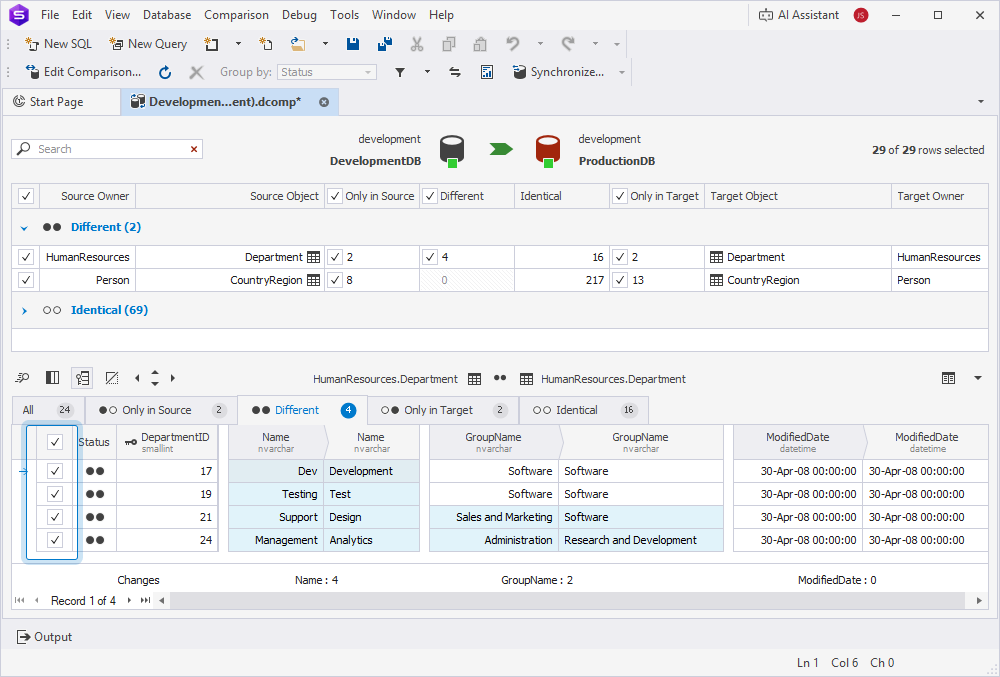
Include or exclude records for synchronization
1. In the Data Comparison grid, select a table or view to display its record differences.
2. In the Row differences grid, select the corresponding tab, then select or clear the checkboxes for the records you want to include or exclude.
Select rows using shortcut keys
The table provides a list of keyboard shortcuts to use for row synchronization.
| Keyboard shortcut | Description |
|---|---|
| Spacebar | Includes or excludes the selected row. |
| Shift+Page Up Shift+Page Down |
Selects multiple rows. |
| Ctrl+A | Selects all rows. |
| Ctrl+Shift+End | Selects the rows from the selected row to the last one. |
| Ctrl+Left Click | Selects multiple non-successive rows. |
Run data synchronization
You can run data synchronization in one of these ways:
-
At the top of the document, click
 .
. -
Right-click the Data Comparison grid and select Synchronize.
-
Press F8.
-
On the Comparison toolbar, click
 .
.
Warning
You cannot roll back data synchronization. To avoid data loss, back up the target database before deploying data changes.
For more detailed information on managing output options, see Select synchronization output.