Design conditions for the SELECT clause
Use dbForge Studio for SQL Server to define filter conditions in Tabbed Editor, which includes the following tabs:
- Selection – Specify the columns to return in the result set and define the selection criteria.
- Joins – Create and manage relationships between tables.
- Where – Define filter conditions for the rows to retrieve.
- Group By – Group the retrieved data by one or more columns.
- Having – Apply filter conditions to grouped data.
- Order By – Sort the result set in ascending or descending order.
Open Tabbed Editor
To open Tabbed Editor, do one of the following:
-
In the top menu, select Query > Show Tabbed Editor.
-
On the Query toolbar, click
 .
.
Selection toolbar
Use the Selection toolbar to manage the columns in your query:
-
Distinct – Include only unique rows in the result set.
-
Move Up – Move the selected column one position higher in the output order.
-
Move Down – Move the selected column one position lower in the output order.
-
 Remove – Remove the selected column from the query output.
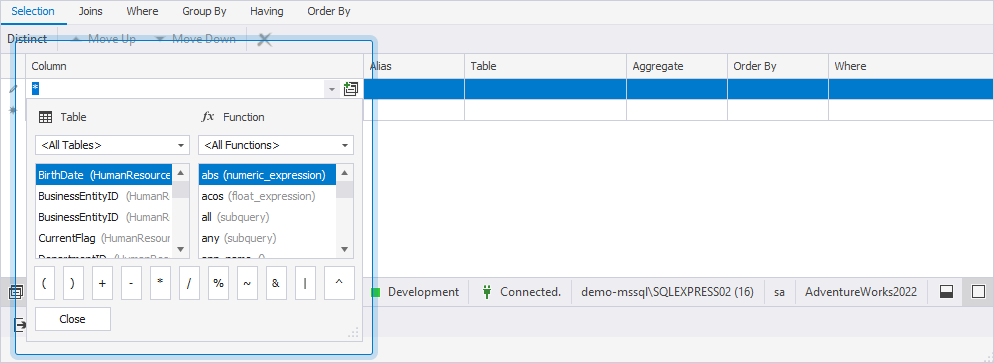
Select columns for the query
When you drag a table onto the diagram, all of its columns are automatically selected. They appear marked with * on the Selection tab of Tabbed Editor.
To select specific columns for the query:
1. Select the row marked with *.
2. Double-click a column from the list to add it to the query.
3. To apply a function to the column, double-click the required function from the list.
4. To add an operator to the expression, double-click the operator from the dialog.
5. Click Close to close the window.
Create a subquery for a specific column
To create a subquery for the column, click ![]() in the row or on the Query toolbar.
in the row or on the Query toolbar.
For instructions on working with subqueries, see Create subqueries visually.
Specify an alias for a specific column
To specify an alias, double-click the required row in the Alias column and enter its name.
Tip
To assign an alias to a table, double-click the table header on the diagram, enter the alias, and press Enter.
Retrieve data from a specific table
In the Table column, select the table you want to use in the query.
Apply an aggregate function to the column
1. In the Aggregate column, select the row that contains the target column.
2. From the list, choose the function you want to apply.
The following functions are supported for use in aggregate and grouping operations.
| Name | Description |
|---|---|
avg |
Calculates the average of the selected values. |
binary_checksum |
Returns the checksum as a binary value for a row or specific columns. |
checksum_agg |
Returns the checksum of values in a column as an integer. |
count |
Counts the total number of rows in a specific column. |
count_big |
Counts the number of items in the SELECT statement as a big integer data type, including NULL and duplicate values. |
grouping |
Indicates whether a column is aggregated in a GROUP BY clause. |
grouping_id |
Adds a native built-in SQL Server function for columns in the SELECT list. |
max |
Returns the highest value in a specific column. |
min |
Returns the lowest value in a specific column. |
stdev |
Calculates the standard deviation for all values retrieved in the SELECT statement. |
stdevp |
Calculates the standard deviation for all values in the expression based on the entire data population. |
sum |
Returns the sum of all NON-NULL values in a specific column. |
var |
Returns the statistical variance for the values in the selected column, based on a sample. |
varp |
Returns the statistical variance for the values in the selected column, based on the entire population. |
Sort values in a specific column
To sort values in a column, select Ascending or Descending from the list in the Order By column.
Filter data for a specific column
To filter data, enter the filter condition in the Where column.
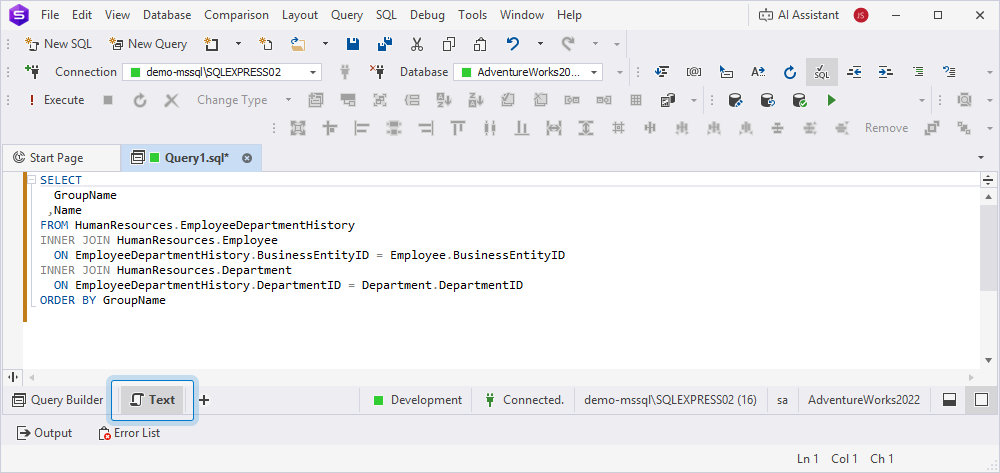
Preview the query
To preview the query, click Text in the bottom panel of the Query Builder document.