Command-line wizard
The command-line wizard generates command-line syntax based on the selected options. You can save the generated command to a .bat file and use it to schedule or automate schema comparison and synchronization tasks.
Open the command-line wizard
Open the command-line wizard in one of these ways:
- In the lower-left corner of the New Schema Comparison wizard, click the arrow next to Save and select Save Command Line.

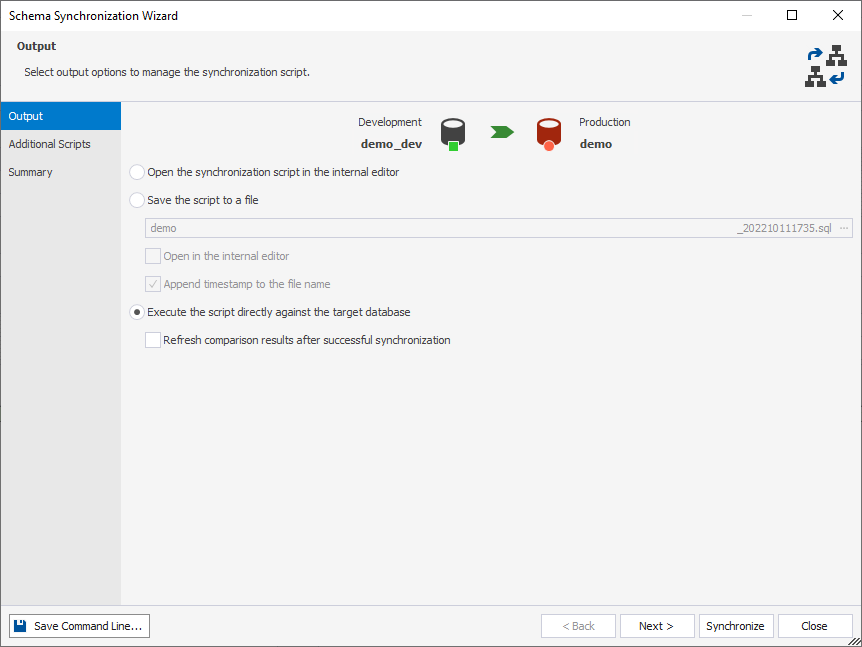
- In the lower-left corner of the Schema Synchronization Wizard, click Save Command Line.
Command-line wizard options
To include an option, select the corresponding checkbox. To exclude it, clear the checkbox.
The following table describes the options available in the command-line wizard.
| Option | Description |
|---|---|
| Comparison Project | Loads command-line settings from a schema comparison (.scomp) project file. Click the ellipsis (…) and select the .scomp file. Usage: /compfile:<path_to_scomp_file> |
| Source | Specifies the source for comparison. You can use one of the following options:
Click the ellipsis (…) to select or enter the source connection settings. |
| Target | Specifies the target for comparison. You can use one of the following options:
Click the ellipsis (…) to select or enter the target connection settings. |
| Comparison Options | Specifies the schema comparison options. Click the ellipsis (…), select the options, then click OK. |
| Report | Generates a schema comparison report. If the output file name uses an .html, .xls, or .xml extension, the format is selected automatically. Click the ellipsis (…) and select the report. Usage: /report:<file_name> |
| Report Format | Specifies the format of a schema comparison file. Available options:
If no format is specified, the report format is determined by the file extension. The Report Format option is available only when the Report option is selected. Usage: /reportformat:<HTML|XLS|XML|XMLFOREXCEL> |
| Include Objects | Specifies the objects to be included in the report. Available options:
The Include Objects option is available only when the Report option is selected. Usage: /includeobjects:<All|Filtered|Diff|SelectForSync> |
| Append timestamp to the report | Adds a timestamp to the comparison report folder name. The Append timestamp to the report option is available when the Report option is selected. |
| Include compare and sync options | Includes the comparison and synchronization options in the comparison report. The Include compare and sync options option is available only when the Report option is selected. |
| Warnings | Includes the comparison and synchronization warnings (if any) in the comparison report. The Warnings option is available only when the Report option is selected. |
| Deployment script | Includes a deployment script in the comparison report. The Deployment script option is available only when the Report option is selected. |
| Script Diffs Style | Specifies the style of displaying script differences in the comparison report. Available options:
Usage: /ScriptDiffsStyle:<removeadd|cross> |
| Objects Filter | Applies a custom filter to include or exclude objects from comparison. Click the ellipsis (…) and select a schema comparison object (.scflt) filter file. Usage: /filter:<file_path> |
| Log File | Generates a comparison log file in the specified directory. Click the ellipsis (…) and specify the path to the log file. Usage: /log:<file_path> |
| Synchronization | Starts database synchronization. If an output file path is specified, only a synchronization script is generated. |
| Synchronization Options | Specifies the schema synchronization options. Click the ellipsis (…), select the options, then click OK. The Synchronization Options option is available only when the Synchronization option is selected. |
| Synchronization File | Specifies the full path to the database synchronization script file. The Synchronization File option is available only when the Synchronization option is selected. |
| Execute | Executes the generated synchronization script. The Execute option is available only when the Synchronization option is selected. |
| Error Code | Enables processing of the exit code returned by the Execute operation. The Error Code option is available only when the Execute option is selected. |
| Arguments File | Generates a .txt file that contains command-line settings and arguments and saves it to the specified path. Usage: /argfile:<path> |
| Echo OFF | Wraps all commands in the .bat file in an @Echo OFF ... Echo ON block. |
| Keep opened | Adds the pause command at the end of the .bat file to keep the command window open after execution. |
| PowerShell | Adds the & symbol at the beginning of the .bat file to make it compatible with PowerShell. |
The text box displays the generated script based on the selected options.
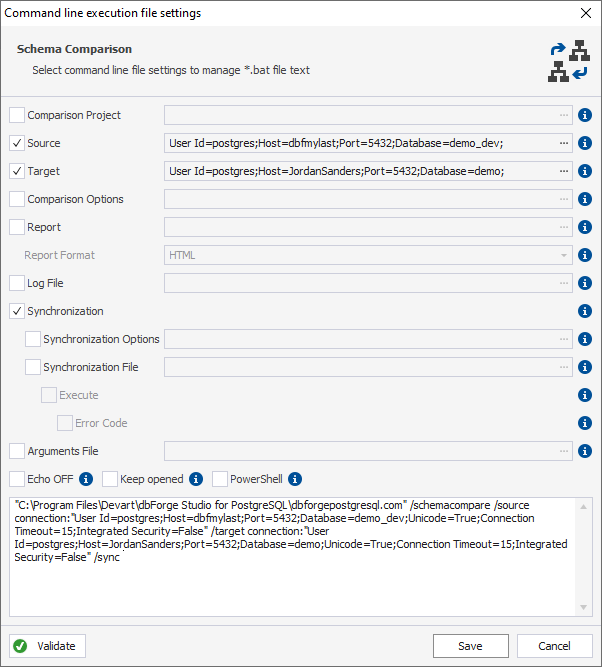
To save the settings to a .bat file, click Save.
To close the dialog, click Cancel.
Command-line validation
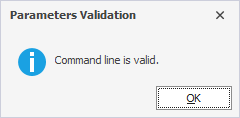
To verify the settings, click Validate.
If the parameter validation succeeds, the following message appears:
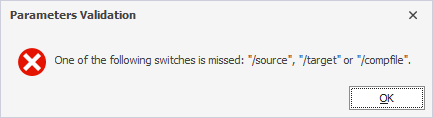
If the parameter validation fails, the following message may appear: