Scheduling Data Export
You can schedule a data export to run automatically at a specific time or after a defined event.
To schedule a data export, follow these steps:
- Create a template file (.det) that contains the settings for exporting data.
- Create a .bat file to run the export using the template settings.
- Create a Windows task using Task Scheduler to run the .bat file at the desired time or event.
Create a template file
1. Open the Data Export wizard in one of these ways:
- In the Database menu, select Tasks > Export Data.
- In Database Explorer, right-click a database and select Tasks > Export Data.
- In Database Explorer, right-click the table whose data you want to export and select Export Data.
- On the Start Page, select Data Pump > Export Data.
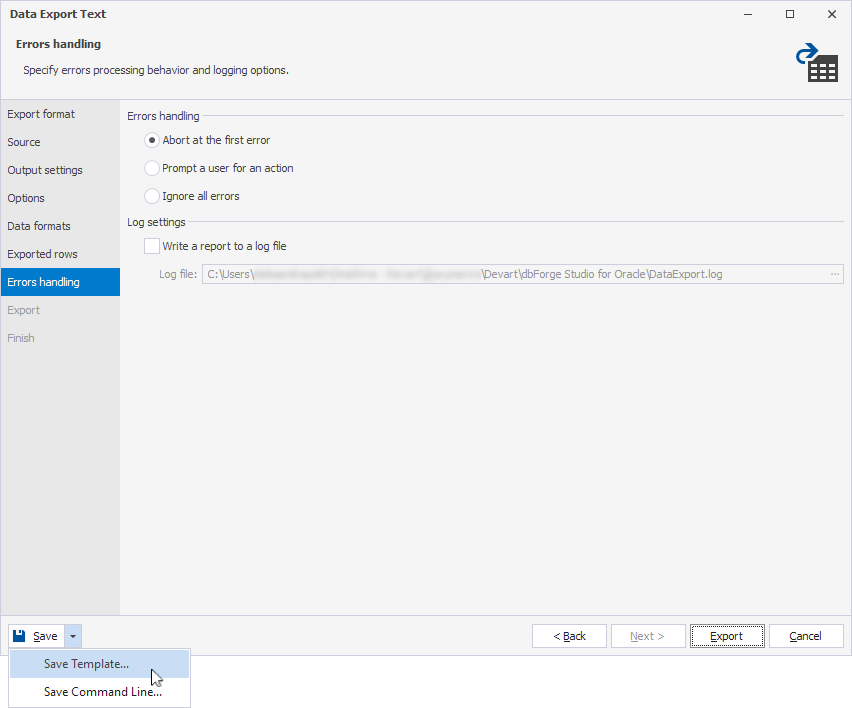
2. In the Data Export wizard, configure the export settings.
3. Click the arrow next to Save, then select Save Template.
Create a .bat file
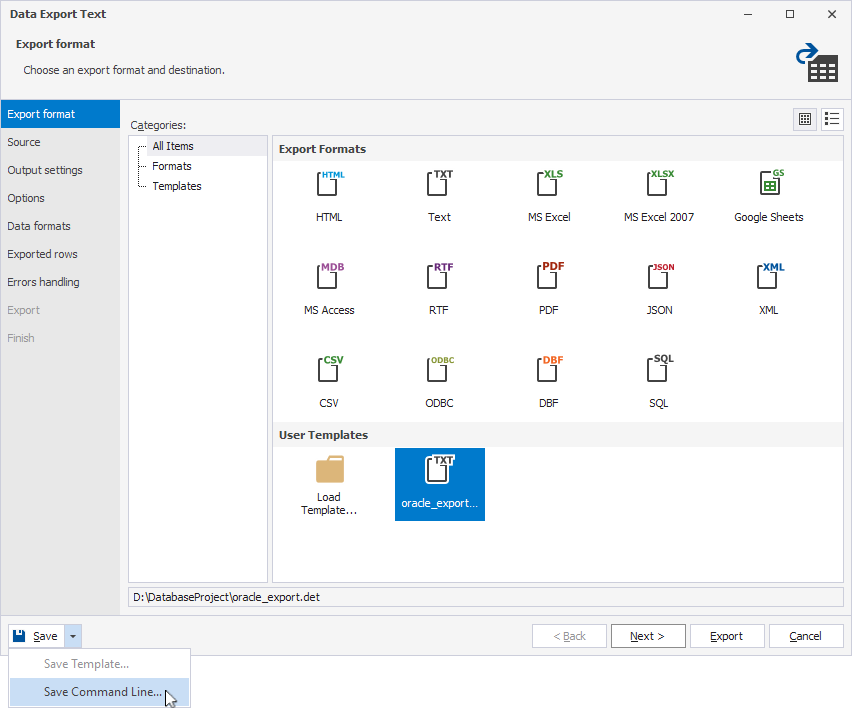
1. In the Data Export wizard, navigate to the Export format page, then select a previously created template file, or click Load Template to load a custom template.
2. Click the arrow next to Save, then select Save Command Line.
3. In the Command line execution file settings dialog, configure the settings to manage the .bat file content:
- Template File – Specifies the template file (.det) to use.
Note
Some options defined in the template can be overridden by command-line switches.
- Connection – Specifies the connection string.
- Password – Specifies the server password.
- Source Table – Specifies one or more tables to export.
- Range – Specifies which rows to export. Select one of the following options:
- All – Exports all rows.
- Range – Exports the specified row range. In Start Number, specify the 1-based number of the row to start from. In Length, specify the quantity of rows to export (including the starting row). To export the starting row and all rows after it, enter 0.
- Output Folder – (Unavailable for the ODBC format) Specifies the path to the folder for storing the export. To browse for a location, click the ellipsis (…). If multiple tables are exported, a separate file is created for each table. To export all tables into one file, select Single File.
- Single File – Exports all tables into one file. The default name for multiple table export is expdata. To use a different name, specify the file name or click the ellipsis (…) and select the needed file. The file extension depends on the selected export format, which appears in the Data Export wizard title.
- Output Table – (Available only for the SQL, ODBC, and MS Access formats) Changes the name of the destination table to the specified name. This works if only one table is exported.
- Error Mode – Specifies how the export process should respond to errors. Select one of the following options:
- Abort – Stops the process immediately when the first error occurs.
- Ignore – Continues the process, skipping any errors without interruption.
- Echo OFF – Disables the display of commands from the .bat file by enclosing its content in the
@Echo OFF ... @Echo ONcommand. - Keep opened – Keeps the command window open until you press a key; a
pausecommand is added at the end of the .bat file content. - PowerShell – Makes the .bat file compatible with PowerShell; the
&symbol is added at the beginning of the .bat file content.
Note
The values in the .bat file override the template settings.

Tip
You can add command-line arguments manually.
4. Optional: To verify that the command-line settings are valid, click Validate.
5. To save the script as a .bat file, click Save.
Create a Windows task
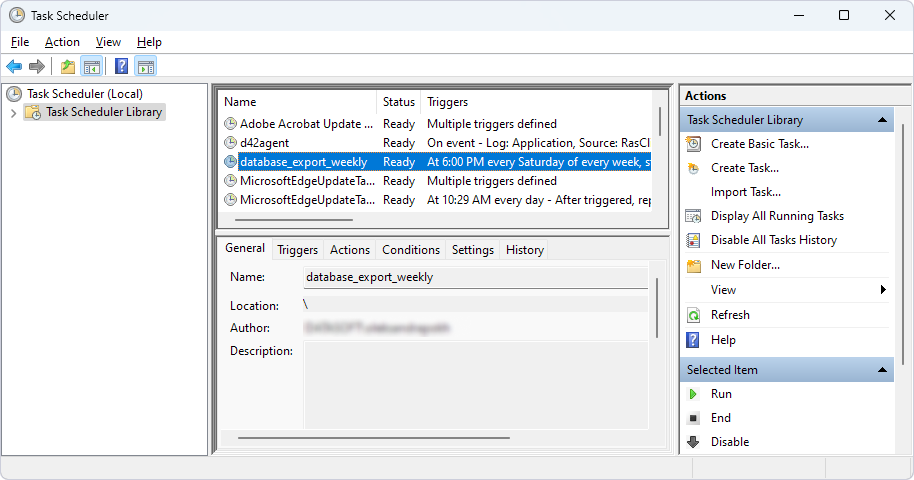
1. Open Task Scheduler.
2. Under Actions, select Create Basic Task.
3. In the Create Basic Task Wizard, enter a name and an optional description for the task, then click Next.
4. On the Trigger page, select when to start the task, then click Next. Depending on your selection, specify the start date and time, the recurrence frequency, or the log, source, and event ID, then click Next.
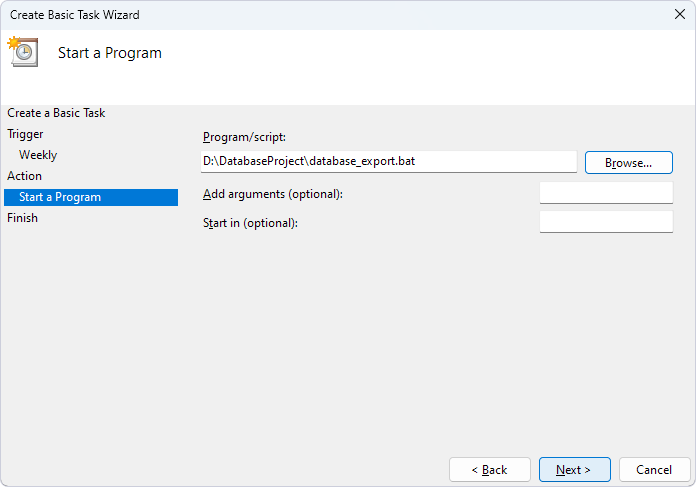
5. On the Action page, select Start a program, then click Next.
6. On the Start a Program page, click Browse to select the .bat file, then click Next.
7. On the Finish page, verify the settings. If everything is correct, click Finish. To make changes, click Back.
The task is displayed in Task Scheduler Library.