Synchronize memory-optimized objects
SQL Server memory-optimized tables
The Microsoft In-Memory OLTP feature was introduced with SQL Server 2014 as a way to improve transaction performance. It includes two parts:
- Memory-optimized tables
- Natively compiled stored procedures
The main advantage of memory-optimized tables is that rows in the table are read from and written to memory which leads to non-blocking transactions at high speed. The second copy of the data is stored on the disk and during database recovery, data is read from the disk-based table.
Deploy memory-optimized objects
When synchronizing databases containing memory-optimized objects with Schema Compare, it is highly recommended to conduct synchronization in two steps.
1. Synchronize the memory-optimized objects with the option Use a single transaction disabled.
2. Synchronize the remaining objects using a single transaction.
Otherwise, you might lose data if the synchronization script fails. Memory-optimized objects can’t be synchronized inside a transaction, since the execution of ALTER, DROP, and CREATE DDL statements is not supported within a user transaction. If a synchronization script doesn’t use a single transaction and the script fails, it won’t be possible to roll it back and you might lose data. Thus, in case you perform two synchronizations, only the memory-optimized objects are synchronized outside a transaction, so you’re less likely to lose data.
Step 1: Synchronize memory-optimized objects
Synchronizing memory-optimized objects with Schema Compare should be conducted with the option Use a single transaction disabled.
To synchronize memory-optimized objects via Schema Compare:
1. In the New Schema Comparison wizard, specify your source and target databases.
2. Configure and run the comparison.
3. In the comparison results, select the memory-optimized objects for synchronization.
4. Start the Schema Synchronization Wizard.
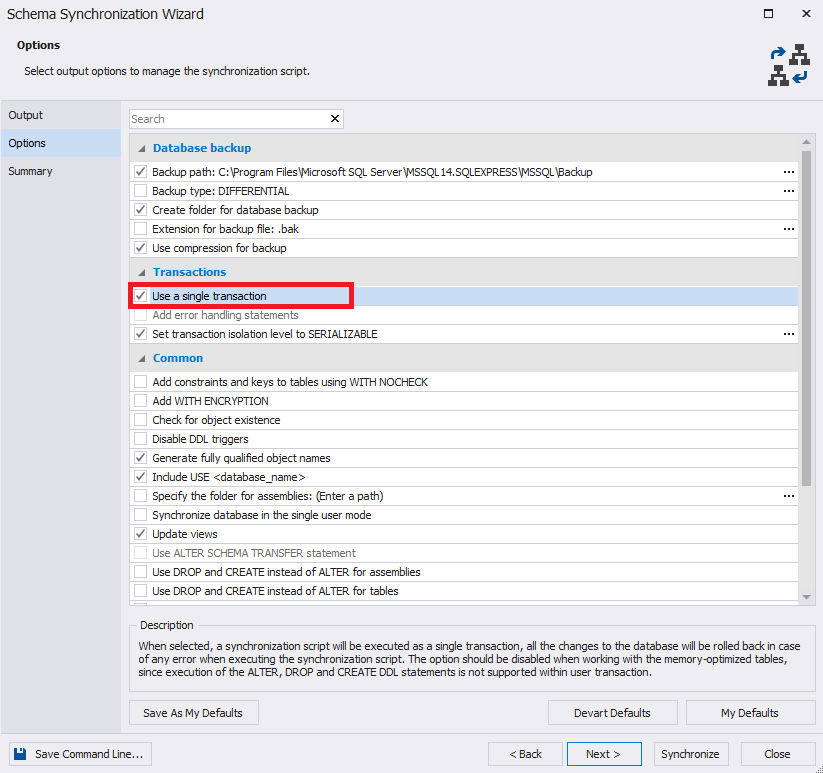
5. In the Transactions sections on the Options tab, select to disable Use a single transaction option.
6. Run the synchronization.
Note
It is highly recommended to back up the target database before synchronizing with the option Use a single transaction disabled.
Step 2: Synchronize the remaining objects
The remaining objects should be synchronized with the option Use a single transaction enabled.
To synchronize the remaining objects via Schema Compare:
1. In the comparison results, select the remaining objects for synchronization.
2. Open the Schema Synchronization Wizard.
3. In the Transactions sections on the Options tab, select to enable Use a single transaction option.
4. Run the synchronization.