Windows DSN Configuration
After installing the driver, create a DSN for Azure Synapse Analytics in the ODBC Data Source Administrator.
-
Open the ODBC Data Source Administrator in one of the following ways:
- In the Windows search box, enter
ODBC Data Sources, then choose the application that matches the bitness of the third-party application (32-bit or 64-bit).
- In Control Panel, select System and Security > Windows Tools, then double-click ODBC Data Sources (32-bit) or ODBC Data Sources (64-bit). Note that before Windows 8, the icon was named Data Sources (ODBC).
- Run
C:\Windows\SysWOW64\odbcad32.exe to create a 32-bit DSN or C:\Windows\System32\odbcad32.exe to create a 64-bit DSN.
- Select the User DSN or System DSN tab. Most applications work with both types, yet some applications require a specific type of DSN.
- Click Add. The Create New Data Source dialog opens.
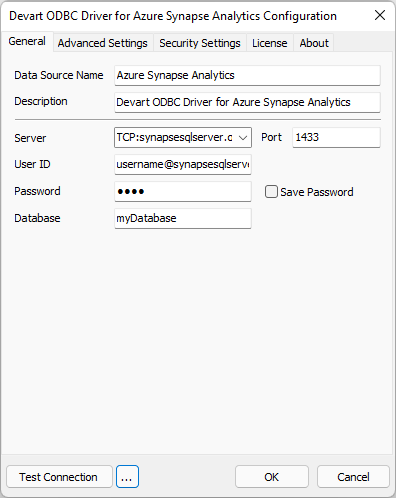
- Select Devart ODBC Driver for Azure Synapse Analytics, then click Finish. The driver configuration dialog opens.
-
Enter the connection information in the appropriate fields.

- Optional: Click Test Connection to verify the connection settings.
- Click OK.
See Also
Connection String Parameters