|
|
ODBC Driver for Dynamics 365 Business Central Configuring ODBC Driver for Dynamics 365 Business Central |
|
|
|
ODBC Driver for Dynamics 365 Business Central Configuring ODBC Driver for Dynamics 365 Business Central |
|
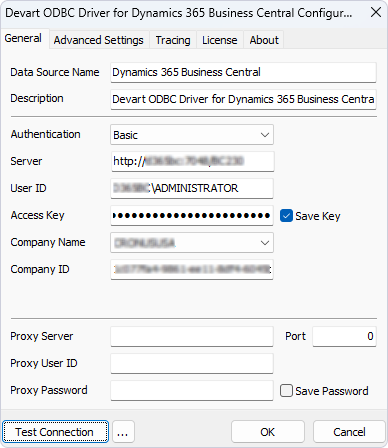
After installing the driver, create a DSN for ODBC Driver for Dynamics 365 Business Central in the ODBC Data Source Administrator.
ODBC Data Sources in the Windows search box and choose the application that matches the bitness of the third-party application (32-bit or 64-bit). You can also open ODBC Data Sources from Control Panel > Administrative Tools. Note that before Windows 8, the icon was named Data Sources (ODBC).C:\Windows\SysWOW64\odbcad32.exe to create a 32-bit DSN or C:\Windows\System32\odbcad32.exe to create a 64-bit DSN.Basic Authentication
If you choose this authentication type, enter the username and password for your Dynamics 365 Business Central account.
Token-Based Authentication
If you authenticate with OAuth2, click Sign in to Dynamics BC, enter your credentials, and grant the requested permissions to generate a refresh token.
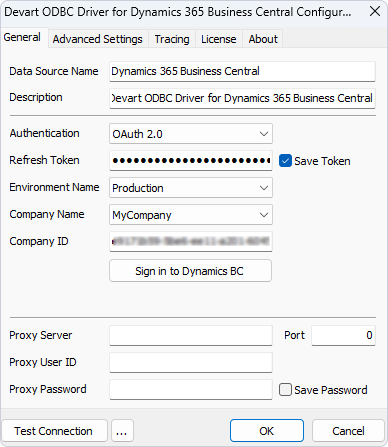
For both authentication types, you may test the connectivity by clicking Test Connection.