Connect SQL Server Integration Services to Zoho CRM
In this section, you’ll find the detailed guide on how to connect SQL Server Integration Services and Zoho CRM. The solution described in this guide demonstrates how to establish a connection to Zoho CRM in Visual Studio using the SQL Server Integration Services extension. Additionally, you’ll explore two ways to obtain Zoho CRM data.
Prerequisites
- Download and install the SQL Server Integration Services Projects 2022 extension.
-
Download and install Devart ODBC Driver for Zoho CRM.
- Create a Windows DSN.
Configure the ODBC connection
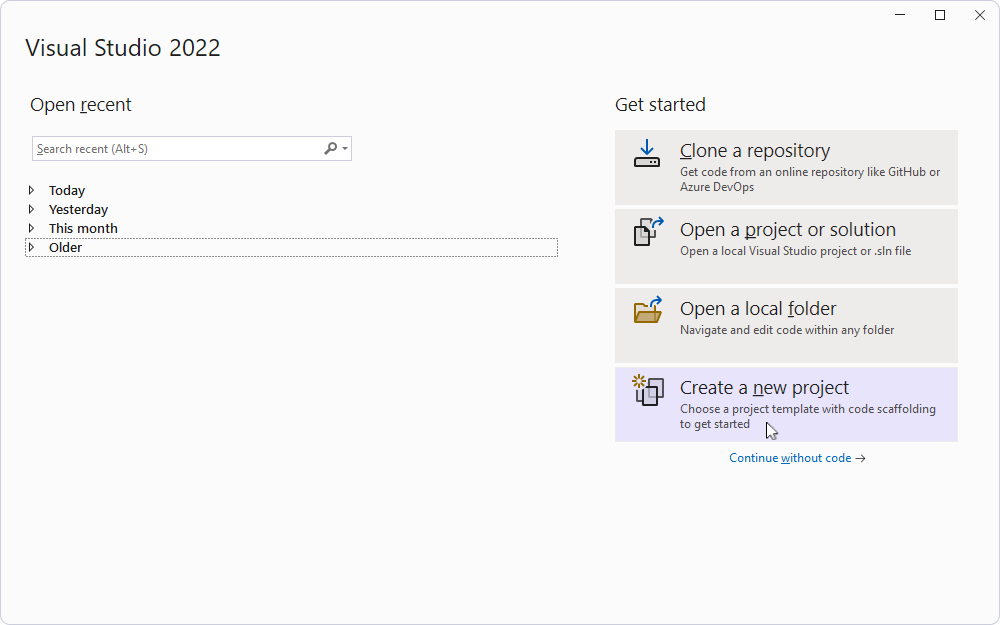
1. To create an Integration Services project, open Visual Studio and click Create a new project.
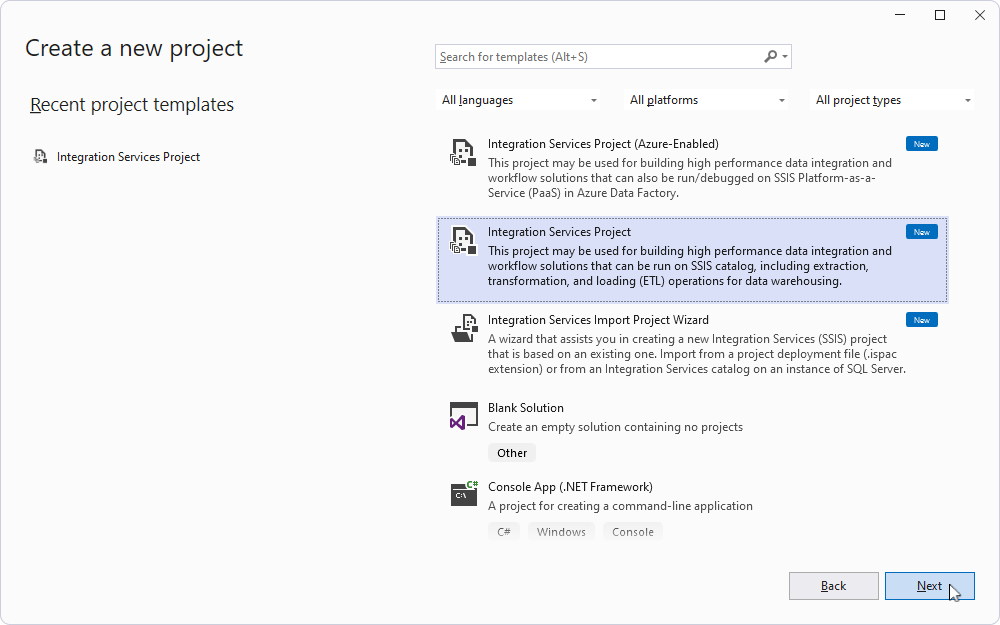
2. Select Integration Services Project, then click Next.
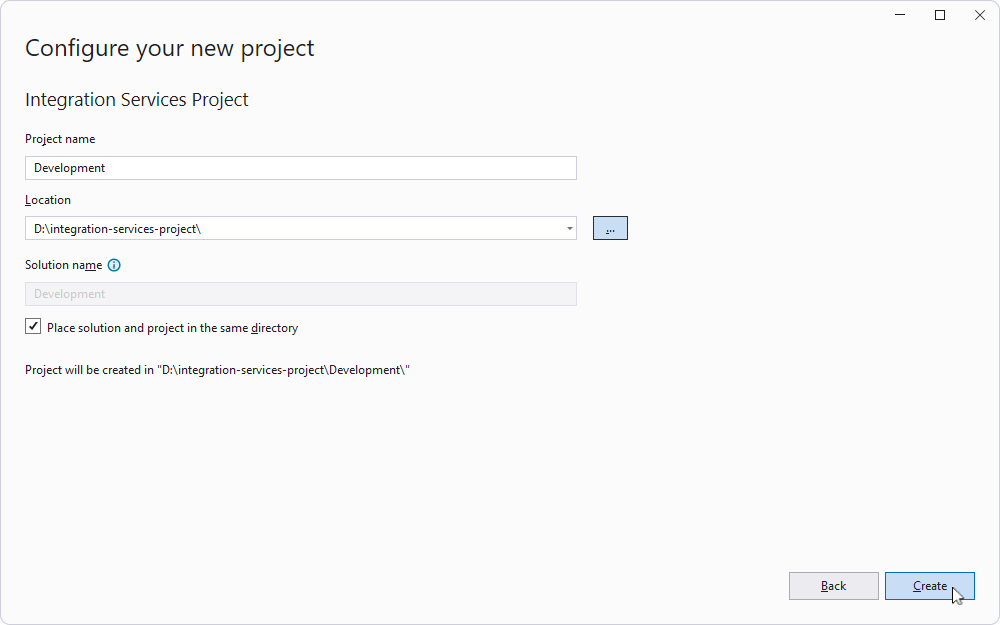
3. In Project Name, enter the project name.
4. In Location, enter the repository file path.
5. Optional: To store the project and the solution in different directories, clear the Place solution and project in the same directory checkbox. Then in Solution name, enter the desired name.
6. Click Create.
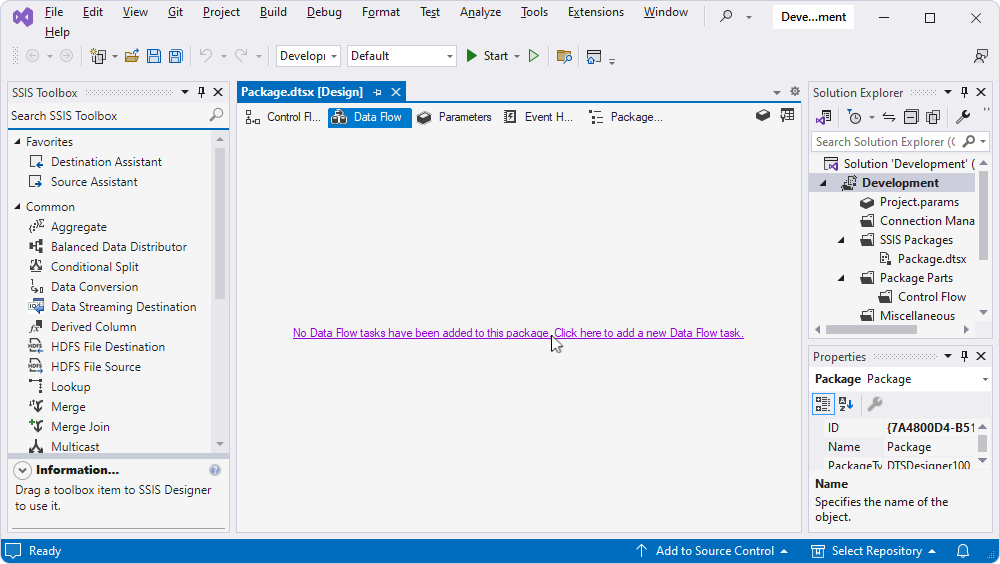
7. Select the Data Flow tab, then click No data flow tasks have been added to this package. Click here to add a new Data Flow task.
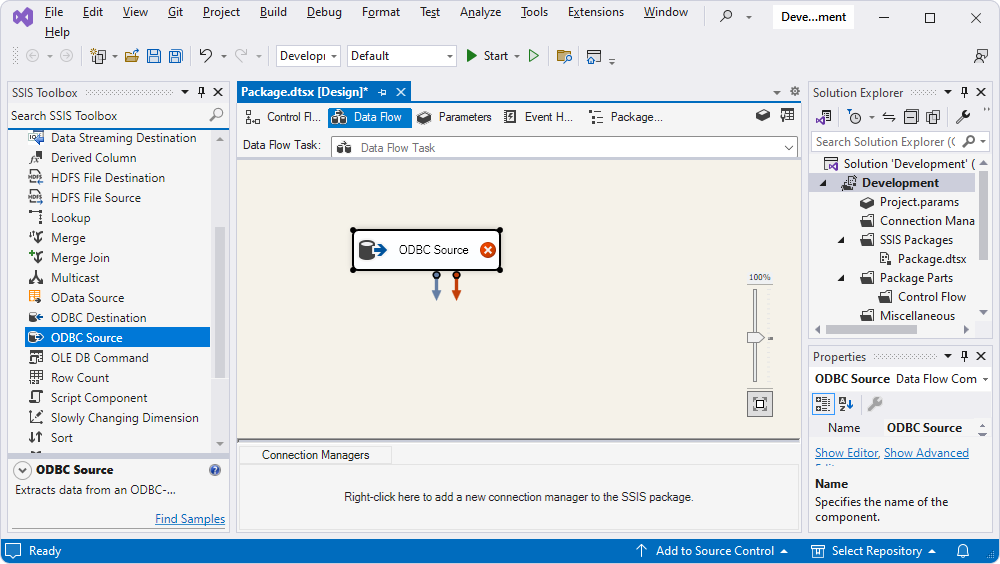
8. To add a source for extracting data from an ODBC-compliant data source, drag the ODBC Source component from the SSIS Toolbox into the design area.
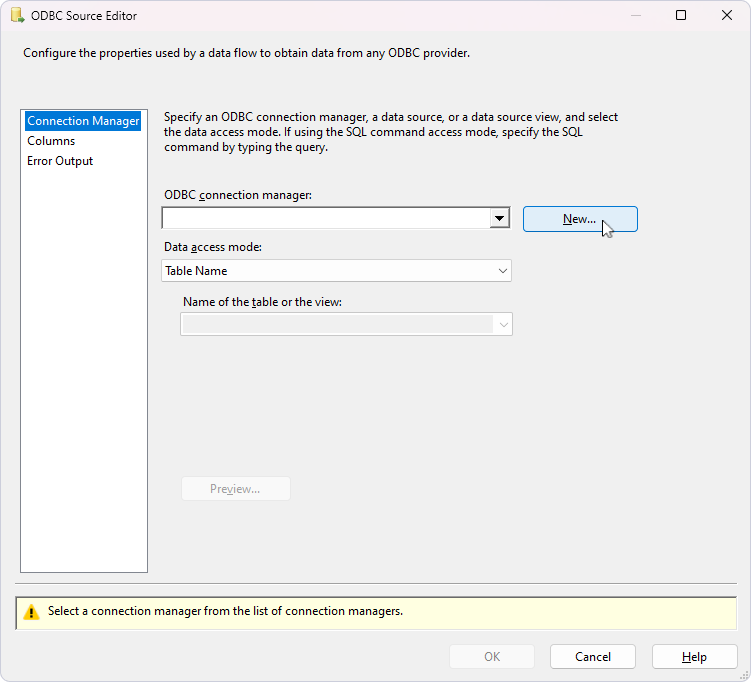
9. Double-click the added source, then click New.
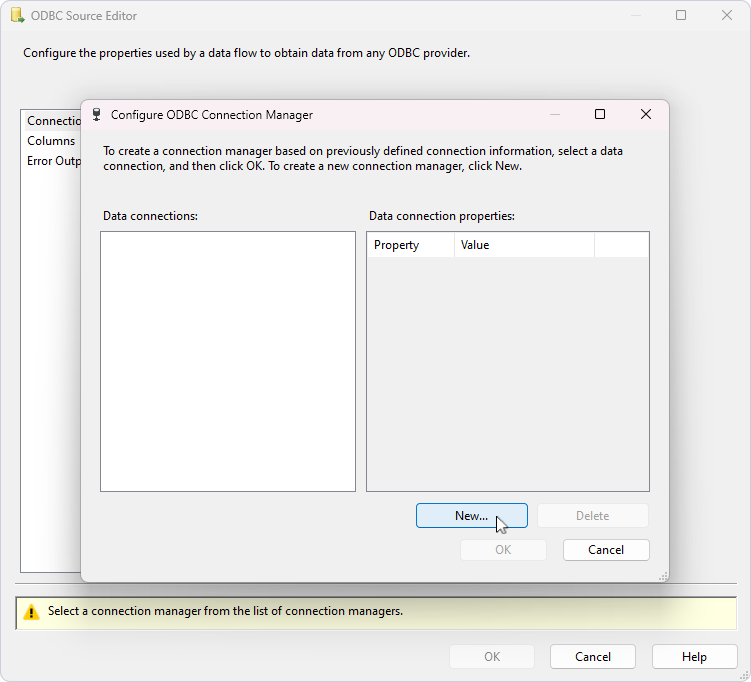
10. In the Configure ODBC Connection Manager dialog that opens, click New.
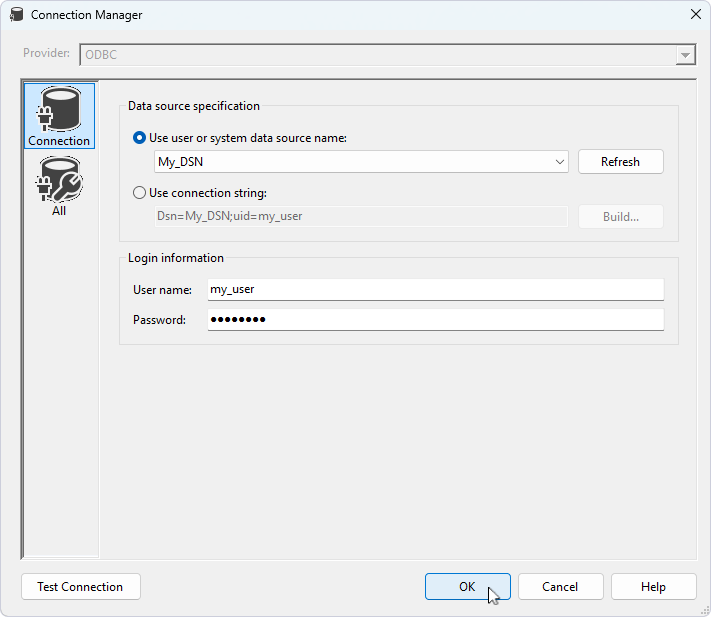
11. Under Use user or system data source name, select your DSN.
12. In User name and Password, enter your Salesforce credentials.
Optional: To verify the connection settings, click Test Connection.
13. Click OK.
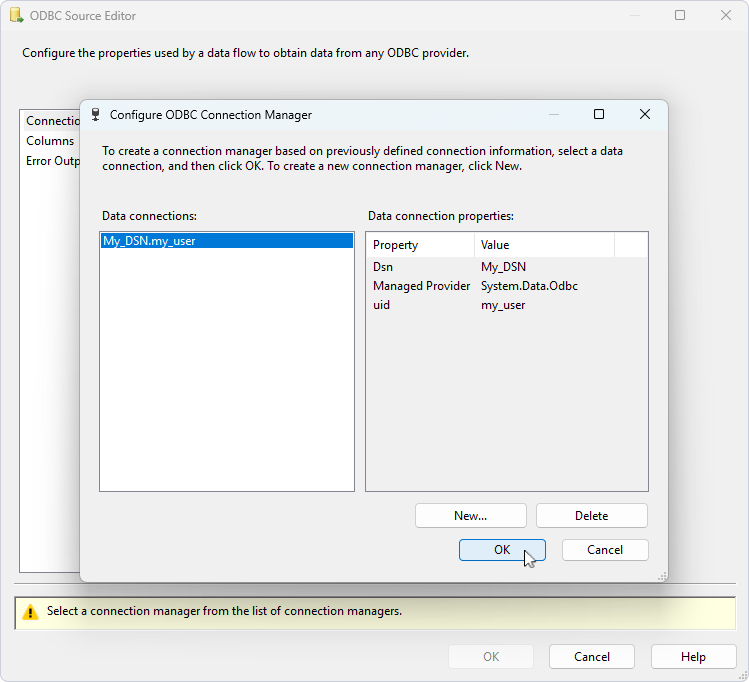
The data connection is added to the ODBC Connection Manager.
14. Click OK.
View the data
You can retrieve Salesforce data in one of the following ways:
-
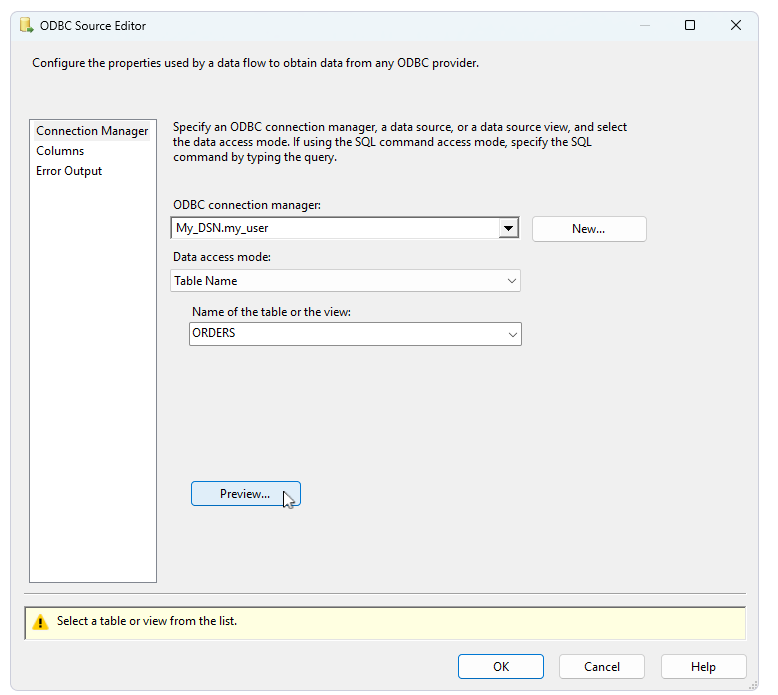
Select the table name:
1. In Name of the table or the view, select the table.
2. Click Preview.
-
Run a SQL query:
1. Under Data Access Mode, select SQL command.
2. In SQL command text, enter your SQL query.
3. Click Preview.
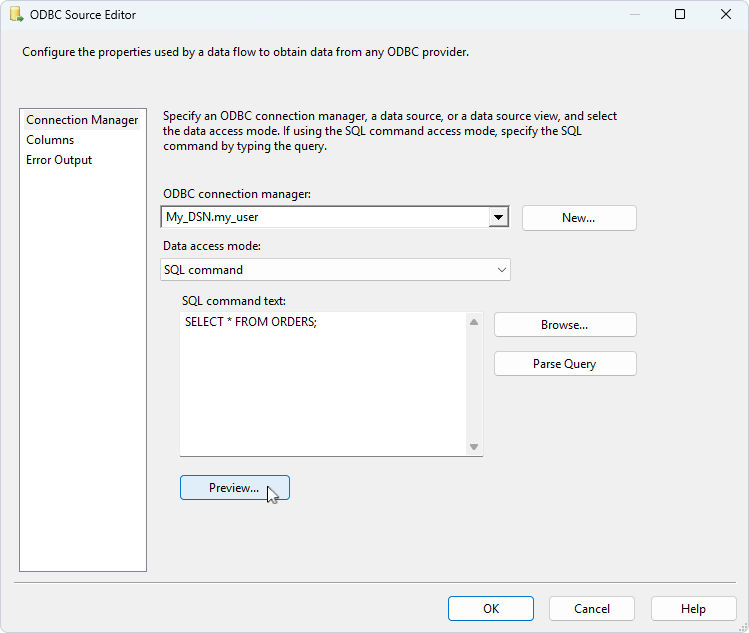
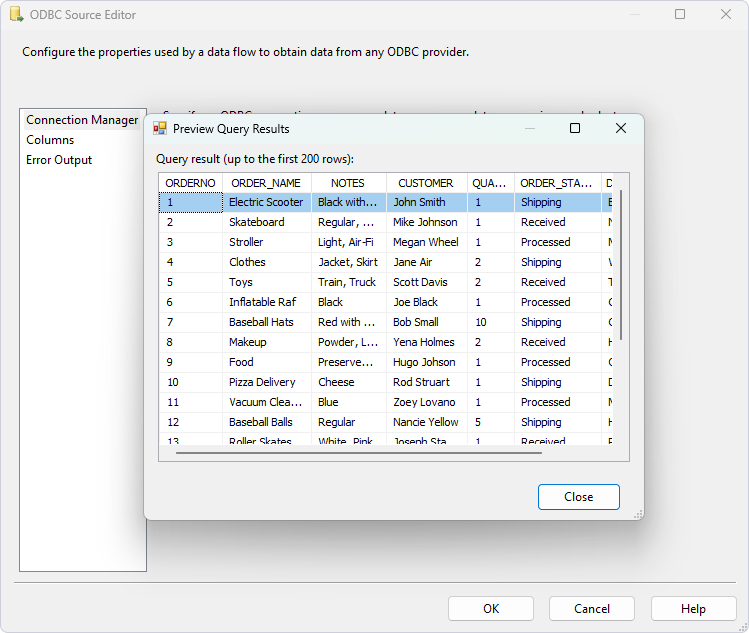
The data is displayed in a table.