Connect FileMaker Pro to Salesforce on Windows
You can access Salesforce data in FileMaker Pro in two ways:
Query live Salesforce data interactively
Note
You need to have a configured system Data Source Name (DSN). For instructions, see Configure a Windows DSN for Salesforce.
1. Select File > Create New to create a new database file, or File > Open and open an existing database file.
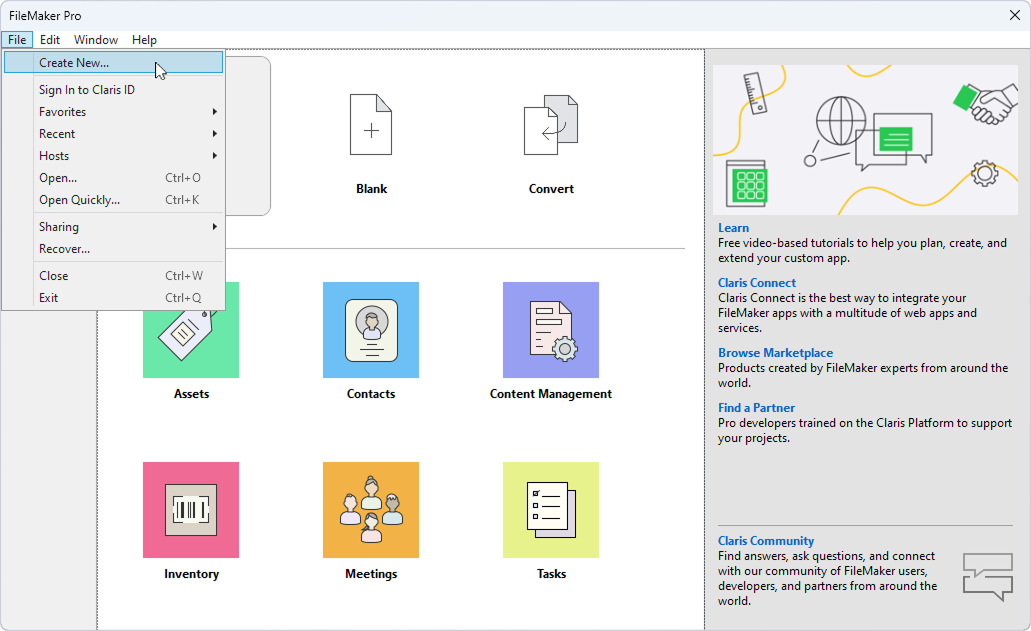
2. Select File > Manage > External Data Sources, then click New.
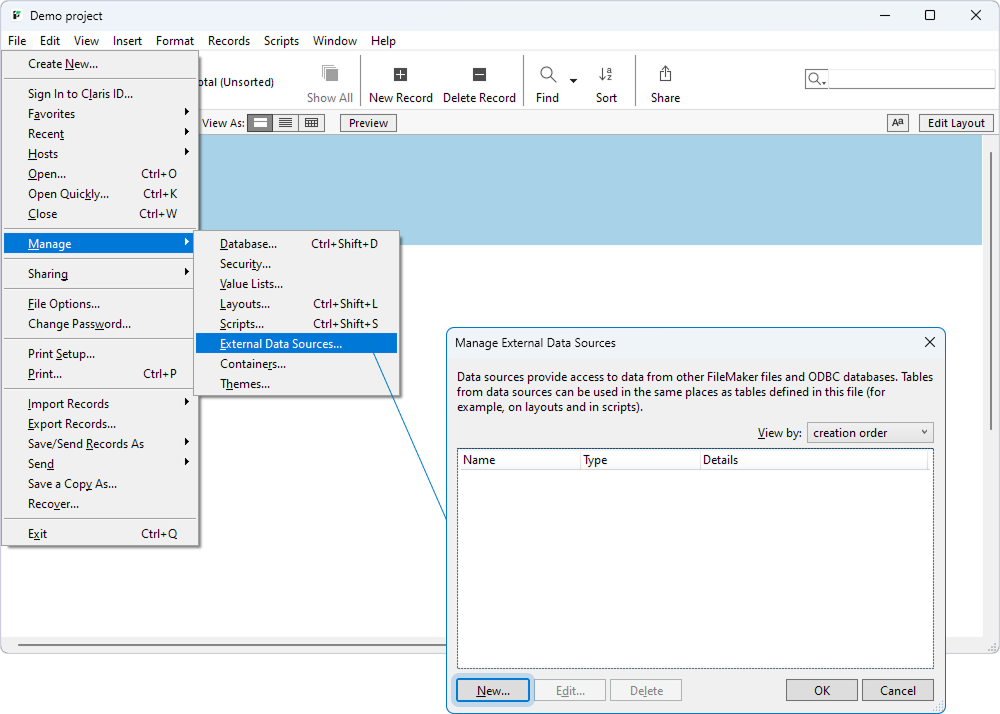
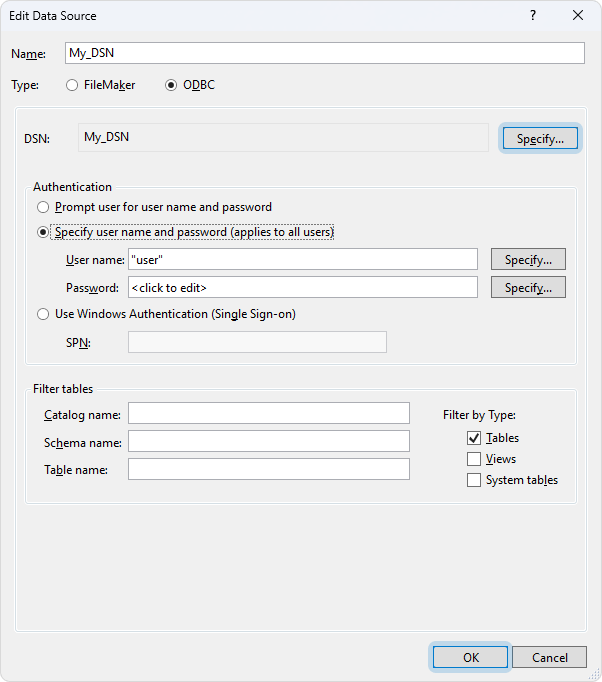
3. Specify the data source details:
- Name – Enter a custom name for the data source (up to 100 characters).
- Type – Select ODBC.
-
DSN – Select your DSN:
- Click Specify.
- Select your DSN, then click OK.
-
Authentication – Select the authentication method:
- Select Specify user name and password (applies to all users).
- In the User name and Password fields, enter your Salesforce credentials.
4. Click OK.
5. In the Manage External Data Sources dialog, click OK.
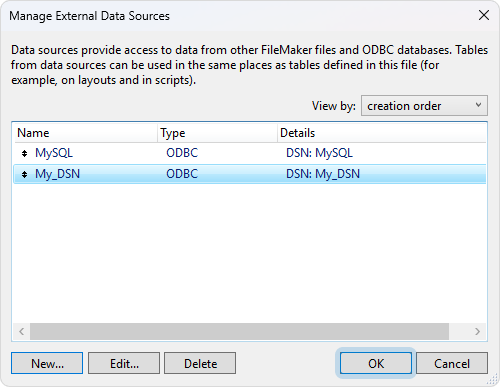
Salesforce is now available among external data sources in FileMaker Pro.
6. Select File > Manage > Database.
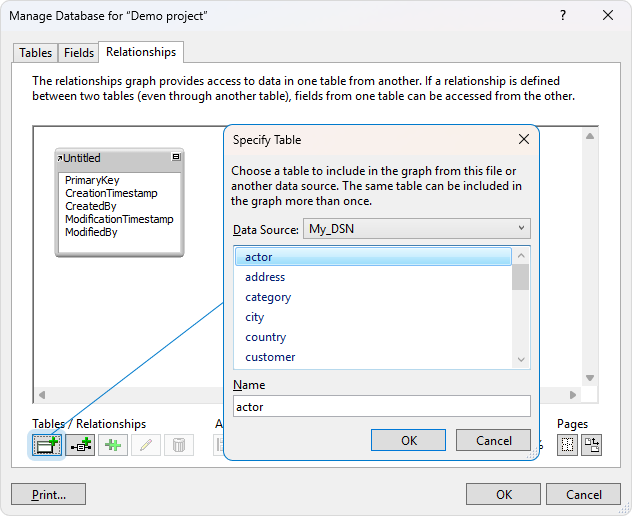
7. On the Relationships tab, click  Add a table under Tables/Relationships.
8. From the Data Source menu, select the data source that you created in the previous steps.
9. Select a table, then click OK.
The table appears in the relationships graph.
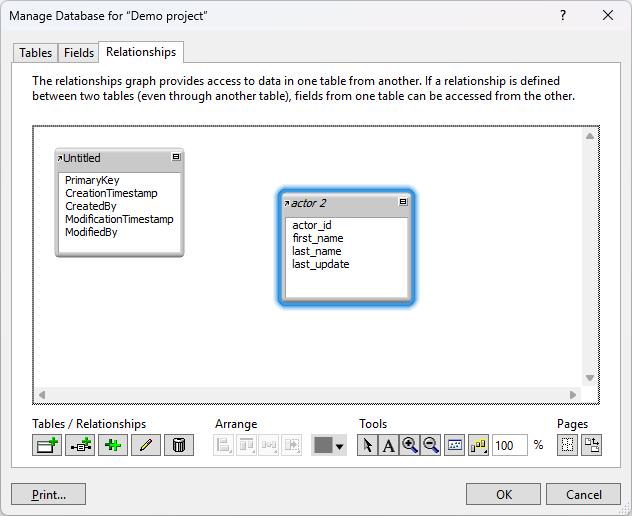
If you need to add more tables to the relationships graph, repeat steps 7 to 9.
You can work with Salesforce tables in the relationships graph and on layouts the same way as with other FileMaker tables.
Import Salesforce data as a static copy
Note
You need to have a configured Data Source Name (DSN). For instructions, see Configure a Windows DSN for Salesforce.
1. Choose whether you want to import data into a new database file or work with an existing file and follow the corresponding steps:
-
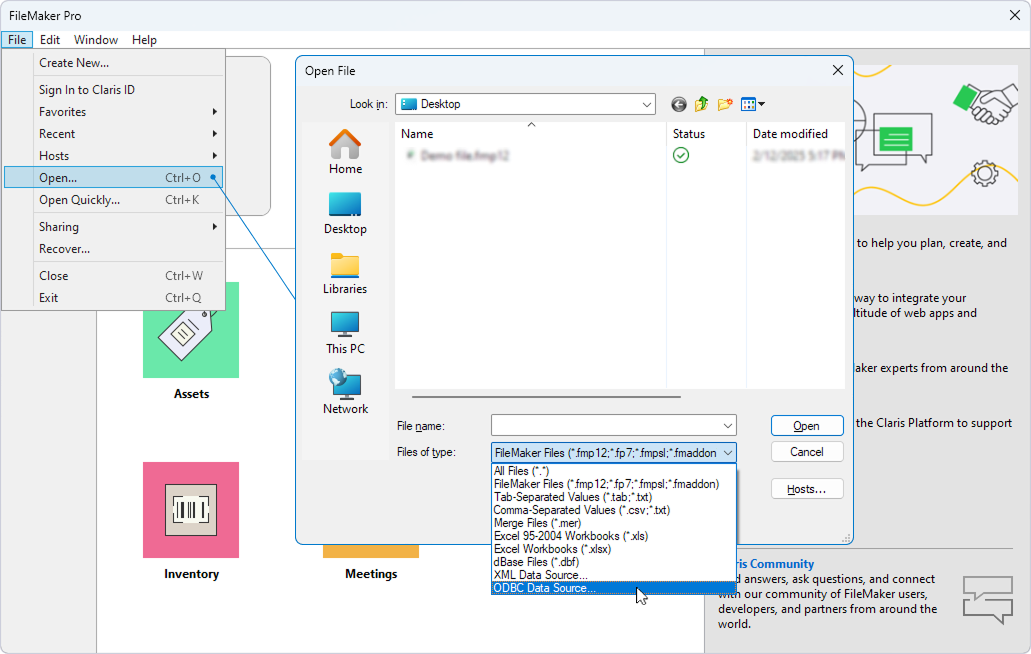
Create a new database file:
- Select File > Open.
- Under Files of type, select ODBC Data Source.
-
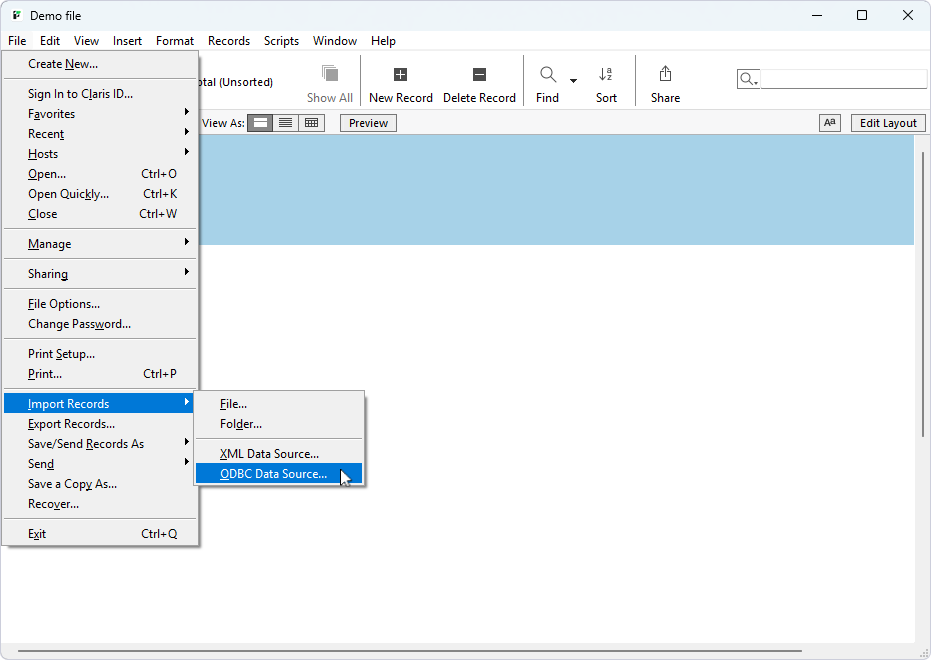
Open an existing database file:
- Select File > Open and double-click the needed file.
- Select File > Import Records > ODBC Data Source.
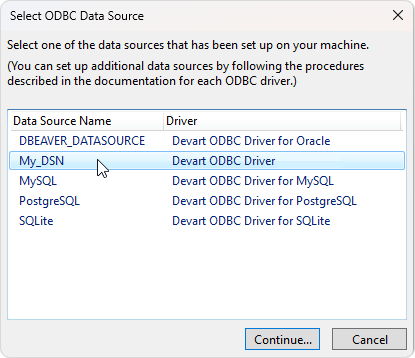
2. Select your DSN, then click Continue.
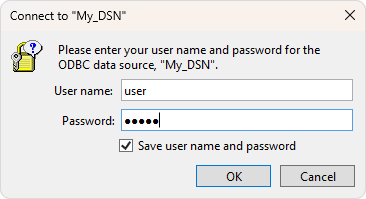
3. In the User name and Password fields, enter your Salesforce credentials, then click OK.
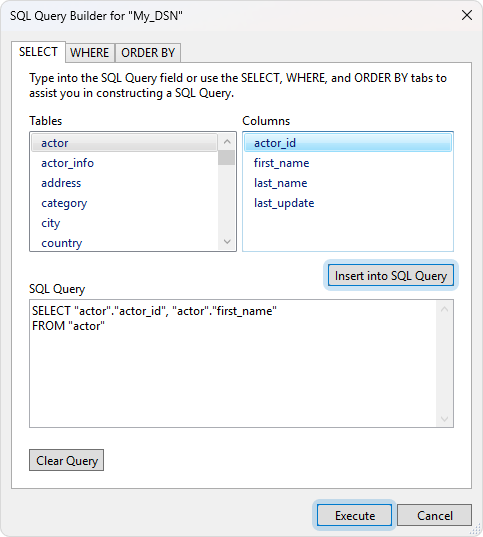
The SQL Query Builder dialog opens.
4. Construct your SQL query using the tabs:
-
SELECT:
- Under Tables, select the needed table.
- Under Columns, select the needed column.
- Click Insert into SQL Query.
-
WHERE (optional):
- Specify search criteria to reduce the number of imported records.
- Click Insert into SQL Query.
-
ORDER BY (optional):
- Select a column to sort the records by.
- Specify whether to sort them in ascending or descending order.
- Click Insert into SQL Query.
The resulting query appears in the SQL Query box.
5. Click Execute.
6. The workflow depends on whether you chose to create a new database file or work with an existing file:
-
A new database file:
- Name your file and save it to your computer.
- Click Convert.
-
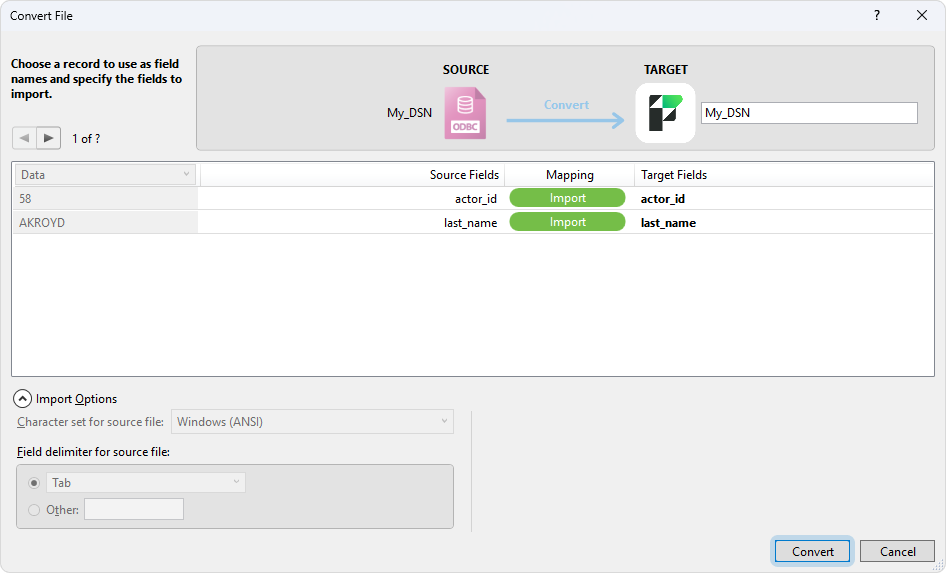
An existing database file:
- Specify how you want to import the data (add, update, or replace).
- Configure the mapping of Salesforce fields to the fields in your file.
- Click Import, then click OK.
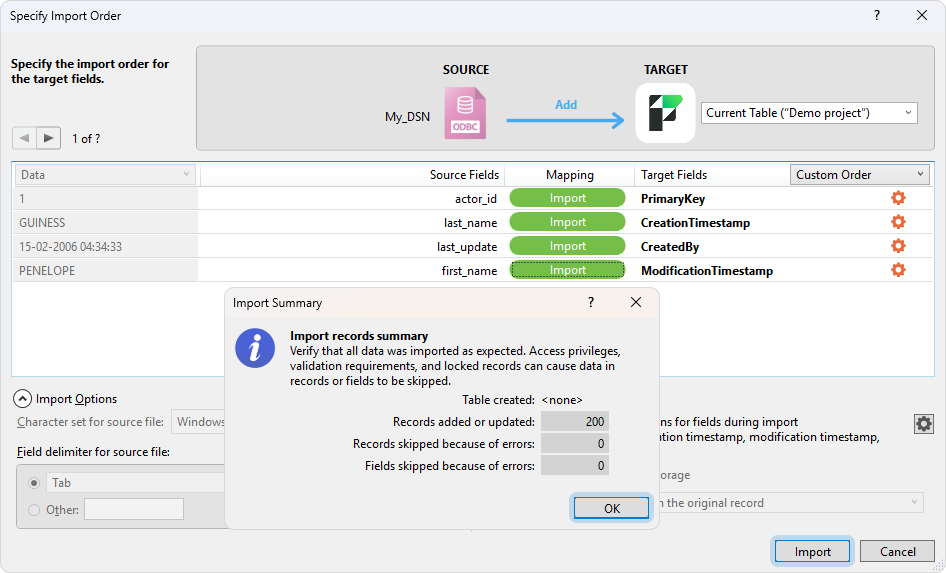
The imported records are added to the database file.