Connect DBeaver Community to Salesforce through ODBC
DBeaver Community and DBeaver Enterprise let you connect to Salesforce via ODBC, enabling SQL-based querying, reporting, and data management.
If you need basic ODBC connectivity to Salesforce and are comfortable with manual configuration using a generic ODBC connection, choose DBeaver Community—a free, open-source database management tool.
If you require a simplified connection setup with built-in ODBC support, enhanced security, and performance features, try DBeaver Enterprise. For more information on connecting to Salesforce data from DBeaver Enterprise, see Connect DBeaver Enterprise to Salesforce through ODBC.
Initial configuration
Note
If you’re using Community Edition 23.1 or earlier, skip steps 1 and 2—these versions use a built‑in legacy ODBC driver, so those steps aren’t required.
1. Download the jdbc-odbc-bridge-jre7.jar and x64/JdbcOdbc.dll files from GitHub.
2. Download and install the Microsoft Visual C++ 2010 Service Pack 1 Redistributable Package from the Microsoft website.
3. Configure an ODBC data source. For instructions, see Configure a Windows DSN for Salesforce.
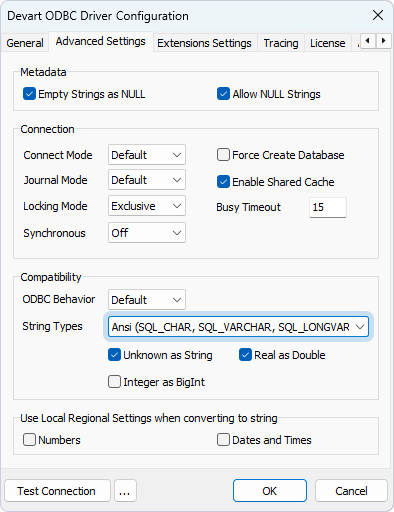
4. On the Advanced Settings tab of the DSN configuration window, select Ansi from the String Types.
This option is required for the proper display of the SQL_WVARCHAR data type in DBeaver. It also ensures that all string types will be returned as SQL_CHAR, SQL_VARCHAR, and SQL_LONGVARCHAR.
Connect to Salesforce
1. Open DBeaver Community.
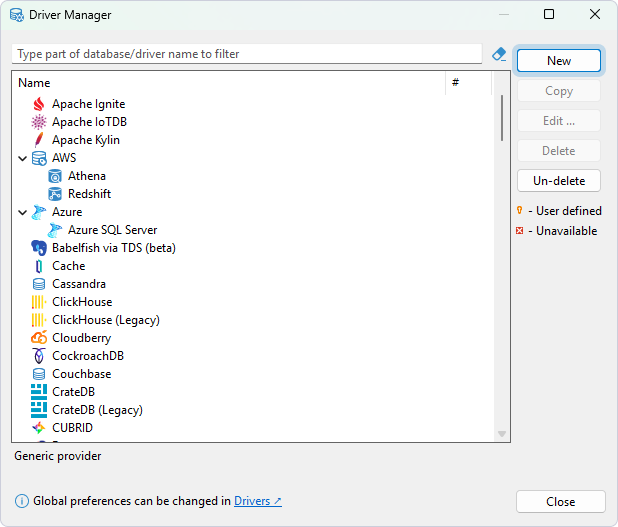
2. Select Database > Driver Manager, then click New.
3. Configure the following properties for a new driver:
- In the Driver Name field, enter
ODBC. - In the Class Name field, enter
sun.jdbc.odbc.JdbcOdbcDriver. - In the URL Template field, enter
jdbc:odbc:{database}.

4. On the Libraries tab, click Add File, select the JdbcOdbc.dll file, then click OK.
5. Click Add File, select the jdbc-odbc-bridge-jre7.jar file, then click OK.
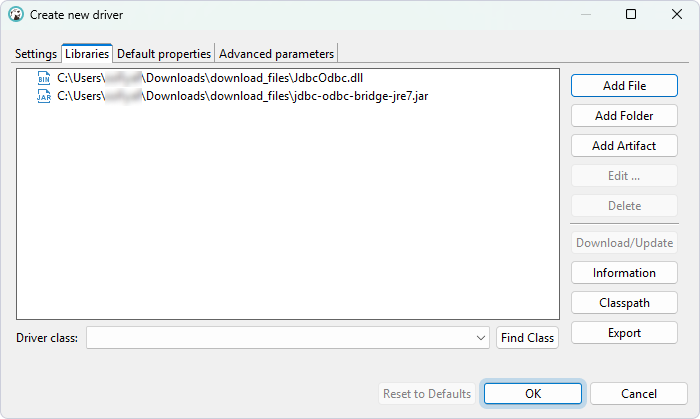
The ODBC driver appears on the list.
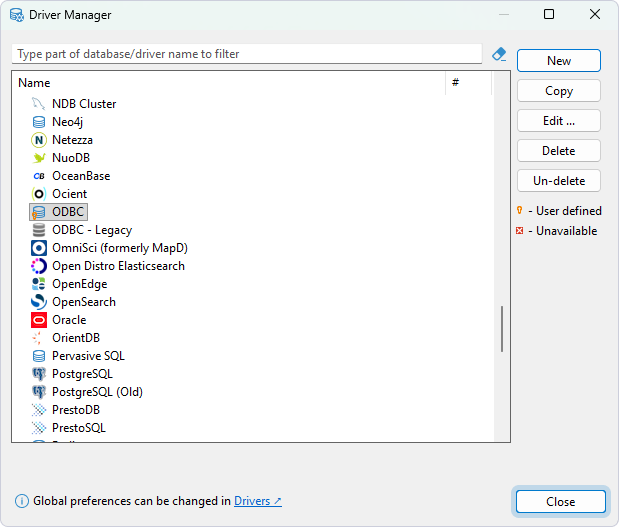
6. Click Close.
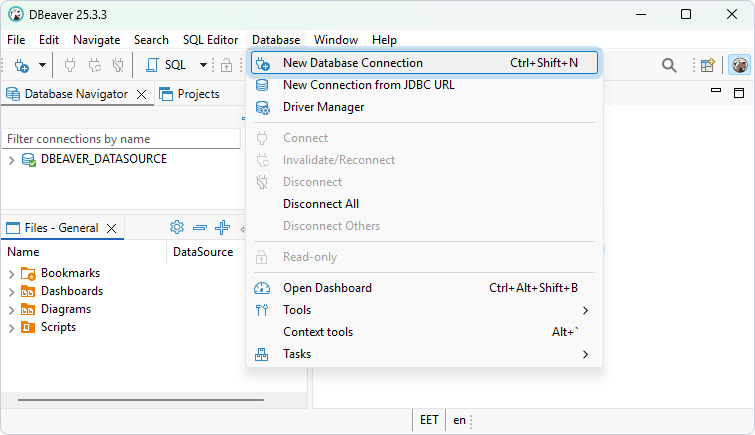
7. Select Database > New Database Connection.
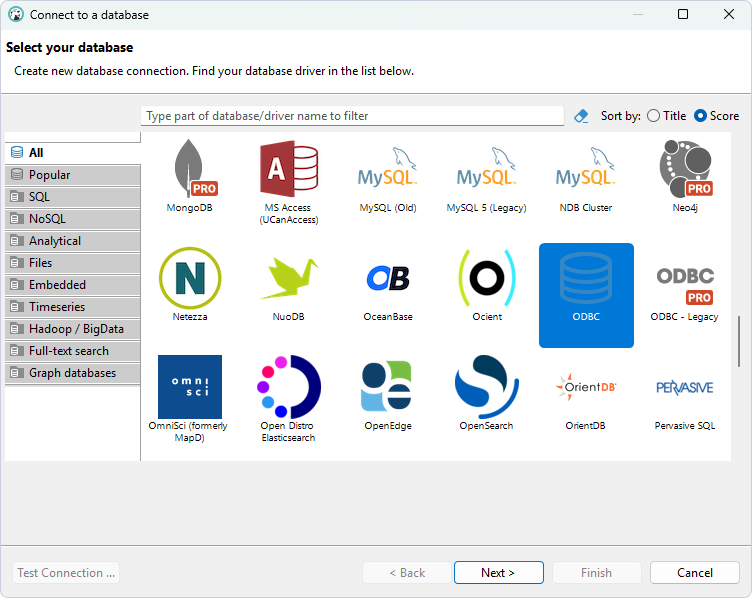
8. Select ODBC, then click Next.
9. In the Database/Schema field, enter your DSN.
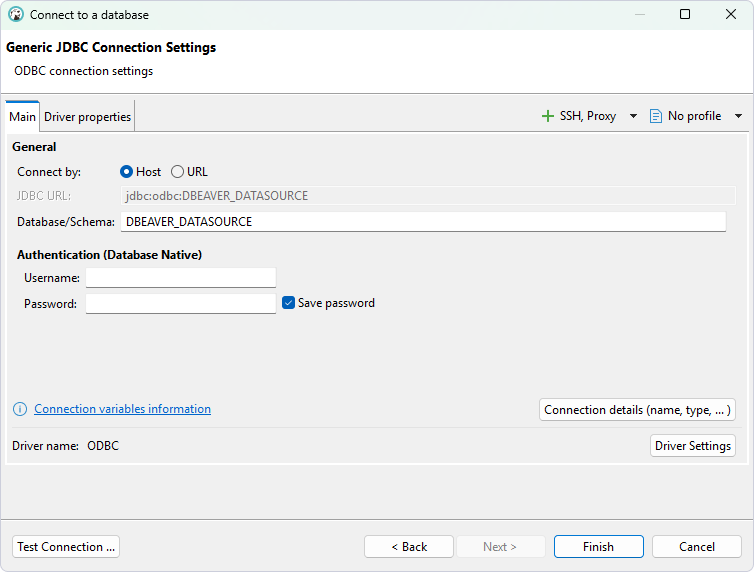
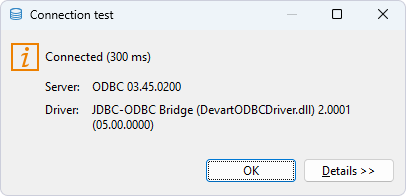
10. Optional: Click Test Connection to verify the connection settings.
11. Click Finish.
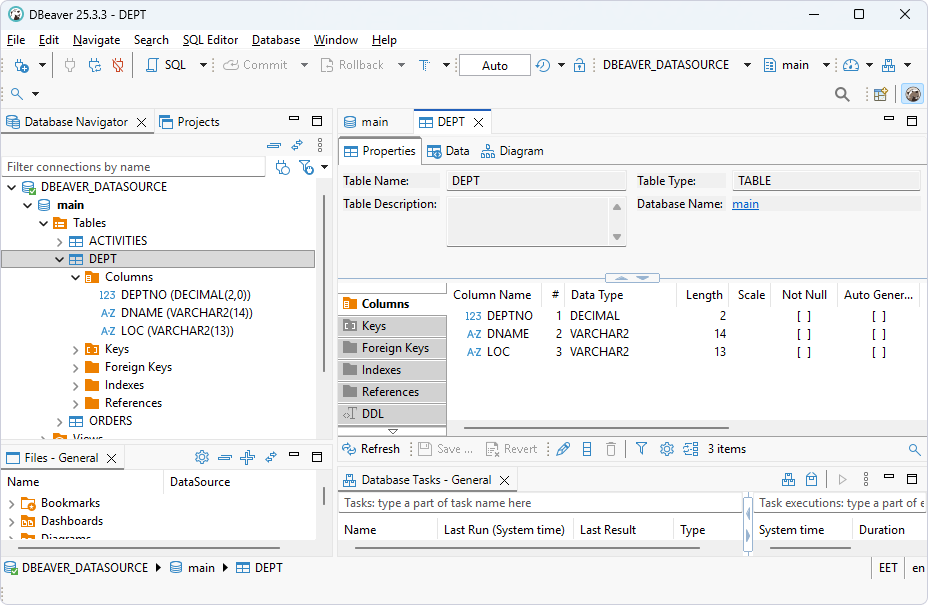
The database appears on the left pane.
12. To view the data stored in a table, expand the database structure and double-click the needed table.
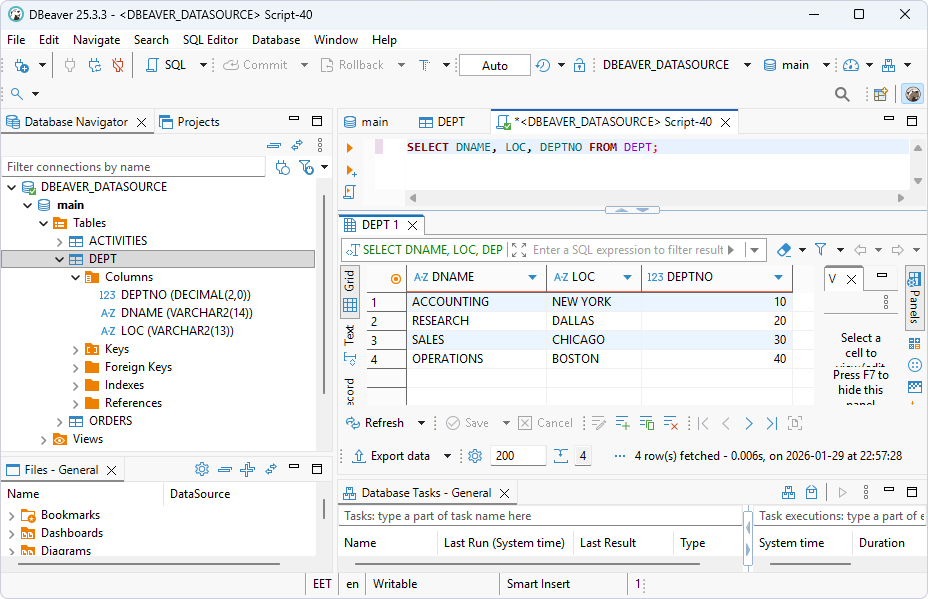
Query Salesforce data
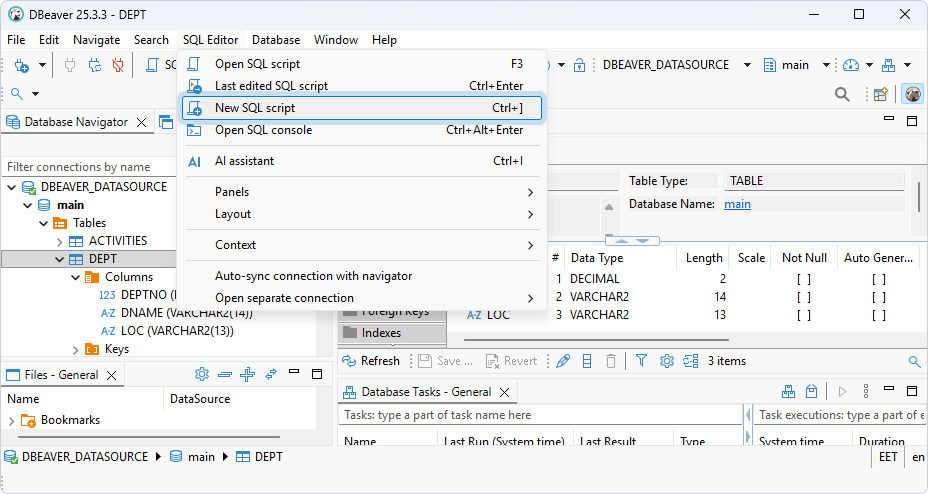
1. Select SQL Editor > New SQL script.
2. Enter your query.
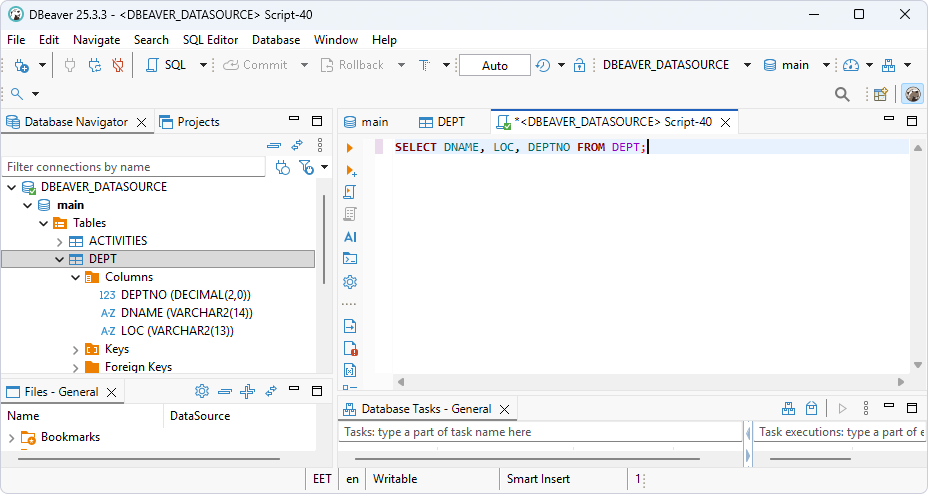
3. Select SQL Editor > Execute SQL query.
The query results are displayed in the main pane.