Install and activate the driver using Group Policy
This page explains how to install and activate the driver using Group Policy, a Microsoft Windows feature for automatically distributing programs to client computers or users.
The process involves configurations on both the server side, to prepare and deploy the driver, and the client side, to complete the installation and set up the driver for use.
Server-side configuration
Server-side configuration involves setting up the necessary resources for deploying the driver through Group Policy. This includes preparing installation files, creating a Group Policy Object (GPO), and configuring deployment settings to ensure proper distribution across client computers.
Step 1: Prepare the installation files
1. Create a shared network folder on the publishing server.
2. Set sharing permissions to allow domain users read access to the folder.
3. Add the ODBC Driver for Salesforce MSI file to the shared folder.
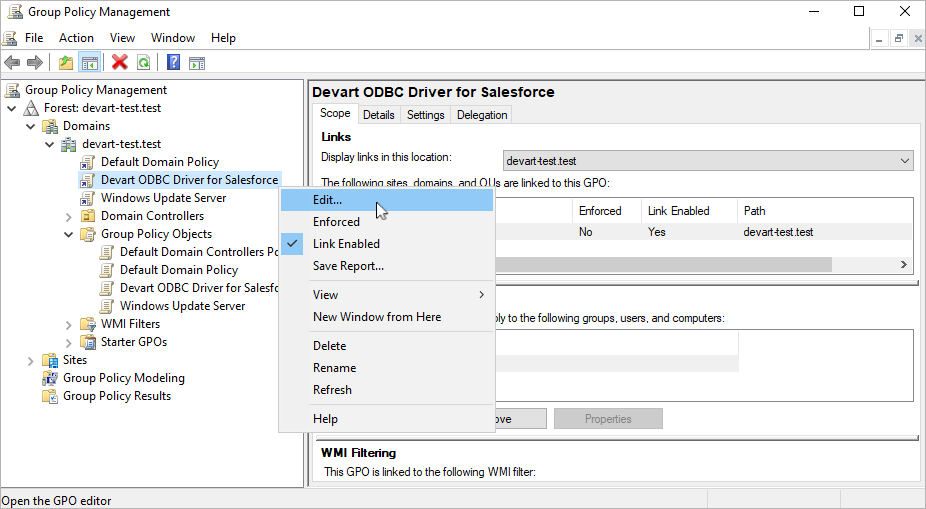
Step 2: Create and configure a Group Policy Object (GPO)
1. Launch the Group Policy Management Console (GPMC).
2. Navigate to your domain node, right-click it, then select Create a GPO in this domain, and Link it here.
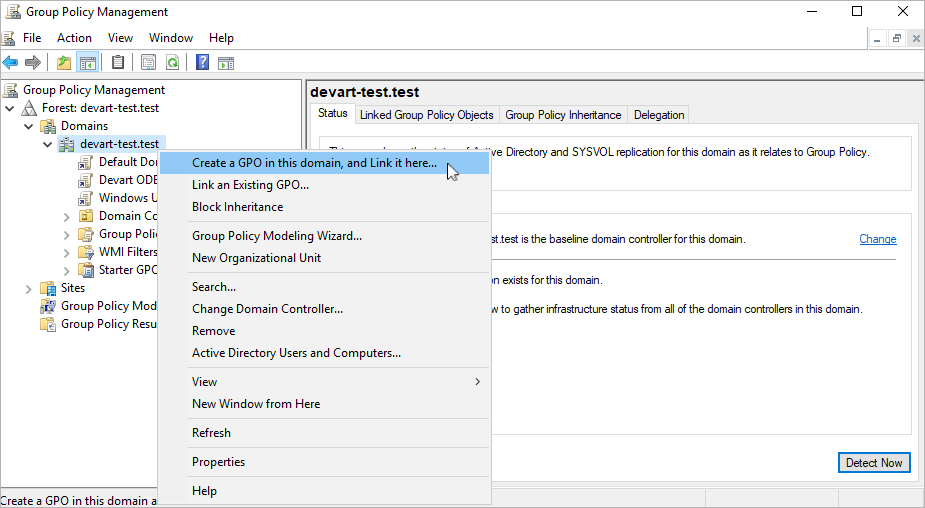
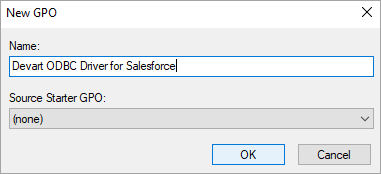
3. In the New GPO dialog, enter a name for the new object, then click OK.
A new GPO will appear within the Group Policy Management container.
Note
It’s recommended to create a separate GPO for each ODBC Driver MSI package to simplify future updates and management.
4. Right-click the new GPO, then select Edit.
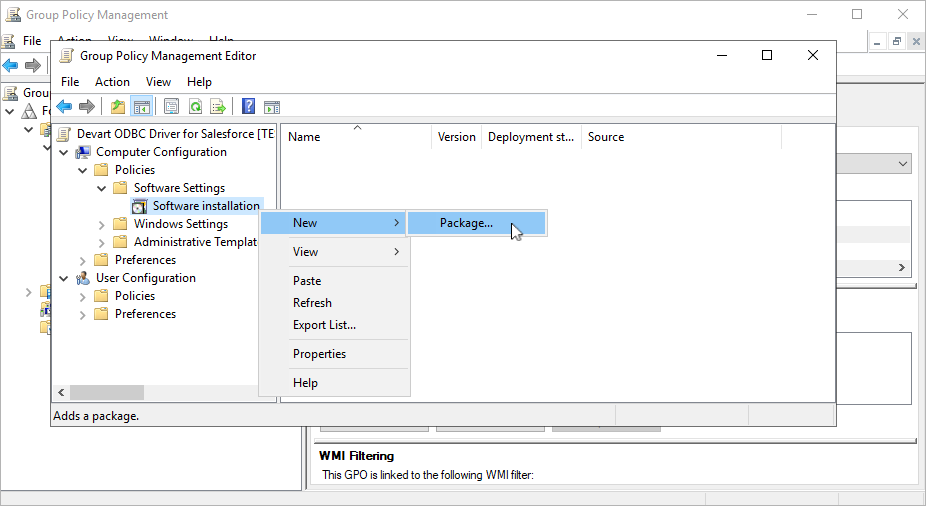
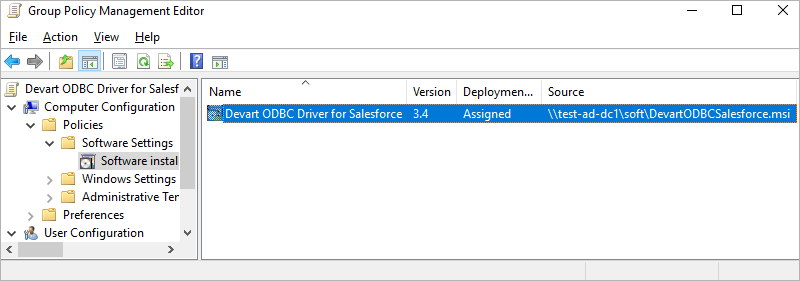
5. In the Group Policy Management Editor, select Computer Configuration > Policies > Software Settings > Software installation.
The current deployment package is displayed in the right pane.
6. Right-click Software installation, then select New > Package.
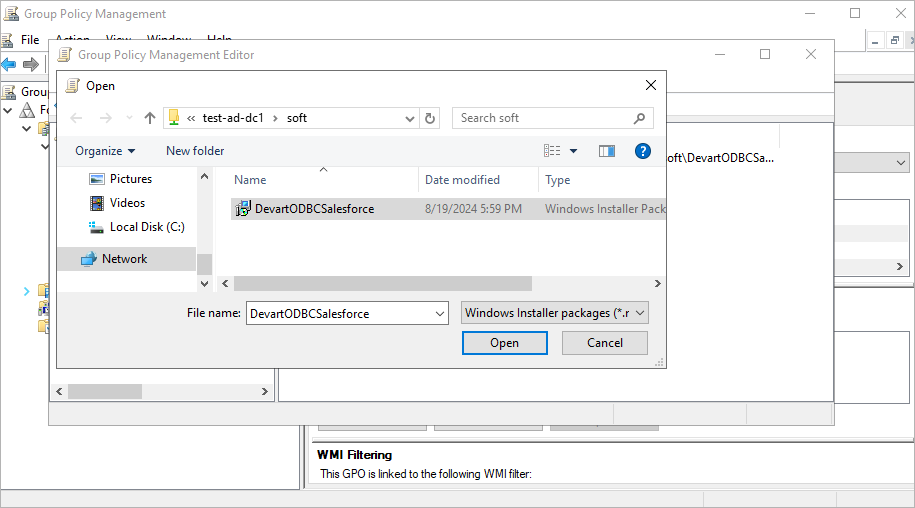
7. In the dialog that opens, navigate to the MSI installation file you want to deploy, then click Open.
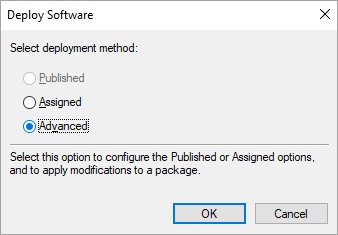
8. In the Deploy Software dialog, select Advanced to specify the software deployment method.
This option enables you to customize the installation, such as applying an MST file during the process.
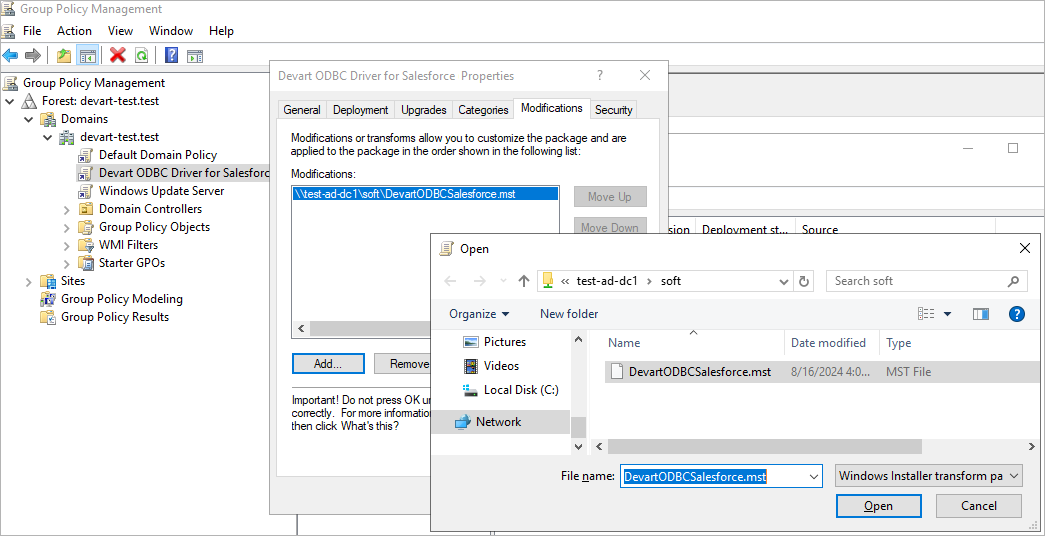
9. In the Devart ODBC Driver for Salesforce Properties dialog, select the Modifications tab, then click Add.
10. Browse to the MST file, select it, then click Open.
The Group Policy Management Editor window appears.
Client-side configuration
1. To complete the installation, log on as a domain user and restart the computer.
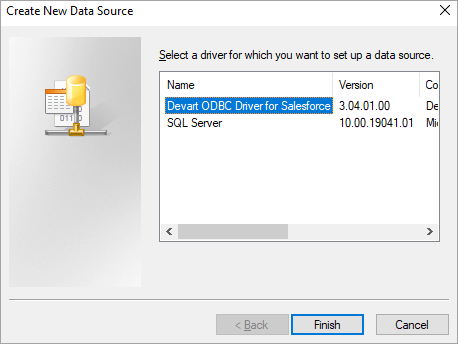
2. Open the ODBC Data Source Administrator on the computer and create a new data source.
Tip
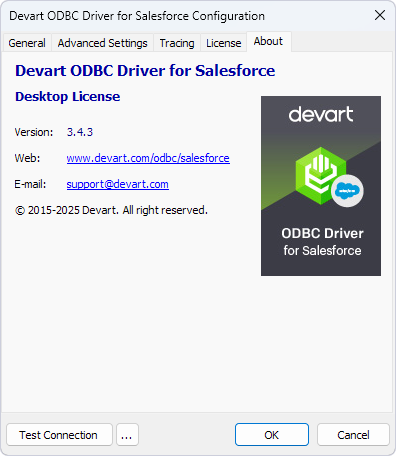
All information about the deployed driver is available on the About tab.
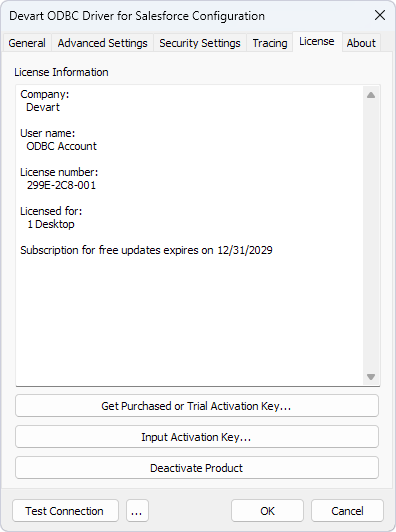
You can view the license details on the License tab.