Creating Projects
This topic explains how to create, save, open database projects, and import database objects into them.
Creating a Project
To create a project:
-
In the File menu, point to New, and then click Project, or press CTRL+SHIFT+N. In the New Project dialog box, click the Devart Database Projects node, select Oracle, and then click Oracle Project Wizard in the templates box.
Note
Actual document look may slightly vary from the above image, depending on the product you use.
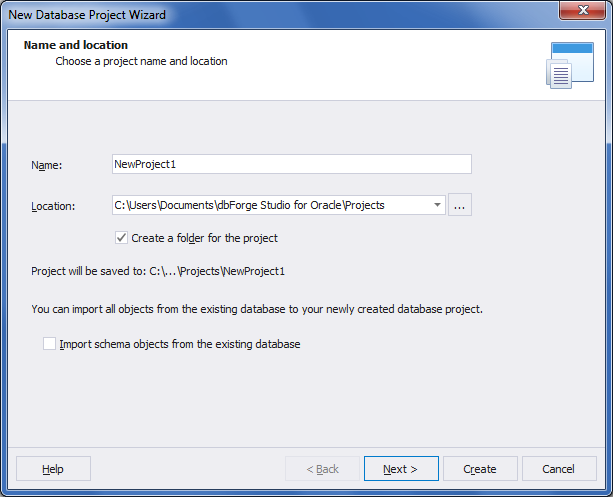
- Enter a name and a location of the project and solution. Optionally clear Create a folder for the solution to store the solution in the chosen path without creating a folder for a solution and click OK.
-
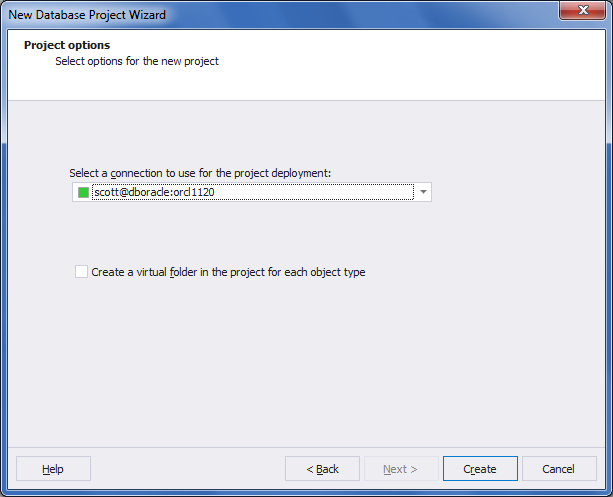
You can also select a connection to use for the project deployment. (By default, the current connection is selected).
- Click the Create button to close the wizard and see the created project in the Solution Explorer window. To save the project, click the Save button on the toolbar.
Creating an Empty Project
- On the File menu, select New, click Project,
- In the New Project dialog box, navigate to the Devart Database Projects node and select Oracle.
- Click Oracle Project in the templates box and then click OK.
To add a new dbForge Fusion for Oracle project to an existing solution, right-click the solution node, select Add, and then click New Project from the shortcut menu. Select Oracle Project and then click OK.
Importing Database Objects into Project
To import database objects into a project:
-
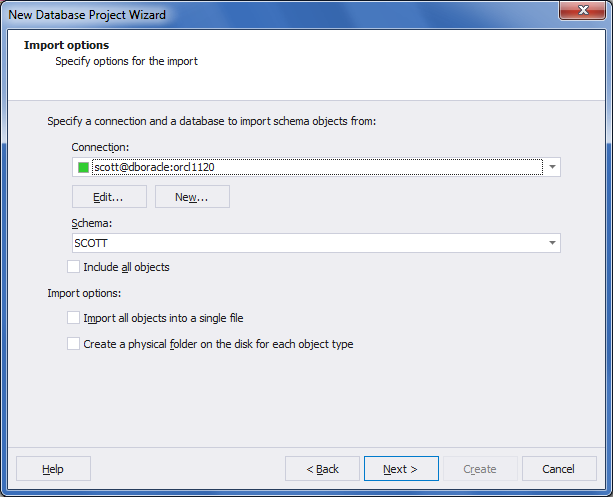
Select the Import schema objects from the existing database check box in the wizard and click Next to specify a connection and a database where the imported database objects are located.
-
If you clear Include all objects, you can select only required database objects from the list of database objects on the next wizard’s page.

-
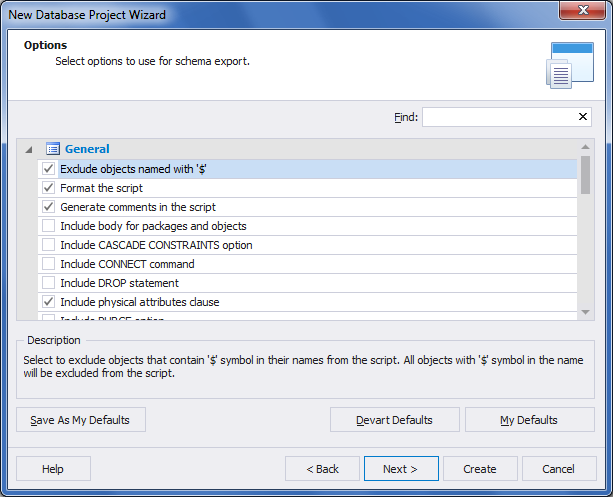
(optional) You may specify detailed options for schema export on the next page of the wizard.
-
You can also select a connection to use for the project deployment. (By default, the current connection is selected).
-
Click the Create button to close the wizard and see the created project with imported objects in the Solution Explorer window. To save the project, click the Save button on the toolbar.
Saving a Database Project
To save the project, activate the Solution Explorer, and then click Save on the Standard toolbar.
Opening a Database Project
To open existing project, on the File menu, click Open, and then click Project/Solution.
Note
When creating new project from existing database, object DDL is formatted according to formatting options.