Wizard-aided installation
This topic describes how to install dbForge Event Profiler for SQL Server on Windows with the help of the installation wizard.
Note
Event Profiler can also be installed from the command line.
Download the installation file
Most dbForge tools for SQL Server are available as part of a bundle. You can select which individual products to install when you run the installer.
To download the installation file, go to the Devart website.
Install Event Profiler using the installation wizard
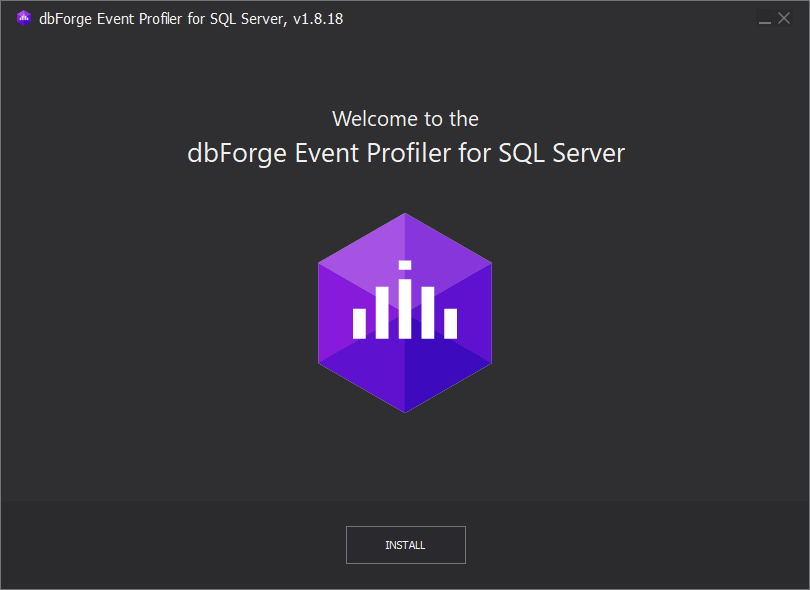
1. Once you open the installer, you will see the Start Page of the wizard. Click Install to proceed.
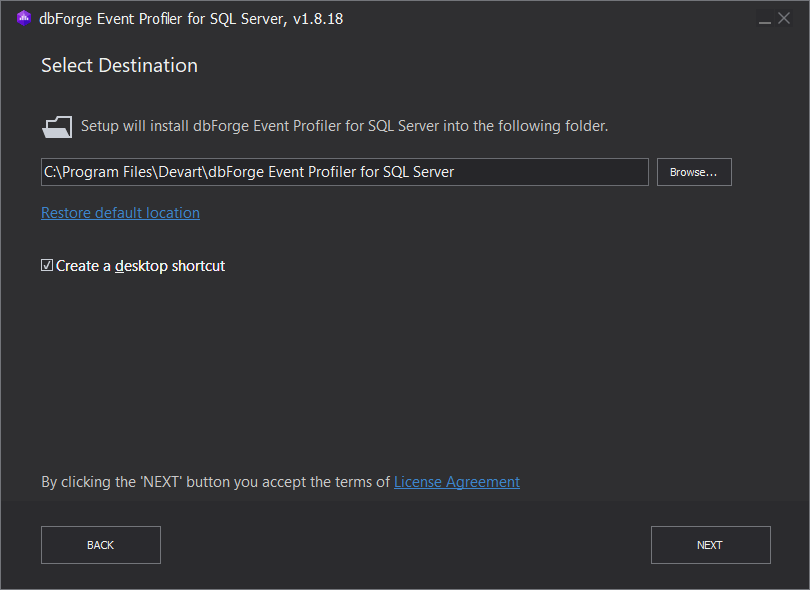
2. Choose the directory where dbForge Event Profiler will be installed. Then, click Next.
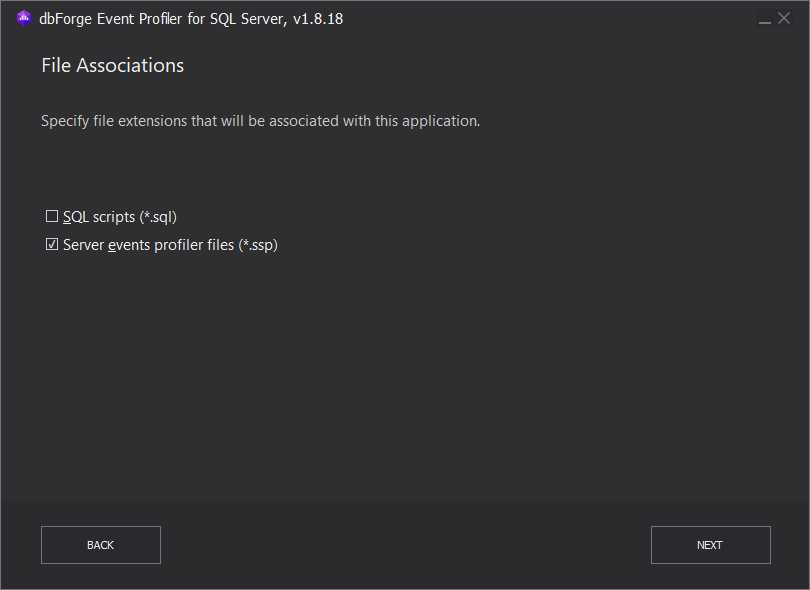
3. Specify the required file types and click Next.
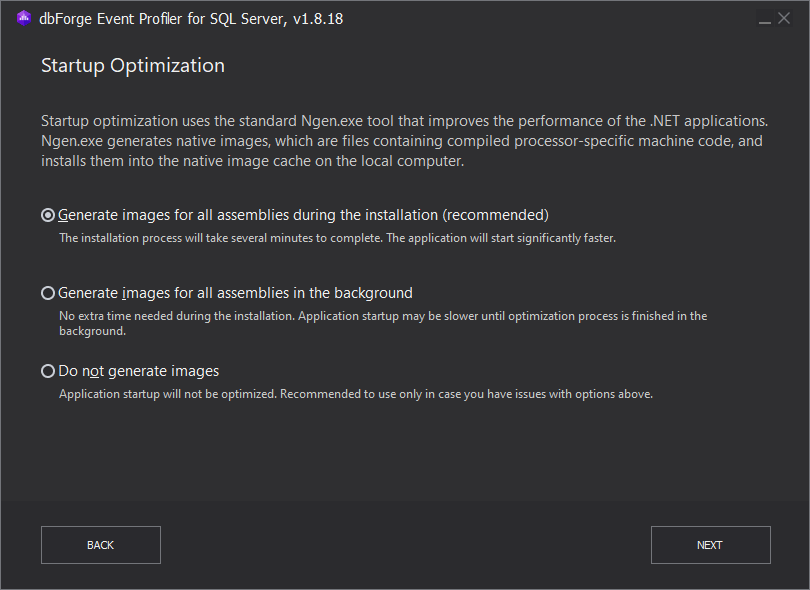
4. Now, you will see three startup optimization options. Read the brief descriptions that are available in the installer and choose the option that is the most appropriate in your particular case. Click Next, once done.
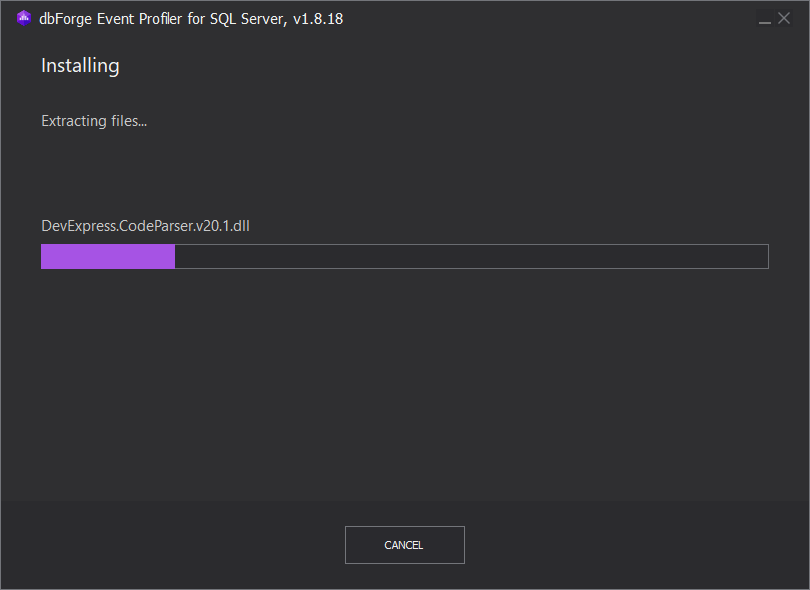
5. Finally, the installation process begins. The wizard will extract the files and perform the application startup optimization. Allow it a couple of minutes to finish.
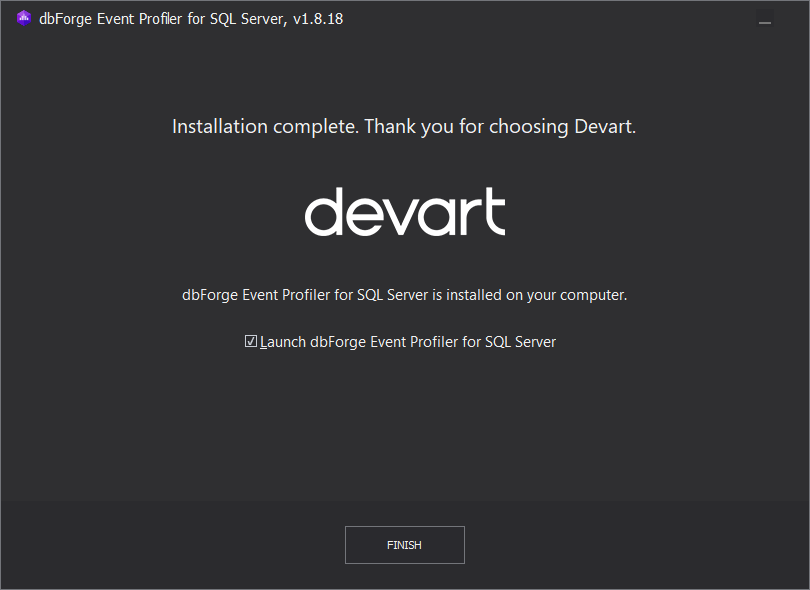
6. You will be notified about the completion of the installation. To launch Event Profiler right away, select the corresponding checkbox. Then, click Finish to close the wizard.
When Event Profiler is installed on your computer, it includes executables, associated libraries, and configuration files necessary to provide its functionality.
By default, it is installed in the C:\Program Files\Devart\dbForge Event Profiler directory on your Windows system. However, during the installation process, you have the option to change the destination directory by selecting a different folder where you want to install the application.
Note
If you got Event Profiler as a part of dbForge SQL Tools for SQL Server, it will be located in the C:\Program Files\Devart\dbForge SQL Tools directory.
Install Event Profiler using Chocolatey
You can download and install dbForge Event Profiler using Chocolatey, which is a package manager for Windows. Before you start, ensure you have Chocolatey installed on your machine. If not, you can download it from the official website.
Once you have Chocolatey installed, you can follow these steps to install dbForge Event Profiler:
1. Open PowerShell as Administrator. For this, right-click the Windows PowerShell app, and select Run as administrator.
2. Ensure that the Get-ExecutionPolicy is not restricted. For this, run
Get-ExecutionPolicy
If it returns Restricted, then run
Set-ExecutionPolicy AllSigned
or
Set-ExecutionPolicy Bypass -Scope Process
This will allow PowerShell to run scripts for the current session.
3. Initiate the installation of dbForge Event Profiler. For this, enter the following command in the PowerShell window and press Enter:
choco install dbforge-sql-ep
Note
dbForge Event Profiler for SQL Server can be also downloaded and installed as part of the dbForge SQL Tools bundle, which includes 15 tools that extend Microsoft SSMS with multiple essential features. To download and install dbForge SQL Tools, run
choco install dbforge-sql-tools
4. Agree to run the script by pressing Y or A.
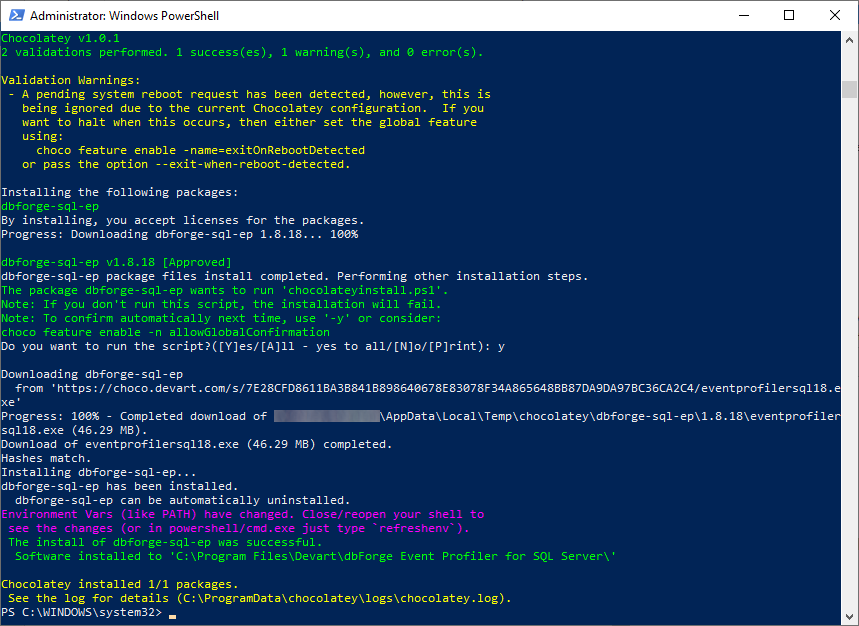
5. Wait for installation to complete. Chocolatey will download the dbForge Event Profiler for SQL Server package and install it on your computer.
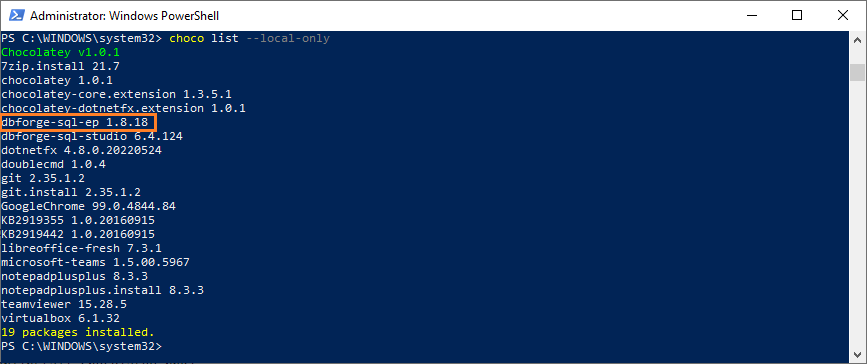
6. Confirm the installation. Once the installation is complete, you can confirm it by running:
choco list --local-only
This command will list all the packages installed on your computer through Chocolatey. If the installation was successful, you should see dbforge-sql-ep or dbforge-sql-tools in this list, depending which product you chose to install.
Using Chocolatey, you can download and install all dbForge SQL Tools at once. For more information, refer to How to Install 15 dbForge SQL Tools in 15 Minutes Using Chocolatey.