This section explains how to create a model using the Model-First approach.
To create a model using the Model-First approach, perform the following sequence of actions:
| 1. | In the Solution Explorer window, right-click the name of your project. |
| 2. | From the shortcut menu, select the Add command and select the New Item option. |
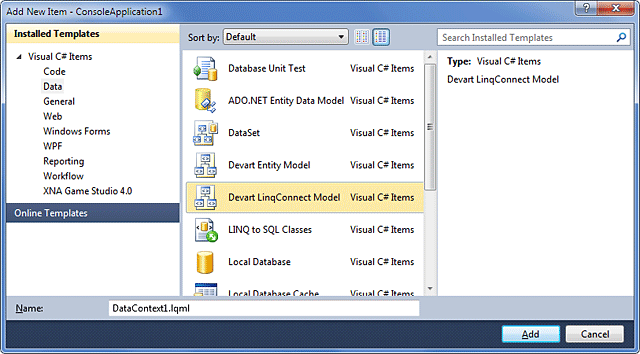
| 3. | In the Installed Templates column of the Add New Item window, select Data. |
| 4. | In the central column of the Add New Item window, select Devart LinqConnect Model. |
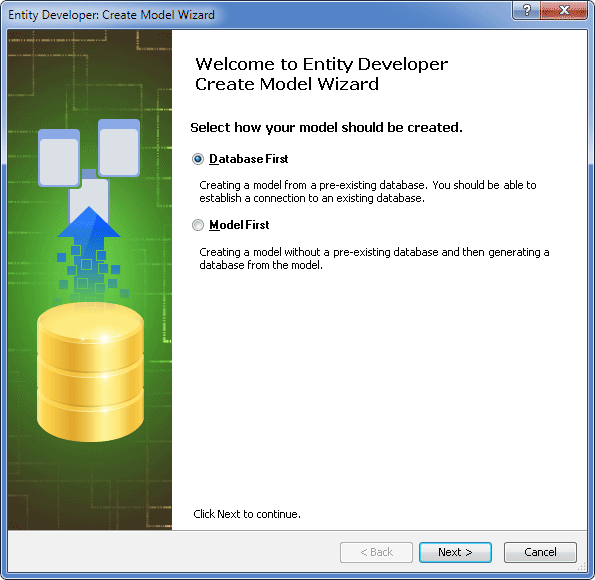
| 6. | On the Create Model Wizard welcome page, select Model First and click Next. |
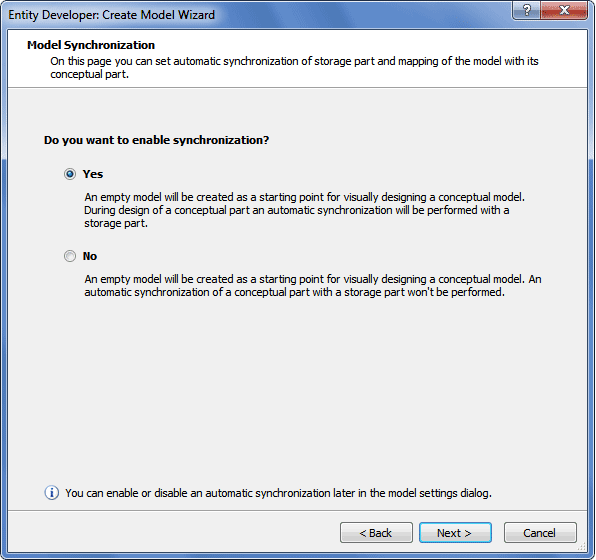
| 7. | On the Model Synchronization page, select Yes and click Next. |
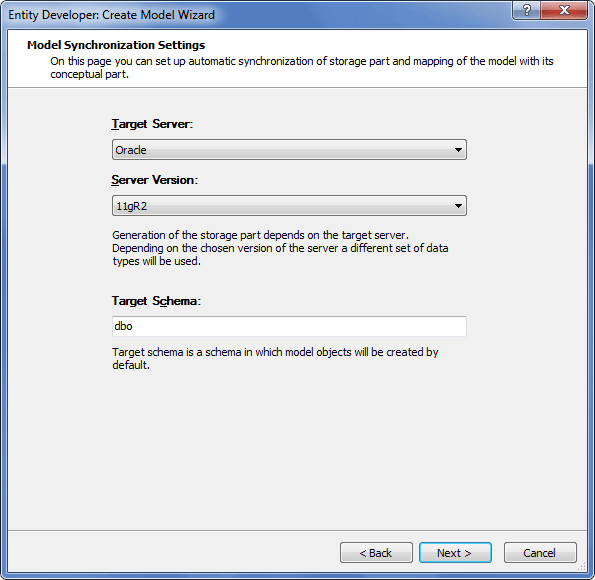
| 8. | On the Model Synchronization Settings page, specify the appropriate settings for model synchronization and click Next. |
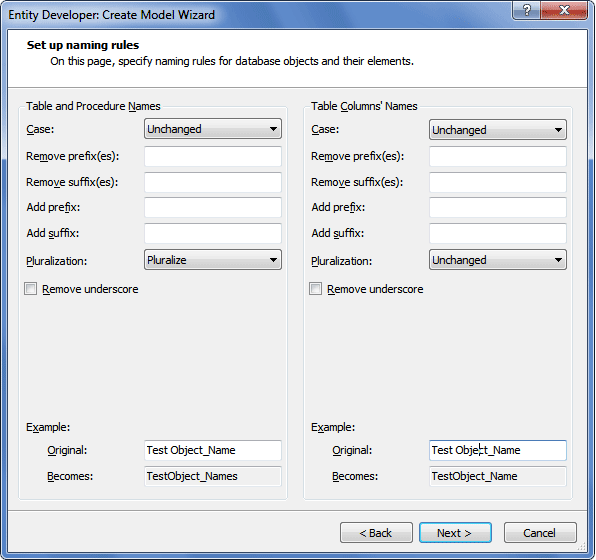
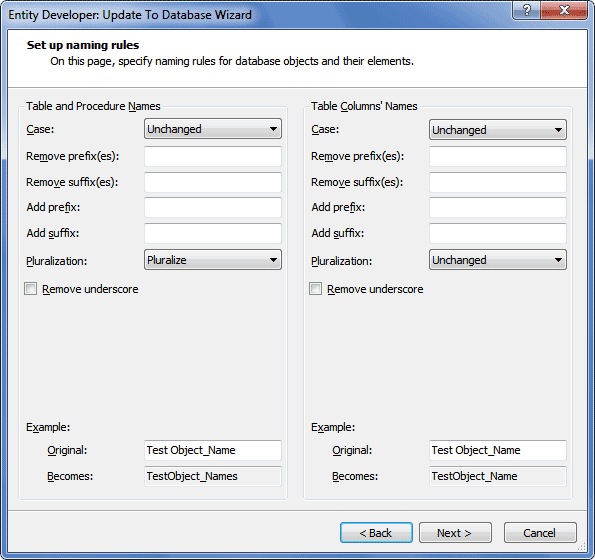
| 9. | On the Set up naming rules page, specify the appropriate naming rules (if required) and click Next. |
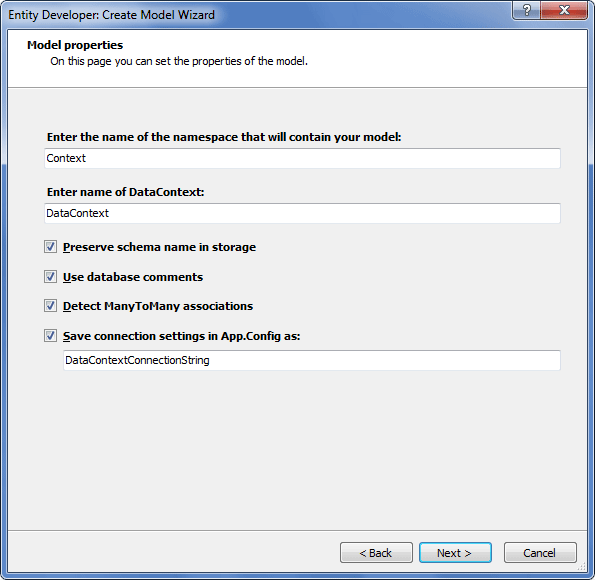
| 10. | On the Model properties page, leave the settings set to default and click Next. |
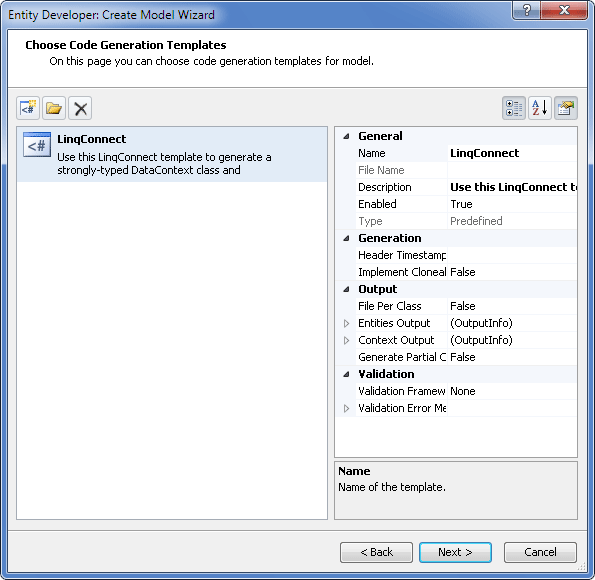
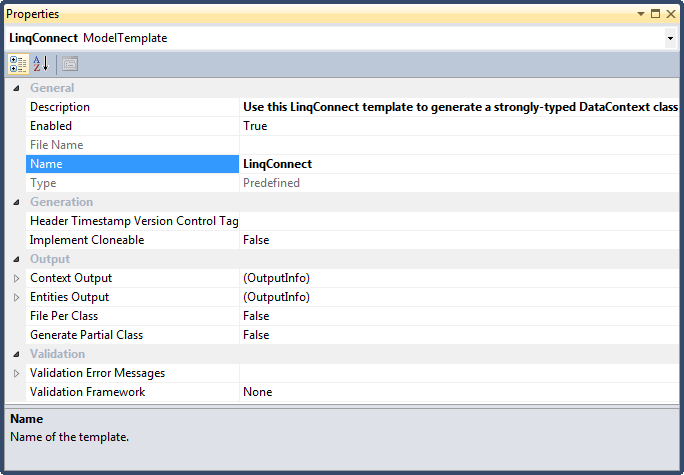
| 11. | The Choose Code Generation page allows you to select code generation templates you want to add to the new model. By default this page contains the most frequently used template; the properties area of this page allows you to configure the properties of the selected template. Three buttons at the top of this page allow you to add more templates from gallery, add existing templates from disk and remove templates from the list. |
| 12. | Click the Add template button. |
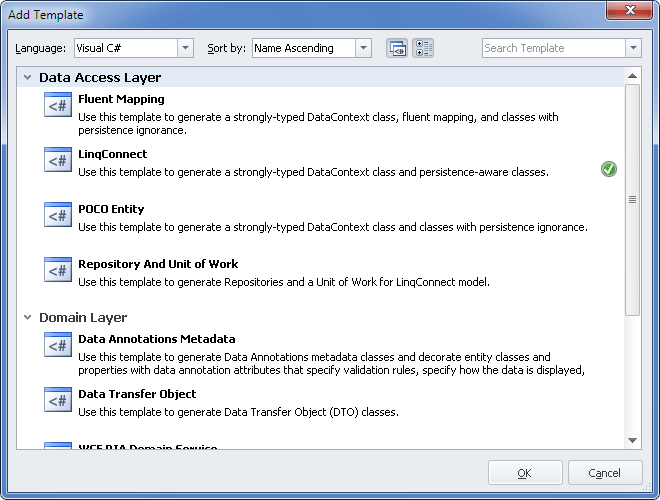
| 13. | The Add Template dialog box lists all predefined and shared templates. Choose the required one and click OK. The selected template will be added to the list on the Choose Code Generation page together with all related templates (without which the template would work incorrectly). |
| 14. | After all the required templates are added to the list on the Choose Code Generation page of the wizard, click Next. |
| 15. | On the final window of the wizard click Finish. |
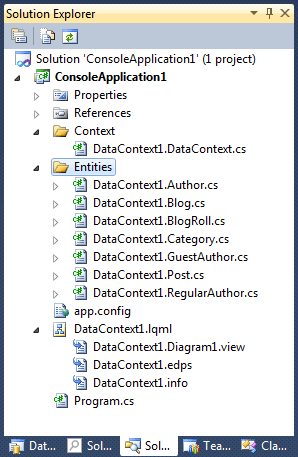
The model is successfully created.
Creating a Class
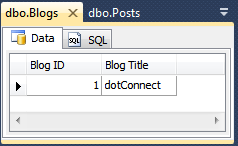
This procedure explains how to create a class. For the purpose of this example, we shall create the Blog class.
| 1. | In the active diagram area press INSERT. |
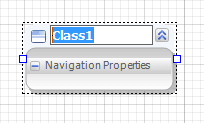
| 2. | Enter Blog in the class name field and press ENTER. |
| 3. | Right-click the created class and select New Property from the Add submenu of the shortcut menu. |
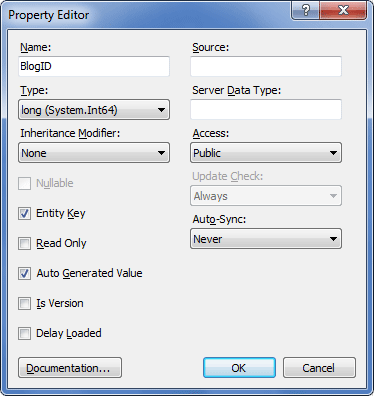
| 4. | In the Name field of the Property Editor dialog box, enter the name of the property (BlogID). |
| 5. | From the Type drop-down list, select long (System.Int64). |
| 6. | Ensure that the Entity Key check box is selected. |
| 7. | Select the Auto Generated Value check box. This step must be performed for all other entity keys in the model. |
| 9. | To create the second property (BlogTitle), right-click the created class and select New Property from the Add submenu of the shortcut menu. |
| 10. | In the Name box of the Property Editor dialog box, enter the name of the property (BlogTitle). |
| 11. | From the Type drop-down list, select string (System.String). |
| 12. | Leave other settings as they are and click OK. |
All other classes in the model are created similarly. For more information on how to create classes, see Classes.
Creating an Association
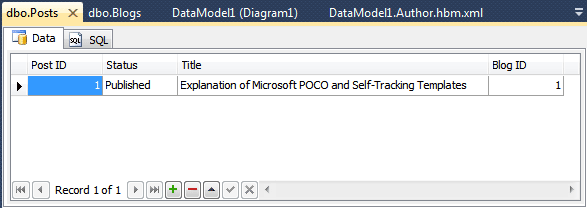
This procedure describes how to create an association. For the purpose of this procedure, we suppose that at least the Blog and Post classes have been created. The association that is created in this procedure is of the One-to-Many type.
To create an association, perform the following sequence of actions:
| 1. | On the model diagram, right-click the Blog class and, from the Add submenu of the shortcut menu, select New Association. |
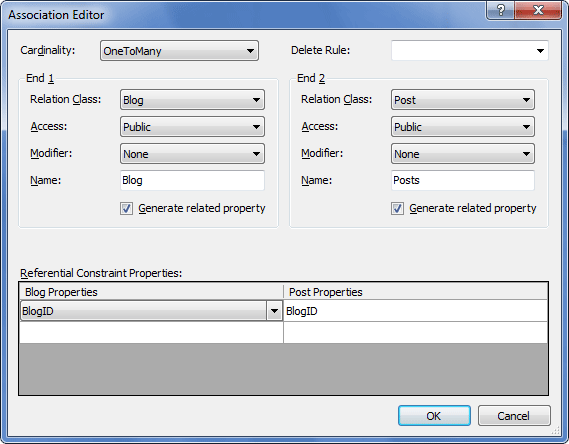
| 2. | From the Cardinality drop-down list select OneToMany. |
| 3. | From the Relation Class drop-down list in the End 1 area select Blog and leave other settings set to their default values. |
| 4. | From the Relation Class drop-down list in the End 2 area select Post and leave other settings set to their default values. |
| 5. | (Recommended) Ensure that the Delete Rule drop-down list is empty. |
For information on how create other types of associations, see Associations.
Creating an Inheritance
This procedure describes how to create an inheritance. For the purpose of this procedure we suppose that the Author and RegularAuthor classes have already been created. The inheritance that is created in this procedure is of the Table-per-Hierarchy type.
To create an inheritance, perform the following sequence of actions:
| 1. | On the model diagram, select the Author class and the RegularAuthor class while holding the CTRL button, right-click one of the selected classes and from the Add submenu of the shortcut menu, select New Inheritance. |
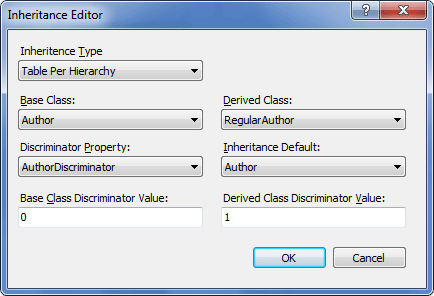
| 2. | From the Inheritance Type drop-down list, select Table Per Hierarchy. |
| 3. | From the Base Class drop-down list, select Author. |
| 4. | From the Derived Class drop-down list, select RegularAuthor. |
| 5. | From the Discriminator Property drop-down list, select AuthorDiscriminator. |
| 6. | From the Inheritance Default drop-down list, select Author. |
| 7. | Set the Base Class Discriminator Value equal to 0. |
| 8. | Set the Derived Class Discriminator Value equal to 1. |
This ends the procedure of inheritance creation.
For the purpose of this example, we create one more TPH inheritance with the Author base class and the GuestAuthor derived class. All settings in the Inheritance Editor are similar, with the exception that we set the Derived Class Discriminator Value equal to 2.
For more information on how to create inheritances of other types, see Inheritances.
Summary Description of the Model
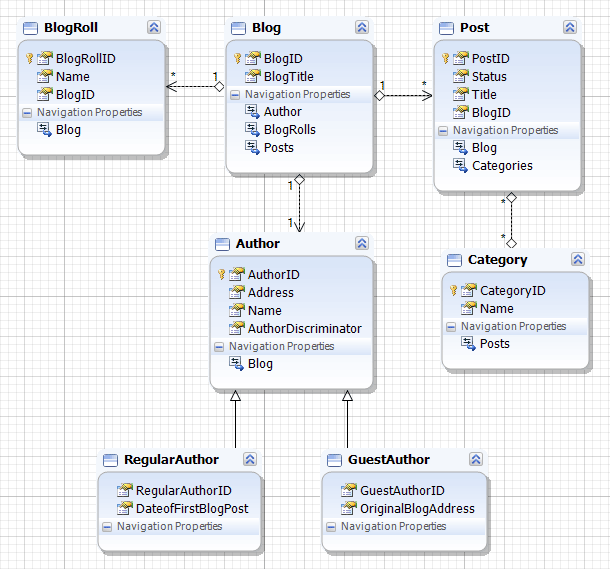
The resulting model should contain the following items:
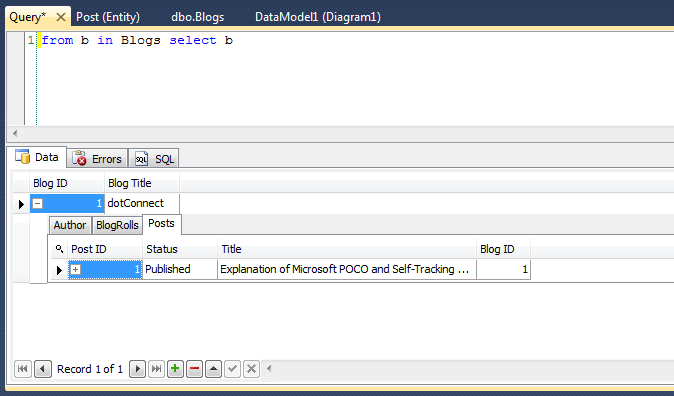
| o | Blog - Post, Blog - BlogRoll (one-to-many); |
| o | Blog - Author (one-to-one); |
| o | Category - Post (many-to-many). |
Below is the example of the resulting model:
|
 Creating a Model Using Model-First Approach