Generating Database Document
This topic describes how to configure and generate the database documentation file.
To generate a database document:
1. Open the Database Documenter project by using one of the following ways:
- On the toolbar, select New documentation.
- On the Start Page, select New documentation.
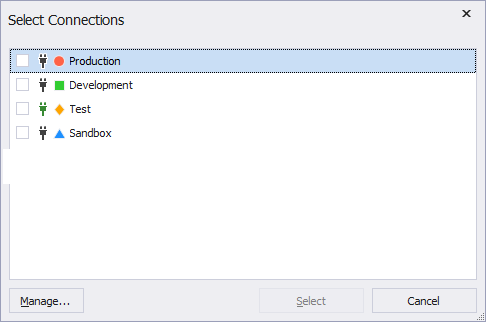
2. In the Select Connections dialog that opens, select one or more existing connections and then click Select to open the Database Documenter project.
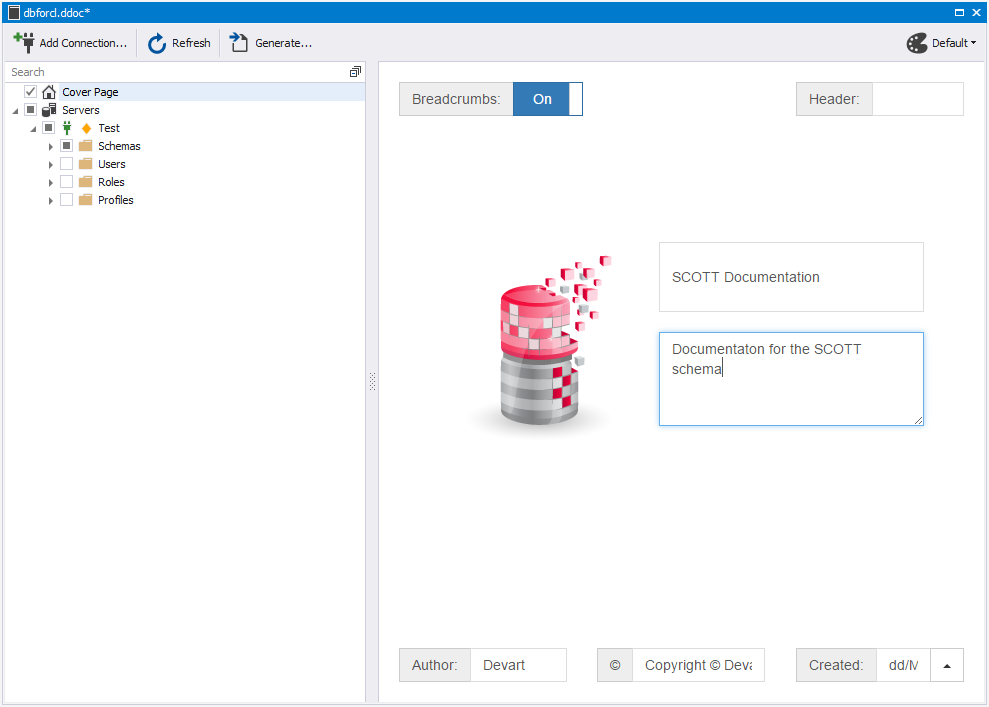
3. In the database documentation tree, select Cover Page to set up a cover page for the generated document. You can specify a title and a description of the documentation, an author, a header, and the created date.
4. Optional: In the upper-right corner of the project, choose a document style from the Style list. The default selection is Default.
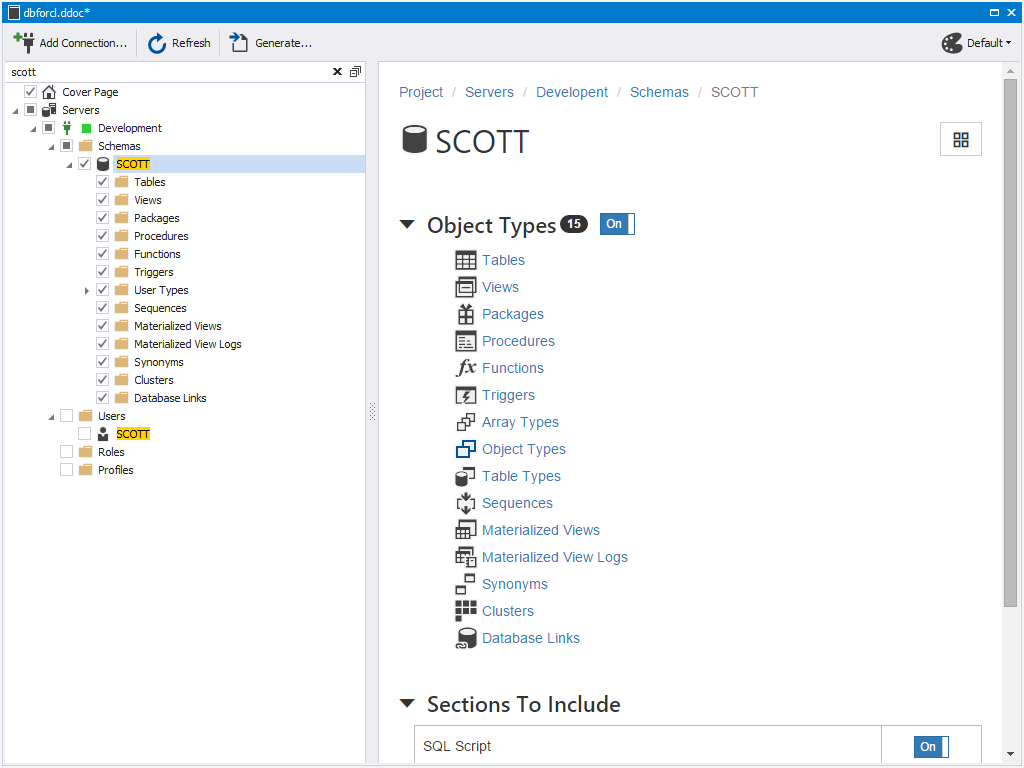
5. In the database documentation tree, select schemas, databases, object groups, and database objects you want to document.
6. Optional: By default, the documentation includes all sections and properties of the documented databases and database objects. To exclude specific sections or properties, turn off them as needed. dbForge Documenter for Oracle allows you to configure documentation elements at multiple levels, including:
- Servers
- Server
- Schemas
- Schema
- Objects group
- Objects
- Users
- Roles
- Profiles
Note
You can save the Database Documenter project file at any time for future use. To save the project, select Save. The file will be saved with the .ddoc extension.
To open a saved project, use one of the following options:
- On the Start page, select Open File.
- On the ribbon, select File > Open File.
- In the Recent Projects section, select the file.
7. On the toolbar of the database documentation project, select Generate to start generating the document.
8. In the Generate Documentation dialog that opens, select a file format, such as HTML, PDF, or Markdown. The available settings may vary depending on the selected format.
9. Optional: By default, the date and time are added to the file name. To remove these details, clear the Append timestamp to the folder name checkbox.
10. Optional: The generated documentation opens automatically. If you want to close it after generation, clear the Open documentation after generation checkbox.
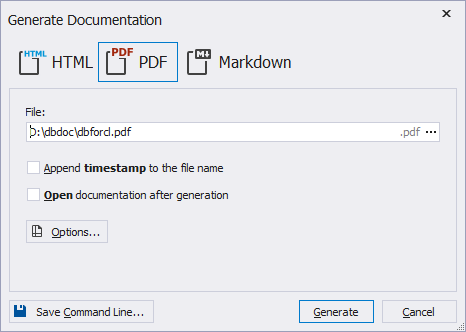
11. Optional: Select Save Command Line to create an executable .bat file to automate the generation of database documentation. For more information, see Creating Command Line Execution File.
12. Select Generate to generate the documentation.