Scheduling data import
You can schedule or automate data import tasks with the help of dbForge Data Pump, a task scheduler tool, and a PowerShell script.
Scheduling data import involves the following steps:
- Create a template file in dbForge Data Pump for SQL Server
- Create a .bat file with a command to run the template file
- Create and schedule a data import task using a Windows Task Scheduler
1. Create a template file in dbForge Data Pump for SQL Server
First, you need to create a template file for importing data to a database.
To create a template file:
1. In Object Explorer, right-click the database you want to import data to, point to Data Pump, and click Import Data.
2. In the Data Import Wizard that opens, go through all wizard tabs and specify the necessary information and settings.
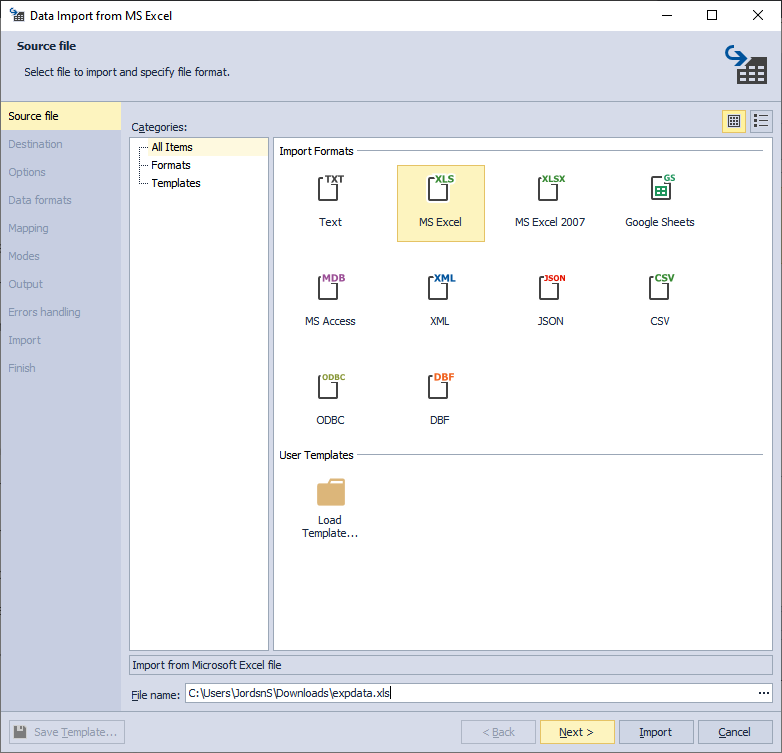
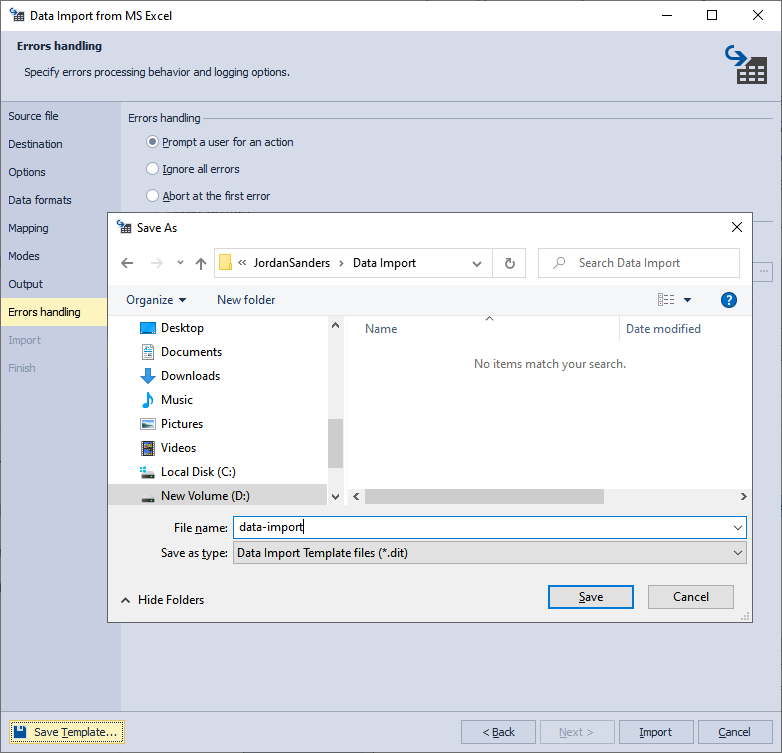
3. When all the necessary settings were made, click Save Template on any of the wizard’s tabs.
Note
- The generated file does not contain password information for security purposes. If the Save Password option is enabled for the selected connection in dbForge Data Pump for SQL Server, you should not do anything regarding the password. If it is not, then you should define the password with the help of the /password option.
- To create a template file, it is not necessary to click Import in the wizard and run the import process.
2. Create a .bat file with a command to run the template file
1. Open any Text editor and type the following command:
"C:\Program Files\Devart\dbForge SQL Tools Professional\dbForge Data Pump for SQL Server\datapump.com" /dataimport /templatefile:<filepath>
Where:
filepath is a path to the template file created in the previous step.
2. Save the file with the .bat extension.
3. Create a data import task using a Windows Task Scheduler
After the batch file for database data import was created, we can proceed with the creation of the import task using the Windows Task Scheduler so that the computer can carry out the job automatically.
To create a Windows synchronization task:
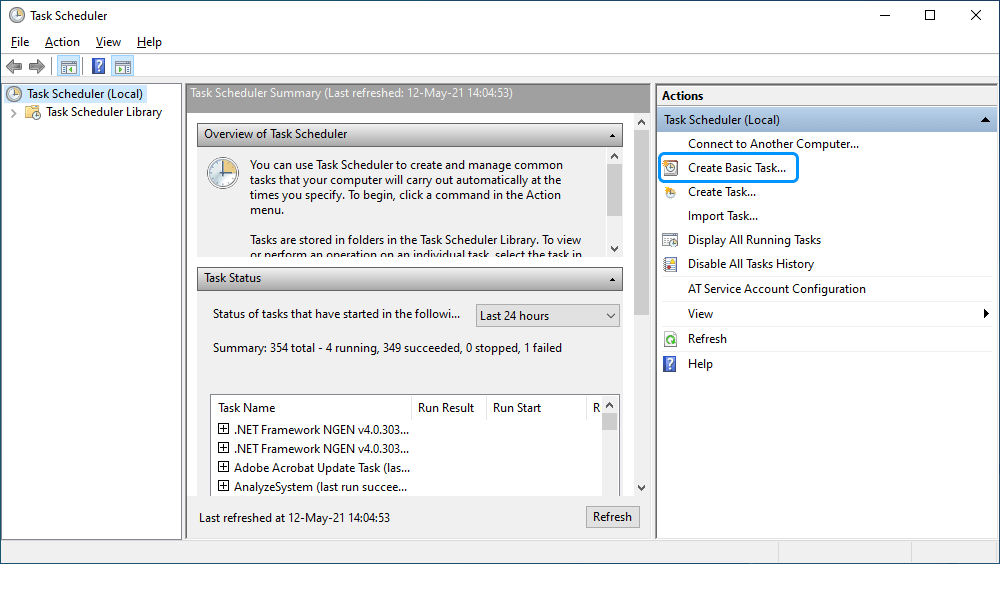
1. Open the Control Panel > Administrative Tools and select Task Scheduler.
2. In the Task Scheduler window that opens, navigate to the Actions pane and click Create Basic Task to create a scheduled task.
Note
For quick access to the Task Scheduler, just start typing task in the Windows 10 search bar. Once you see the Task Scheduler in the list, click it to open.
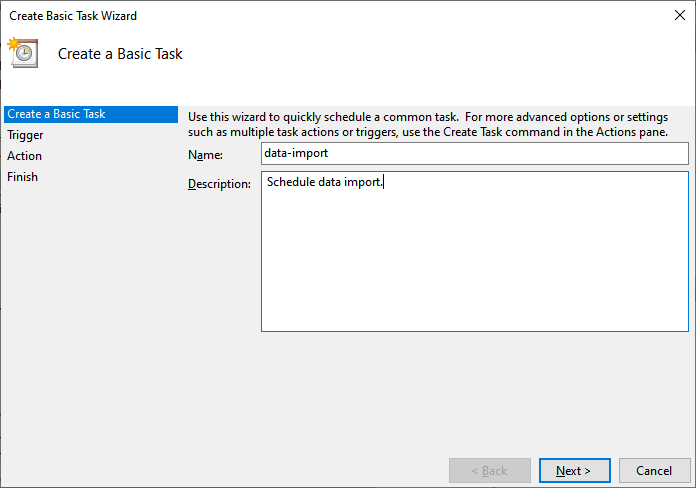
3. In the Create Basic Task Wizard window that opens, specify the name and description of the task and click Next.
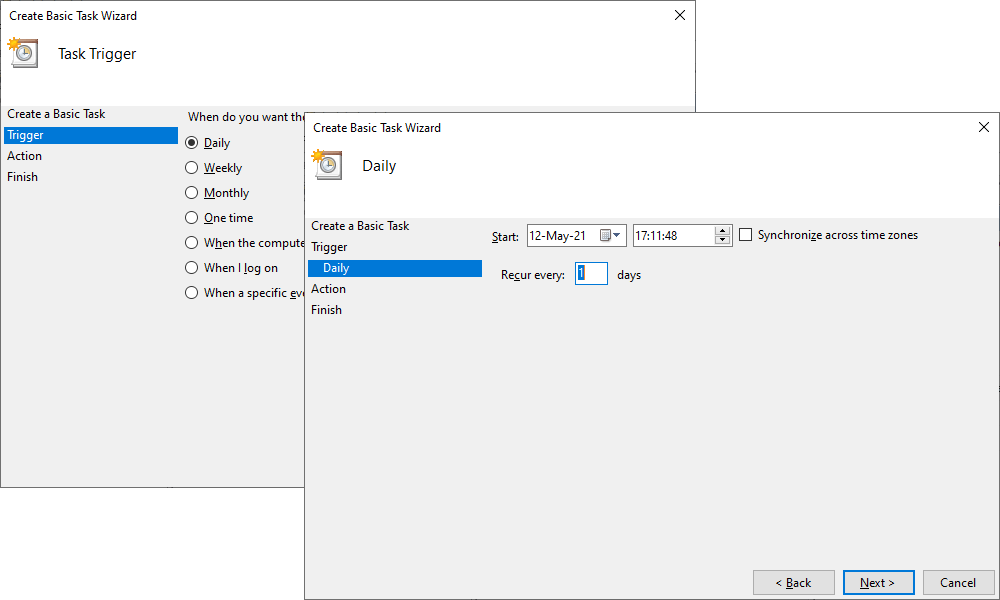
4. On the Trigger tab, choose when to launch the task and then click Next.
- Schedule based on the calendar: Daily, Weekly, Monthly, or One time. For this, specify the schedule you want to use.
- Schedule based on common recurring events: When the computer starts or When I log on.
- Schedule based on specific events: When a specific event is logged. For this, specify the event log, source, and even ID using the drop-down lists.
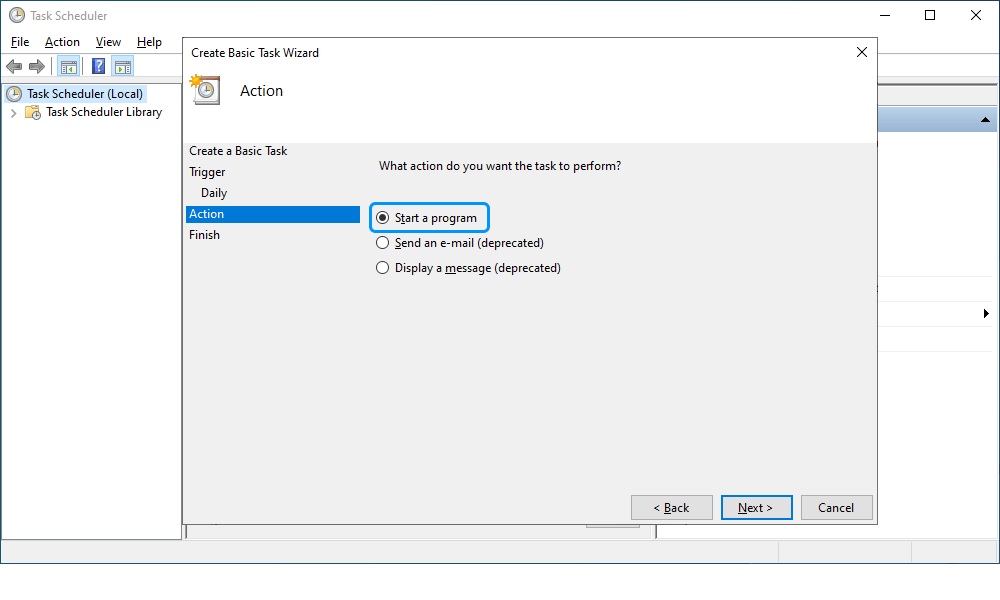
5. On the Action tab, click Start a program to schedule a program to start automatically and then click Next.
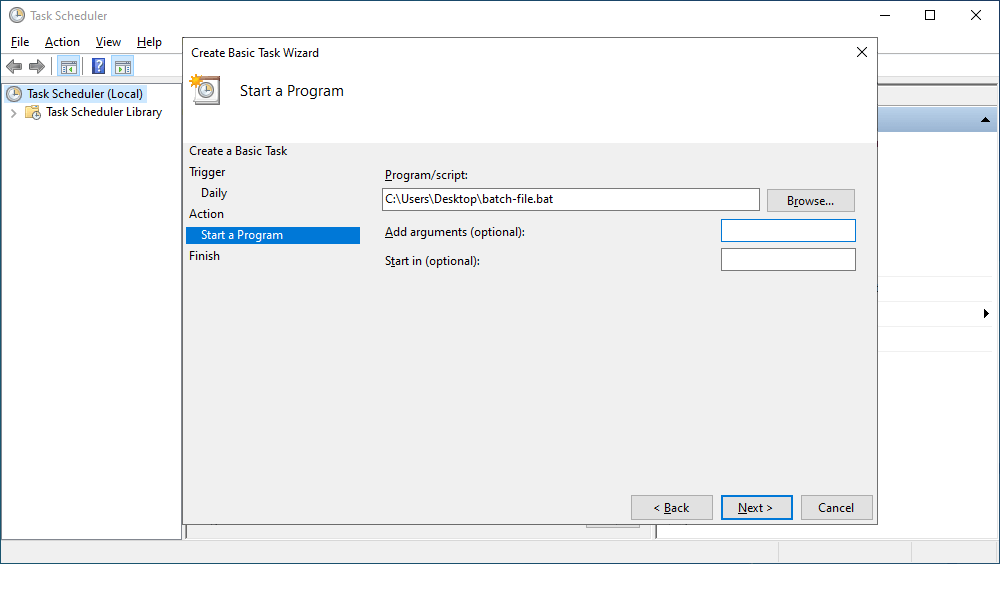
6. On the Start a Program subtab, click Browse to select the .bat file you have created in the previous step and then click Next.
There are optional fields that you can set:
- Add arguments: Specify the arguments to run the task with specific instructions.
- Start in: Specify the folder in which the program will start.
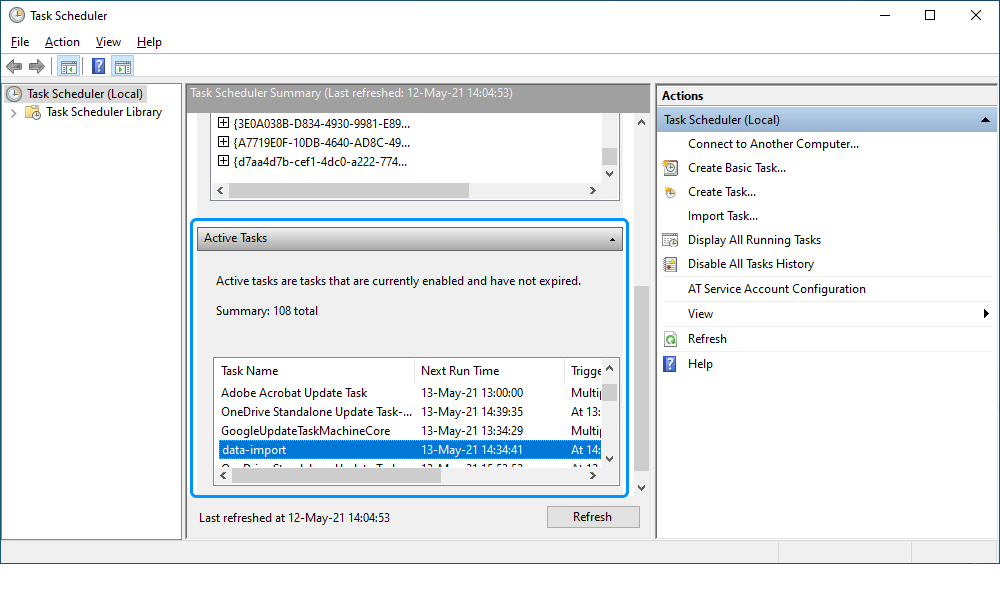
7. On the Finish tab, verify the settings and click Finish.
The task will be displayed in the Active Tasks section.
See also How to Build a Job to Import Multiple CSV files into a SQL Server Database