Overview
dbForge Studio for SQL Server provides a visual interface Data Editor designed for viewing and manipulating data in SQL Server databases.
Key features of Data Editor:
- Opening tables and views data, or query results in a grid-based interface.
- Browsing large datasets with fast performance and customizable pagination.
- Using filters, sorting, and search to quickly locate specific rows.
- Editing data directly in the grid without writing SQL.
- Inserting, updating, and deleting records.
- Navigating to related records using foreign keys.
- Using lookup editors for columns with constraints or relationships.
- Using the Read-Only mode to prevent accidental changes.
- Tracking unsaved changes easily with visual markers in the grid.
Open Data Editor
You can open Data Editor using Database Explorer, Object Editor, or Object Viewer, or when executing a query.
Open Data Editor from Database Explorer
1. In Database Explorer, expand the target database.
2. Right-click a table or view and select Select All Rows.
Open Data Editor from Object Editor
1. In Database Explorer, expand the target database.
2. Right-click a table or view, then select Open Data in Editor or Open Editor and switch to the Data tab.
Open Data Editor from Object Viewer
1. On the Database Explorer toolbar, click ![]() to open Object Viewer.
to open Object Viewer.
2. Switch to the Data tab.
Open Data Editor after query execution
1. In the SQL Editor, enter a SELECT query.
2. On the standard toolbar, click Execute, or press F5 to run the query.
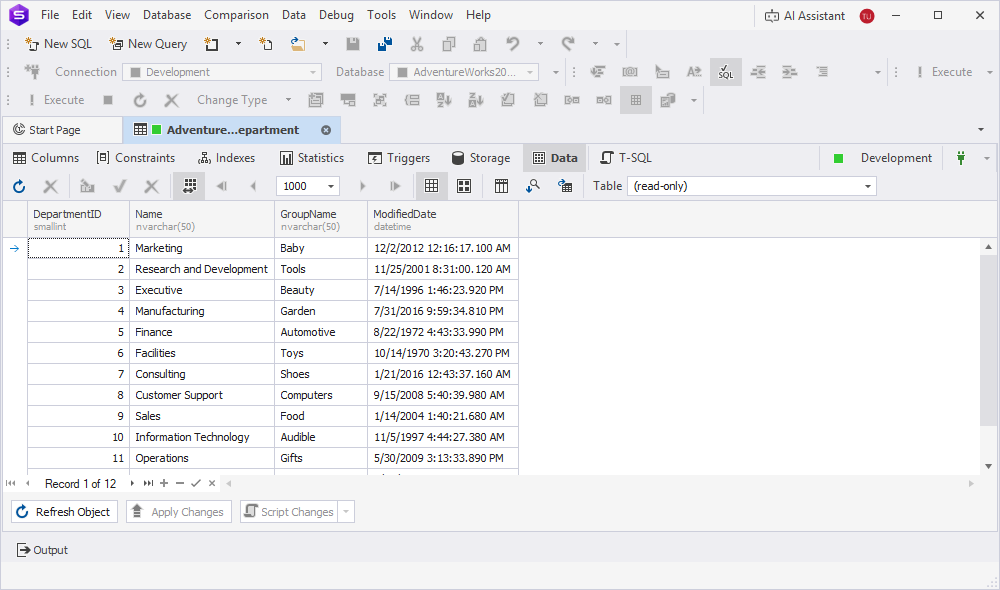
Data Editor toolbars
Data Editor includes top and bottom toolbars.
Top toolbar
The top toolbar is located above the Data Editor grid.

The table describes the options of the top toolbar.
| Icon | Name | Description |
|---|---|---|
 |
Refresh | Refreshes the list of database objects, for example, tables, views, procedures, and more, to reflect any changes made. |
 |
Stop Refresh | Cancels an ongoing refresh operation. |
 |
Cached Updates Mode | Enables you to apply data changes in a single batch, simulating a separate transaction. When this mode is active, all modifications are temporarily stored on the client side and are not immediately applied to the database. To save the changes, select  Apply Changes. Apply Changes. To discard them, select  Cancel Changes. Cancel Changes. If you close the document while Cached Updates Mode is active, any changes made since the latest Apply Changes command will be automatically discarded. |
 |
Paginal Mode | Turns on or off the paged mode. |
 |
First Page | Switches to the first page in the grid. |
 |
Previous Page | Switches to the previous page in the grid. |
 |
Next Page | Switches to the next page in the grid. |
|
Last Page | Switches to the last page in the grid. |
 |
Grid View | Switches to the Grid View mode. |
 |
Card View | Switches to the Card View mode. |
 |
Group by Box | Opens the Group by Box pane to group data by column. |
 |
Auto-search mode | Turns on the auto-search mode. You can also press Ctrl+I to turn on the option. |
 |
Export Data | Opens the Data Export dialog to export data to the preferred file format. |
 |
Table | Selects the table you want to edit from the list. The default mode is read-only, which does not allow you to modify the table data. |
Note
Computed columns are always read-only and cannot be edited.
Bottom toolbar
The bottom toolbar is located below the Data Editor grid.

The table describes the options of the bottom toolbar.
| Icon | Name | Description |
|---|---|---|
 |
First, Previous, Next, and Last | Navigates the grid one record at a time or moves directly to the first or last record. |
 |
Append | Adds a new record to the grid. |
 |
Delete | Deletes the selected record from the grid. |
 |
End Edit | Applies the changes made to the current record during editing. |
 |
Cancel Edit | Cancels the changes made to the current record during editing. |
Note
When the paged mode is enabled
- To navigate to the last record in the current range, click
on the bottom toolbar.
- To navigate to the last records and return the total number of records in the table, click
When the paged mode is disabled
- To navigate to the last record and view the total record count in the table or selection, click
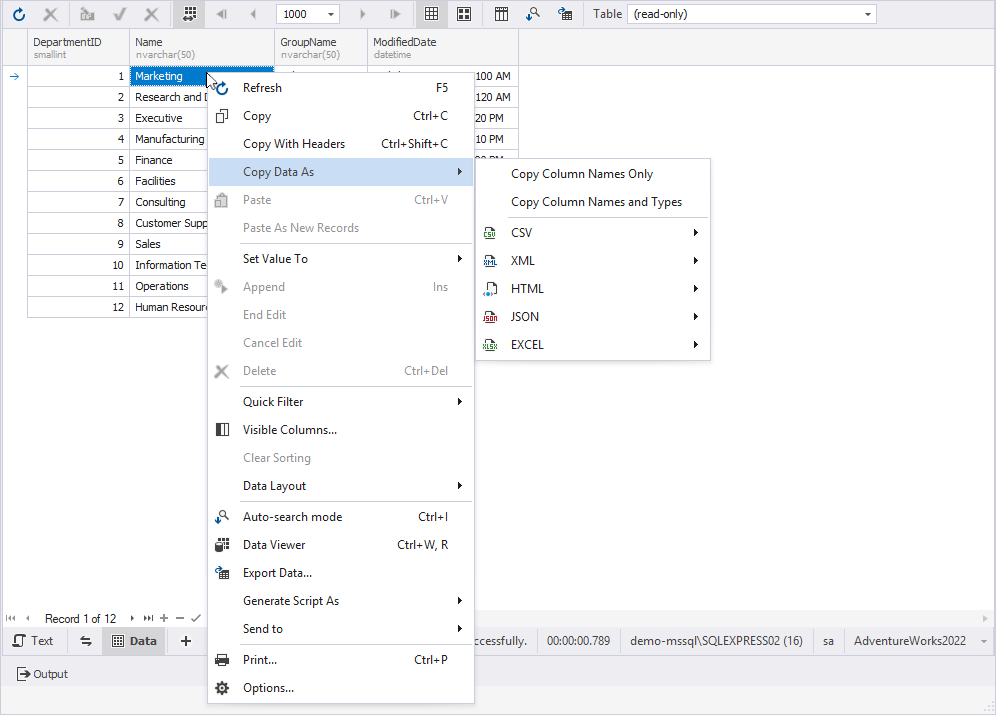
Shortcut menu commands
You can access the shortcut menu in Data Editor by right-clicking a row.