How to populate a database
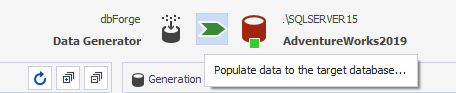
1. On the Data Generator toolbar, click the Populate data to the target database… button. Data Population Wizard opens.
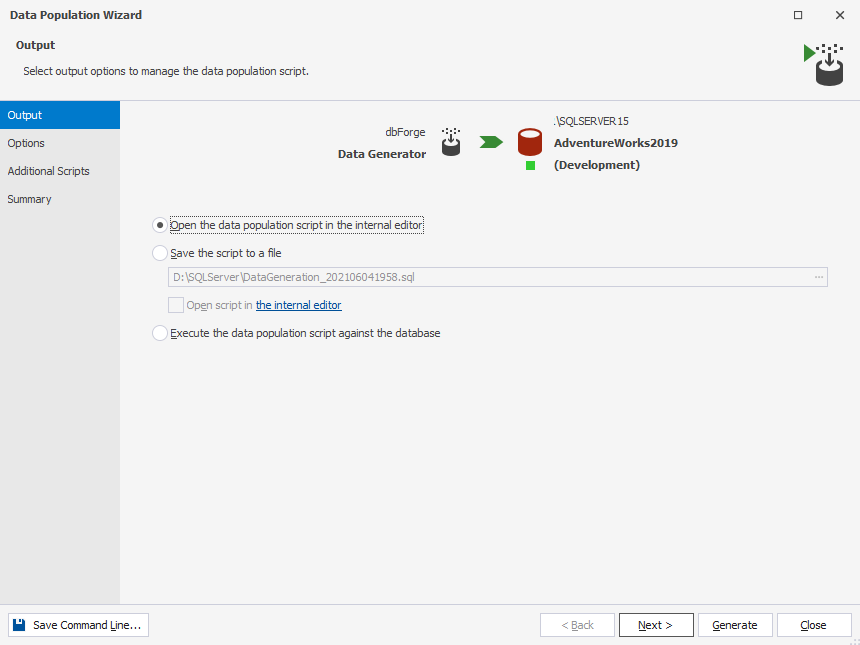
2. In Data Population Wizard, you can:
-
select the Open data population script in the internal editor option to add custom data to the database
-
save the SQL script to a file
-
execute the data population script against the database
3. Select the required option and click Next.
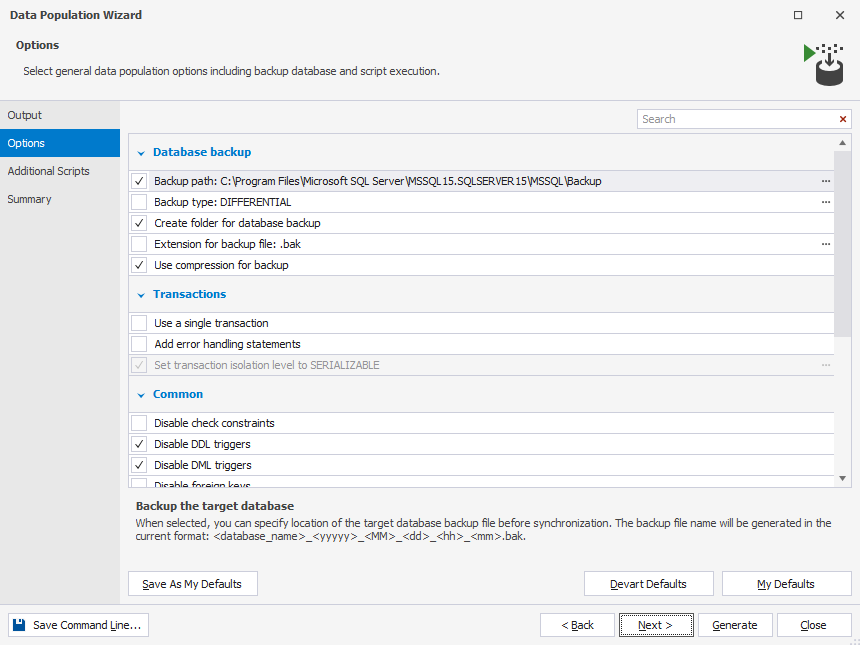
4. On the Options tab, configure the synchronization options. Click Next.
5. The Summary tab allows you to see the data population actions and warnings.
When you are setting up the tables and columns that you want to populate, dbForge Studio displays warning and error messages to inform you when there may be a problem with the data generation.
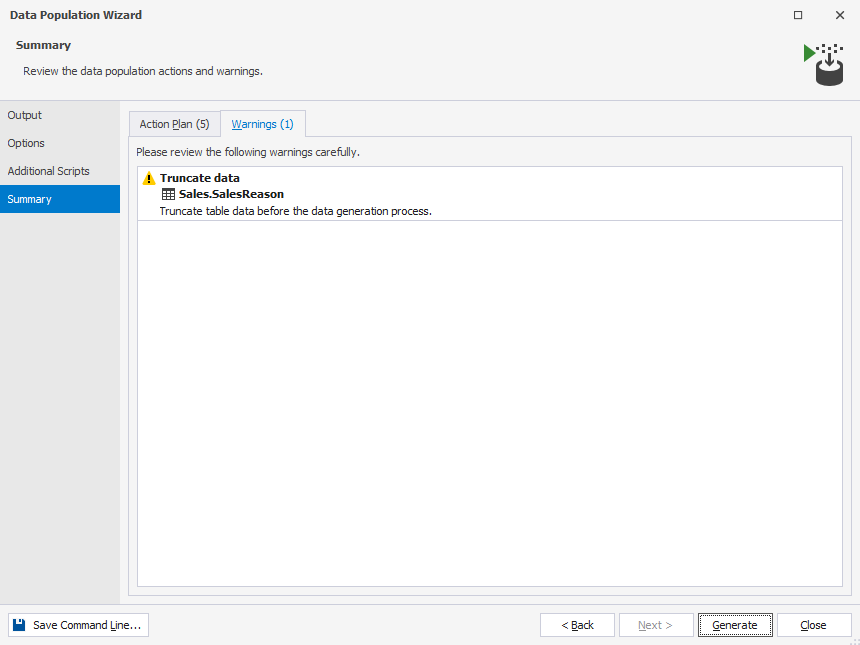
6. Click Generate to finish the process.