Manipulate schemas
This topic describes how to create, edit, or delete schemas visually using Security Manager without typing SQL code.
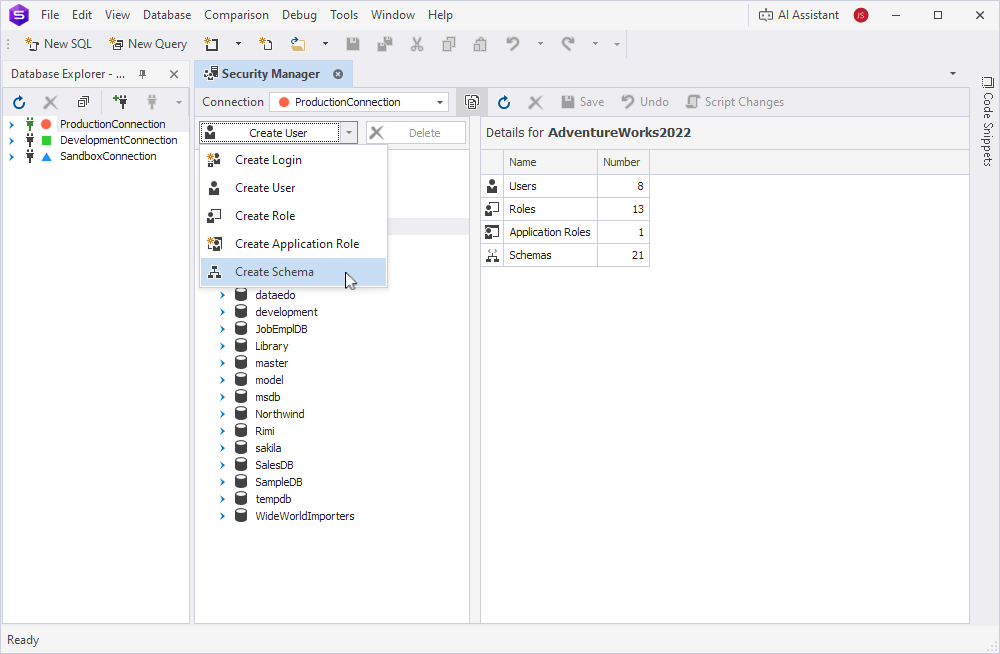
Create a schema
1. On the Database menu, select Security Manager.
2. Select the database where you want to create a schema.
3. Above the tree, click the arrow next to Create User and select Create Schema.
Alternatively, right-click the Schemas node and select New Schema.
4. On the General tab, fill out the fields: Name and Owner.
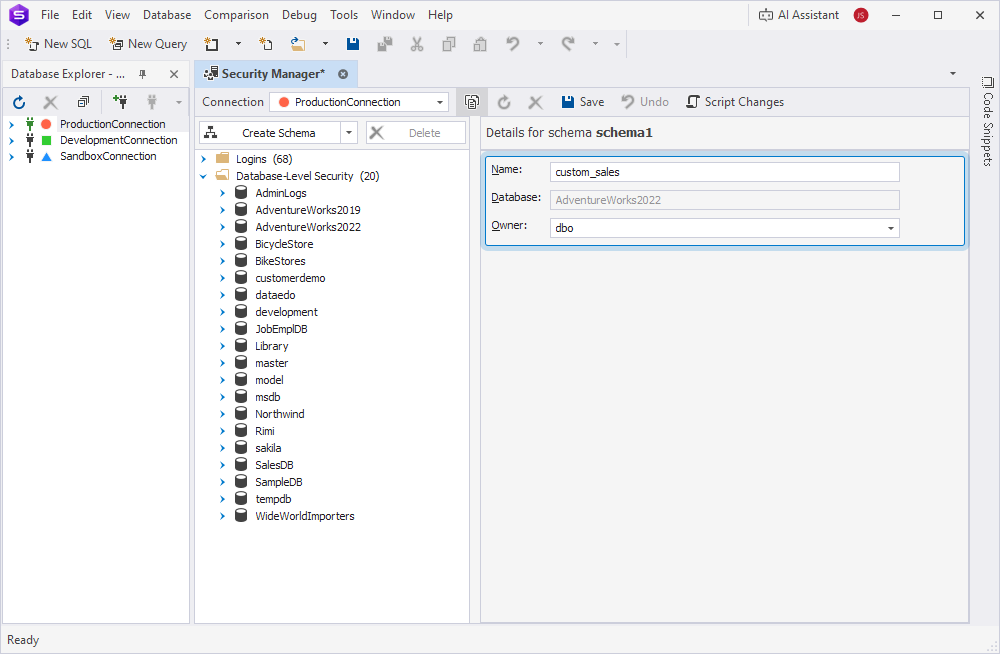
5. Click Save on the Security Manager toolbar.
Change a schema owner
1. On the Database menu, select Security Manager.
2. Expand the Schemas node, then select the schema you want to edit.
3. In Owner, select the new owner.
4. To apply the changes, click Save on the Security Manager toolbar.
To discard the changes, click Undo.
Tip
To view SQL statements that will apply your changes, click Script Changes on the Security Manager toolbar. The script opens in a new SQL document, where you can review, edit, and run it manually.
Delete a schema
1. On the Database menu, select Security Manager.
2. Expand the Schemas node.
3. Right-click the schema you want to delete and select Delete.
Alternatively, select the schema in the tree, then click Delete above the tree or press the Delete key.