Build CI/CD pipelines using Jenkins and PowerShell
This article demonstrates how to configure Jenkins for Continuous Integration (CI) using dbForge DevOps Automation PowerShell for SQL Server.
Prerequisites
- Download and install dbForge DevOps Automation for SQL Server.
- Install and configure Jenkins server.
- Download the Windows PowerShell plugin for Jenkins.
Steps for a sample CI process
The CI process involves:
- Creating a new database from a scripts folder.
- Populating the database with test data.
- Running unit tests.
- Publishing the project.
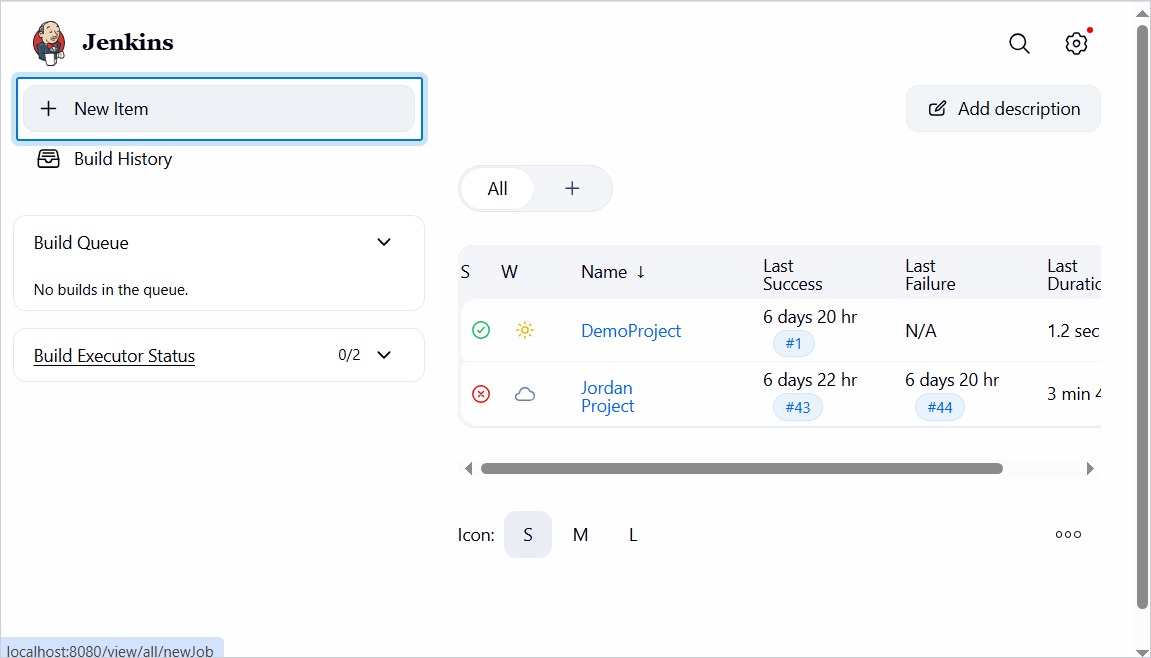
Create a new Jenkins job
1. On the Jenkins main page, click New Item.
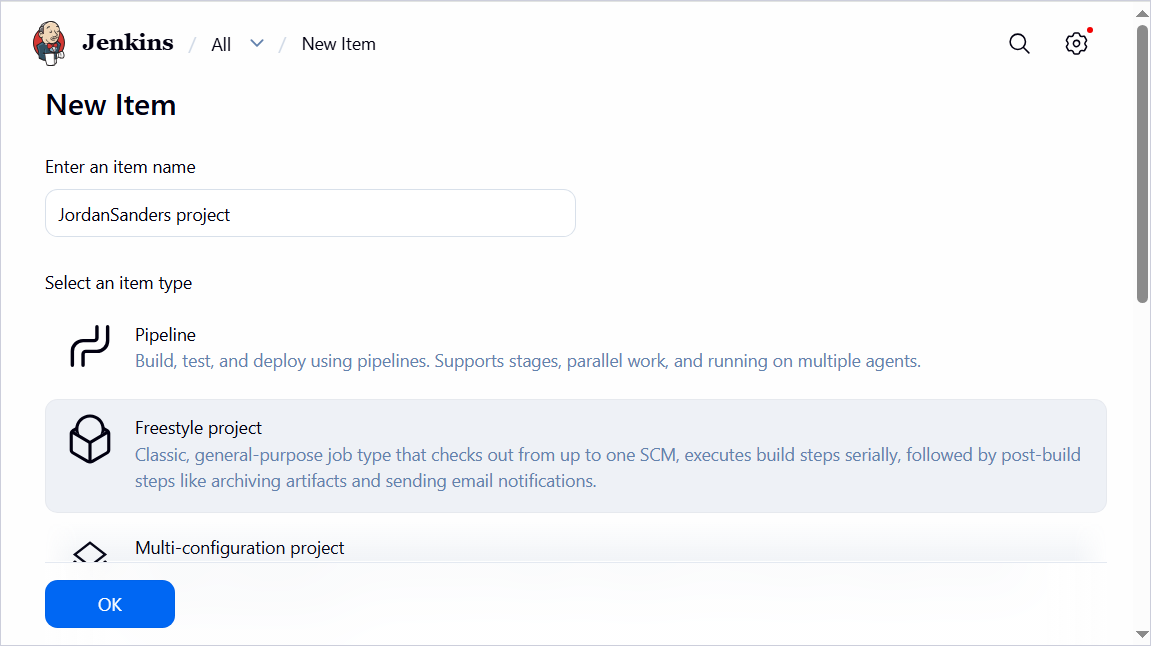
2. Enter the project name, select the Freestyle project project type, then click OK.
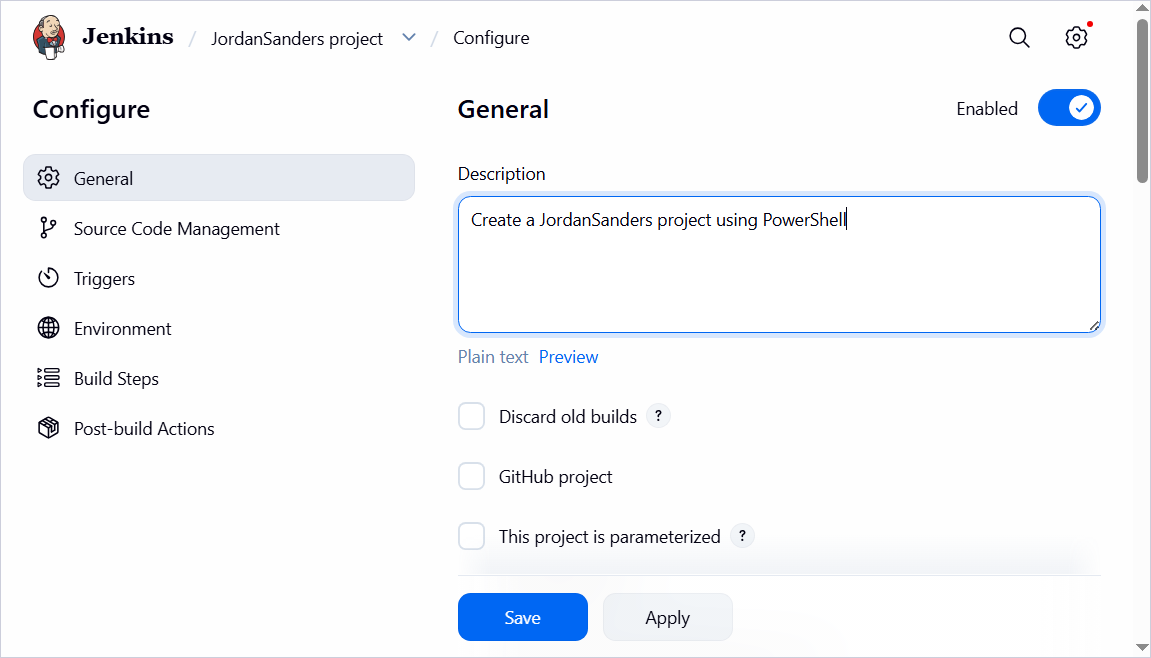
3. Specify the project description.
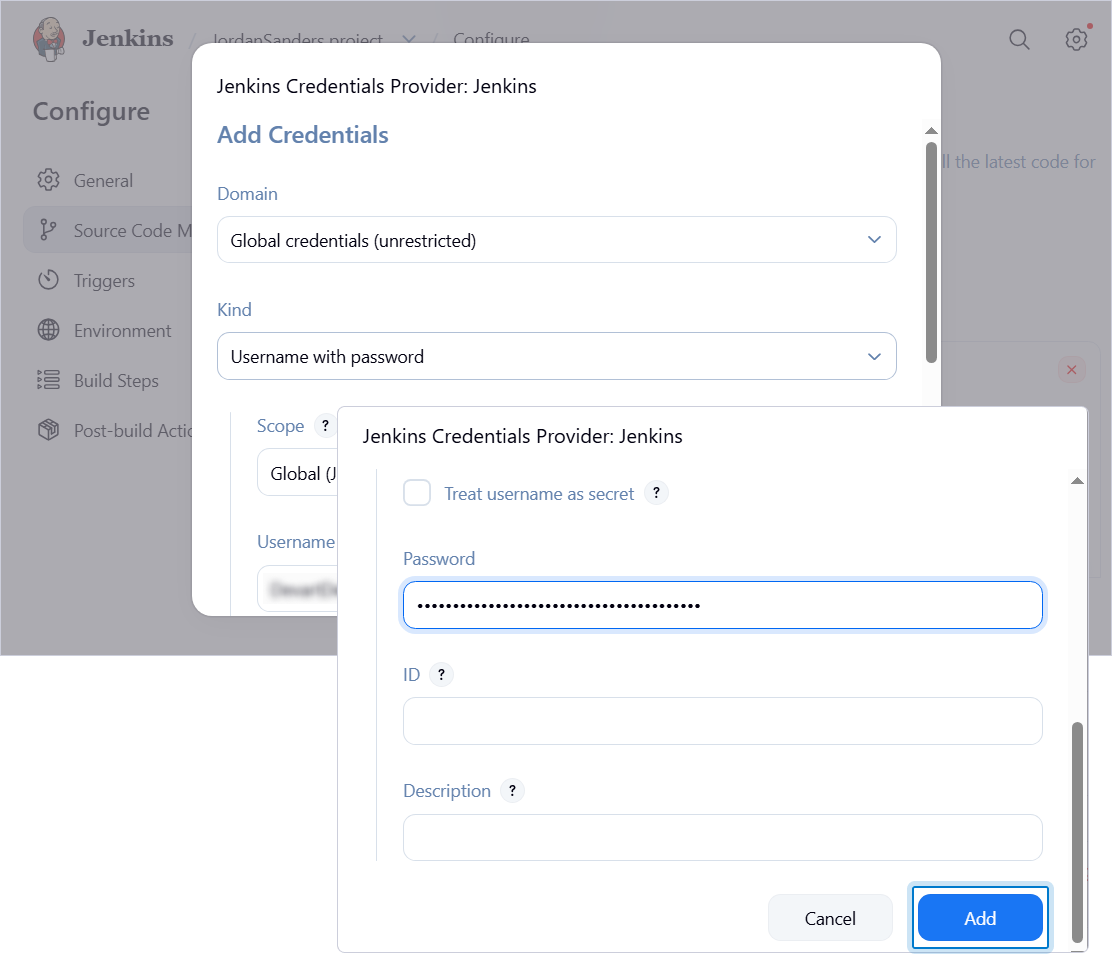
4. Under Source Code Management, select Git to connect your code repository to update the scripts folder each time the job starts, or select None.
If you select Git, specify the repository URL and add the Git credentials (username and password).
5. Under Build Triggers, set a build schedule.
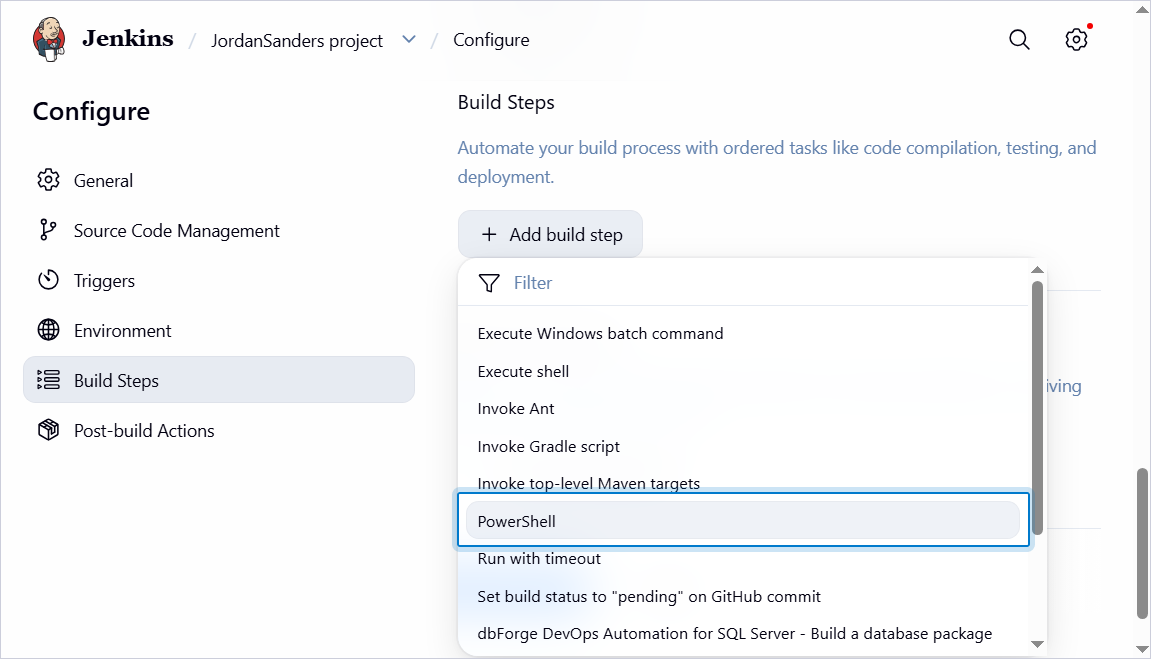
6. Under Build Steps, in Add build step, select PowerShell.
7. In the Command text box, enter the PowerShell script, replacing the placeholders with your actual data.
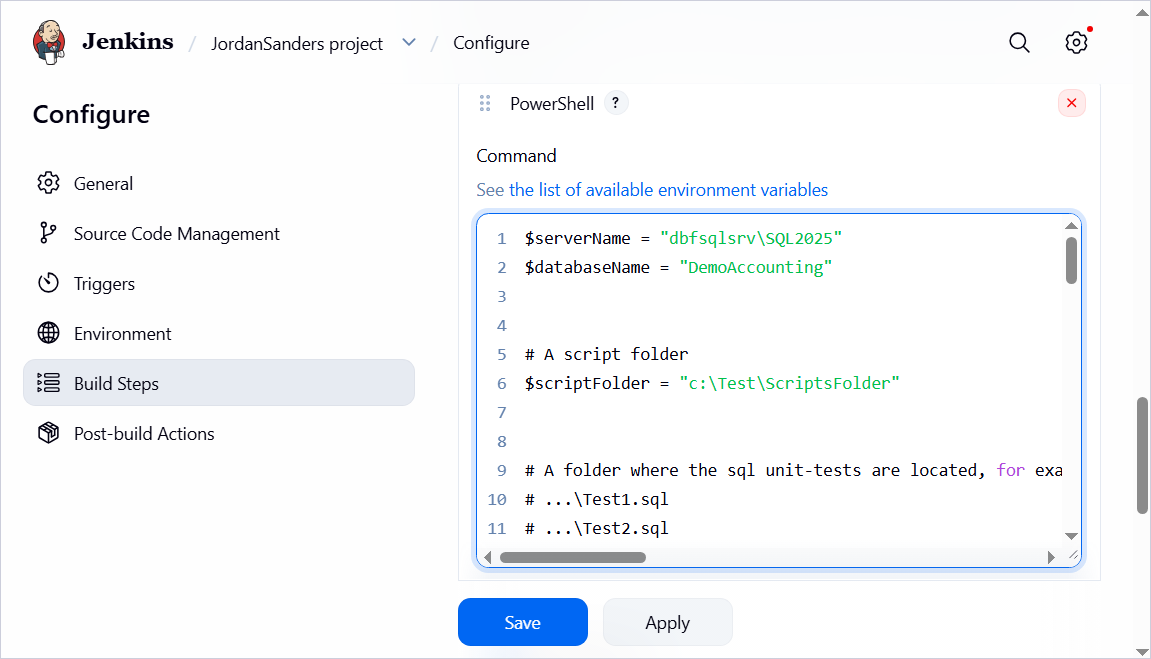
$serverName = "dbfsqlsrv\SQL2025"
$databaseName = "DemoAccounting"


# A script folder
$scriptFolder = "c:\Test\ScriptsFolder"


# A folder where the sql unit-tests are located, for example:
# ...\Test1.sql
# ...\Test2.sql
# ...\Test4.sql
$unitTestsFolder = "c:\Test\UnitTests"

# A file path to a datagenerator file
$generatorFile = "c:\Test\TestData\data.dgen"

# An output report file for unit tests
$testReportOutputFileName = "c:\Test\TestReport\report.xml"


# A file that is created when publishing
$publishFileName = "Test.DevOpsAutomation.Database"


# A path for publishing
$publishOutputFolder = "c:\Test\NuGet\Repository"


Function check {
		param($result)

		if ($result) {
				Write-Host "Success"; Write-host ""
		}
		else {
				Write-Host "Failed"
				Exit(1)
		}
}

# Create the database connection
Write-Host "Creating database connection..."
# $connection = New-DevartSqlDatabaseConnection -Server $serverName -Database $databaseName -WindowsAuthentication $true
$connection = New-DevartSqlDatabaseConnection -Server $serverName -Database $databaseName -User "sa" -Password "1"

# Test the database connection
Write-Host "Testing database connection..."
$result = Test-DevartDatabaseConnection -Connection $connection;
check($result)

Write-Host "Recreating database..."
$project = Invoke-DevartDatabaseBuild -SourceScriptsFolder $scriptFolder -Connection $connection
check($result)

# Restore unit tests on the database
Write-Host "Restoring unit tests..."
$result = Invoke-DevartExecuteScript -Input $unitTestsFolder -Connection $connection
check($result)

# Fill the database with sample data and run unit tests
Write-Host "Filling database with sample data and running unit tests..."
$result = Invoke-DevartDatabaseTests -InputObject $connection -InstalltSQLtFramework -IncludeTestData -DataGeneratorProject $generatorFile -OutReportFileName $testReportOutputFileName -ReportFormat JUnit -RewriteReport
check($result)

# Publish a project
Write-Host "Publishing project..."
Set-DevartPackageInfo -Project $project -Id $publishFileName -Version 3.0.0
Publish-DevartDatabaseProject -Project $project -Repository $publishOutputFolder -AutoIncrementVersion
check($result)
Required variables
| Name | Description |
|---|---|
$serverName |
The name or network address of the SQL Server instance to connect to. |
$databaseName |
The name of the target database you want to deploy, which resides on the specified server. |
$scriptFolder |
The full path to the folder containing scripts to create the database. |
$unitTestsFolder |
The full path to the folder containing the unit tests you want to run against the database. |
$generatorFile |
The full path to the data generator project file (.dgen). |
$testReportOutputFileName |
The full path to the output report file for unit tests. |
$publishFileName |
The name of the output file (.zip package) containing the migration scripts. |
$publishOutputFolder |
The full path to the folder that will store the output file. |
Required parameters
Create the database connection.
| Name | Description |
|---|---|
-Server |
Specifies the name or a network address of the SQL Server instance to connect to. |
-Database |
Specifies the database to connect to on the server specified in the -Server parameter. |
-User |
Specifies the username you use to connect to the SQL Server instance. |
-Password |
Specifies the password you use to connect to the SQL Server instance. |
-WindowsAuthentication |
Specifies an authentication method that allows a user to connect to the server using a Windows user account. |
Test the database connection.
| Name | Description |
|---|---|
-Connection |
Specifies a connection string that identifies the connection to test and where the database will be built. |
Restore unit tests on the database.
| Name | Description |
|---|---|
-Input |
Specifies the full path to the folder containing unit tests. |
-Connection |
Specifies a connection to the server to execute the script on. |
Fill the database with sample data and run unit tests.
| Name | Description |
|---|---|
-InputObject |
Specifies a database to run the tSQLt tests on. This can be a scripts folder, a NuGet package, or a database connection. |
-InstalltSQLtFramework |
Installs a tSQLtFramework before executing tests. |
-IncludeTestData |
Adds the test data to the database. |
-DataGeneratorProject |
Specifies a data generator project file (.dgen) that defines the data to be added to the test database. |
-OutReportFileName |
Specifies the full file path to export the test results to. |
-ReportFormat |
Specifies the format of the test results file. |
-RewriteReport |
Rewrites a report file. |
Publish a project.
| Name | Description |
|---|---|
-Project |
Specifies an instance of a DatabaseProject object to be published. This object is produced by the Invoke-DevartDatabaseBuild and Set-DevartPackageInfo cmdlets. |
-Repository |
Specifies the NuGet feed where the database build artifact will be published. The value must be a valid NuGet feed URL or local path. |
-AutoIncrementVersion |
Auto-increments the package version if a package with the specified version already exists on the NuGet repository. |
8. Click Save.
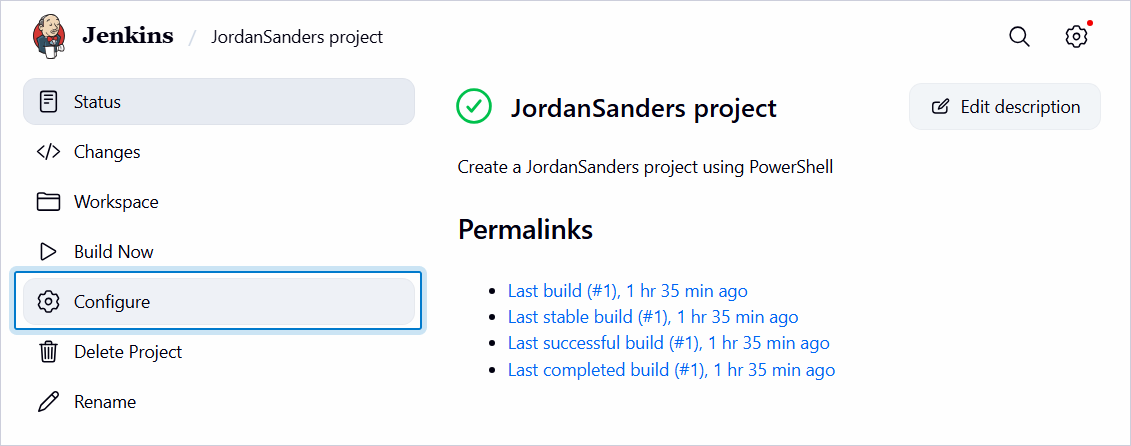
To edit the data you entered for an existing project, click Configure.
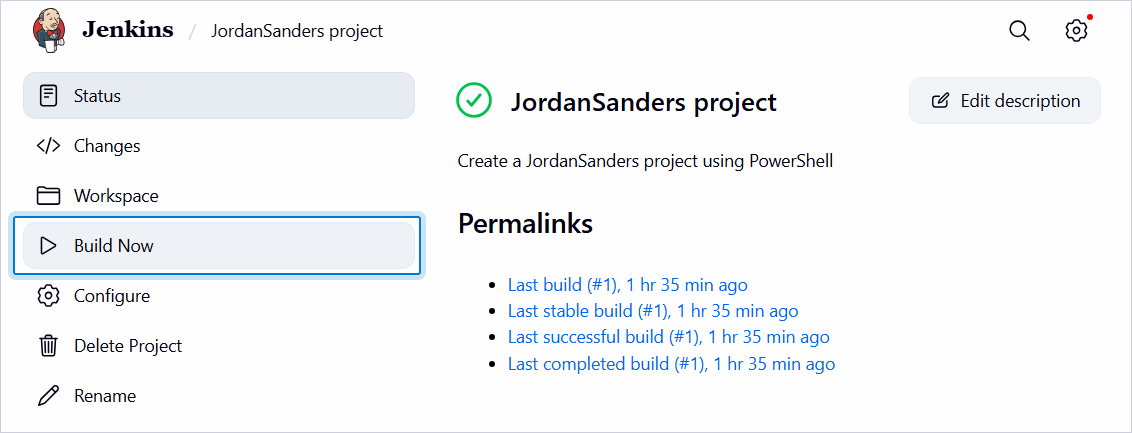
To run the process, click Build Now.
The progress of the running process is displayed on the left menu under Builds.
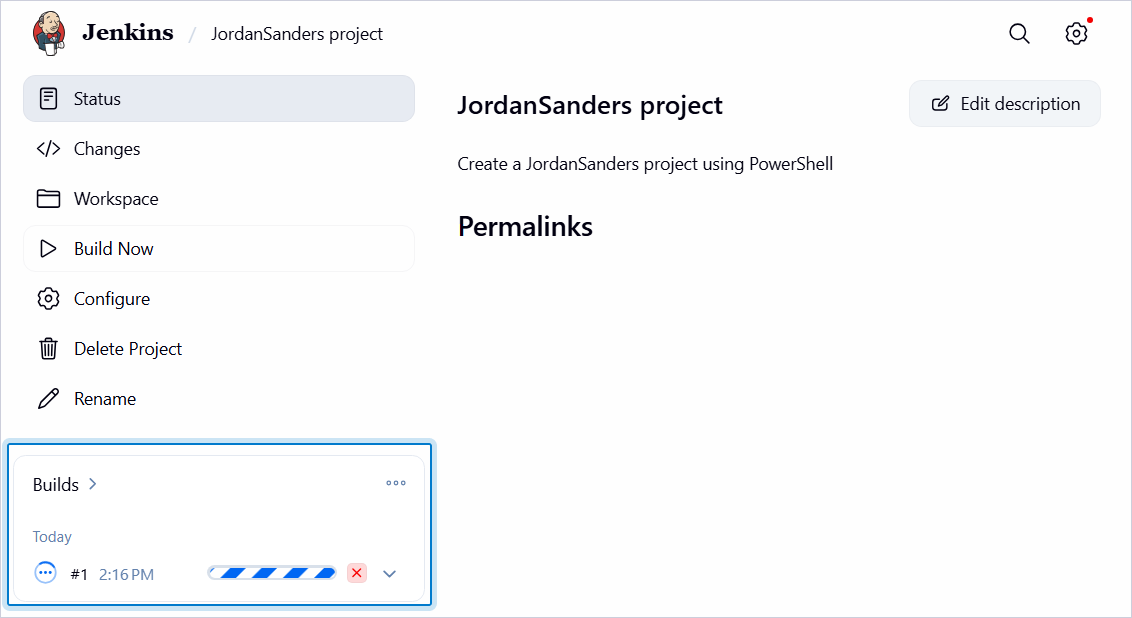
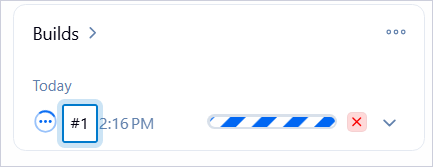
To view the build details, click the build number.
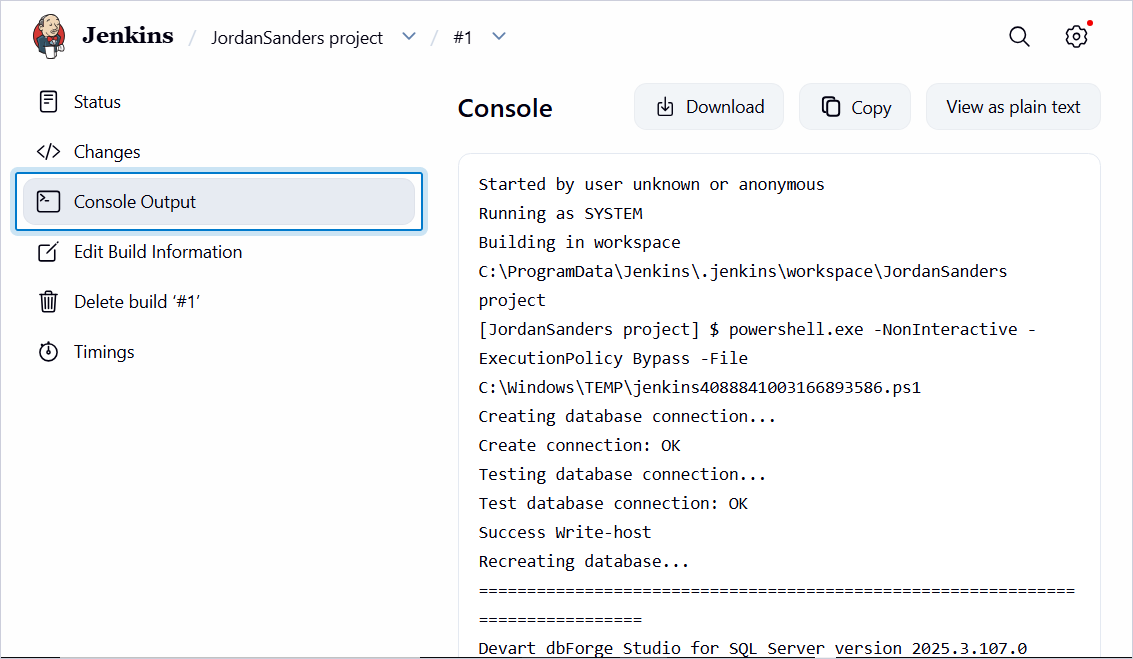
Then click Console Output to view the build output.
Video tutorials
Watch these videos to learn how the dbForge tools can be involved in the Continuous Integration process.
- How to import data to SQL Server database with dbForge Data Pump during the DevOps process
- Creating database documentation during the Continuous Integration workflow
- How to automate database schema changes for the CI process during database deployment
- dbForge Source Control in the DevOps pipeline
- Unit Testing for SQL Server Database in DevOps process