Customize generators
Data Generator allows you to customize existing generators to fit your specific requirements.
Change the configurations for each column
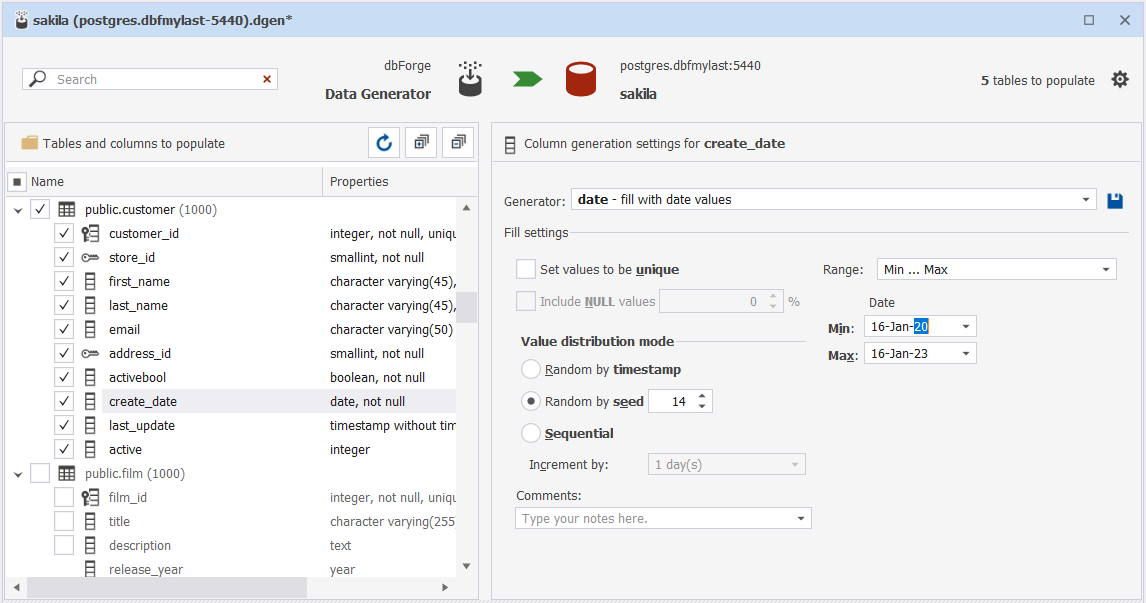
When you select a column to populate, the Data Generator tool automatically assigns a generator. You can change a generator as well as customize its settings. For example, you can change the minimum or maximum value for the create_date column. To do this, enter the values in the corresponding fields.
Create custom lists
Some generators have predefined lists of values to load data from. You can also create your own dictionaries. Note that all generator files with lists are located at: C:\Users\Public\Documents\Devart\dbForge Studio for PostgreSQL\Data Generators.
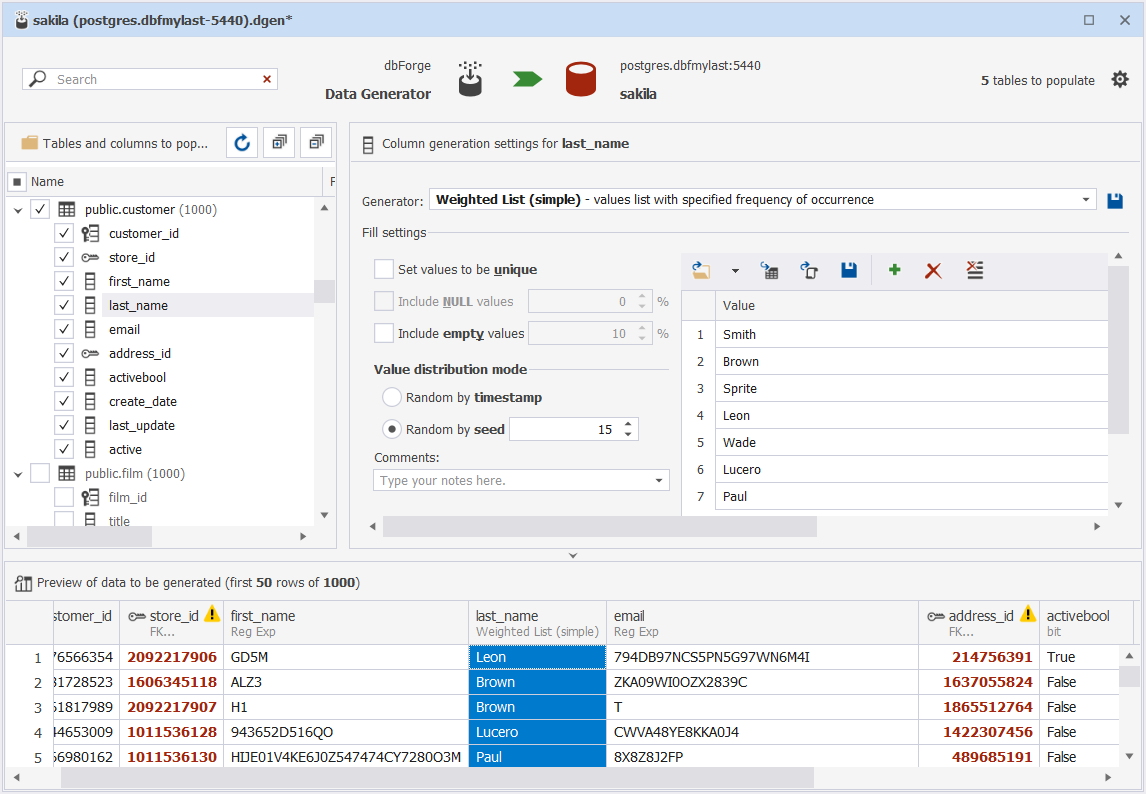
Let’s see how to create and use custom lists on the example with the Weighted List (simple) generator.
Create own dictionary
1. In any third-party editor, create a text file having each value on a new line and save it at C:\Users\Public\Public Documents\Devart\dbForge Studio for PostgreSQL\Data Generators.
Note
The default location to store custom data generation settings is
C:\Users\Public\Public Documents\Devart\dbForge Studio for PostgreSQL\Data Generators, and while it is not possible to change it, you can specify a custom location of .dgen files by modifying the registry at:Computer\HKEY_CURRENT_USER\Software\Devart\dbForge Studio for PostgreSQL\Folders.
2. On the Tables and columns to populate pane, select the column for which you want to create a custom list with values.
3. From the Generator list, select Weighted List (simple).
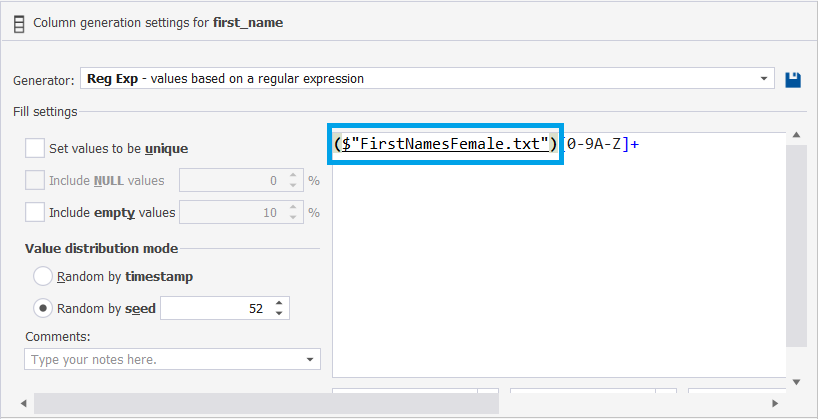
4. In the File settings section, on the toolbar, click ![]() Load values from File and select your file. The generator will use the created list.
Load values from File and select your file. The generator will use the created list.
Edit custom lists
For some generators, it is possible to edit lists of values right from the Data Generator UI.
To edit a dictionary
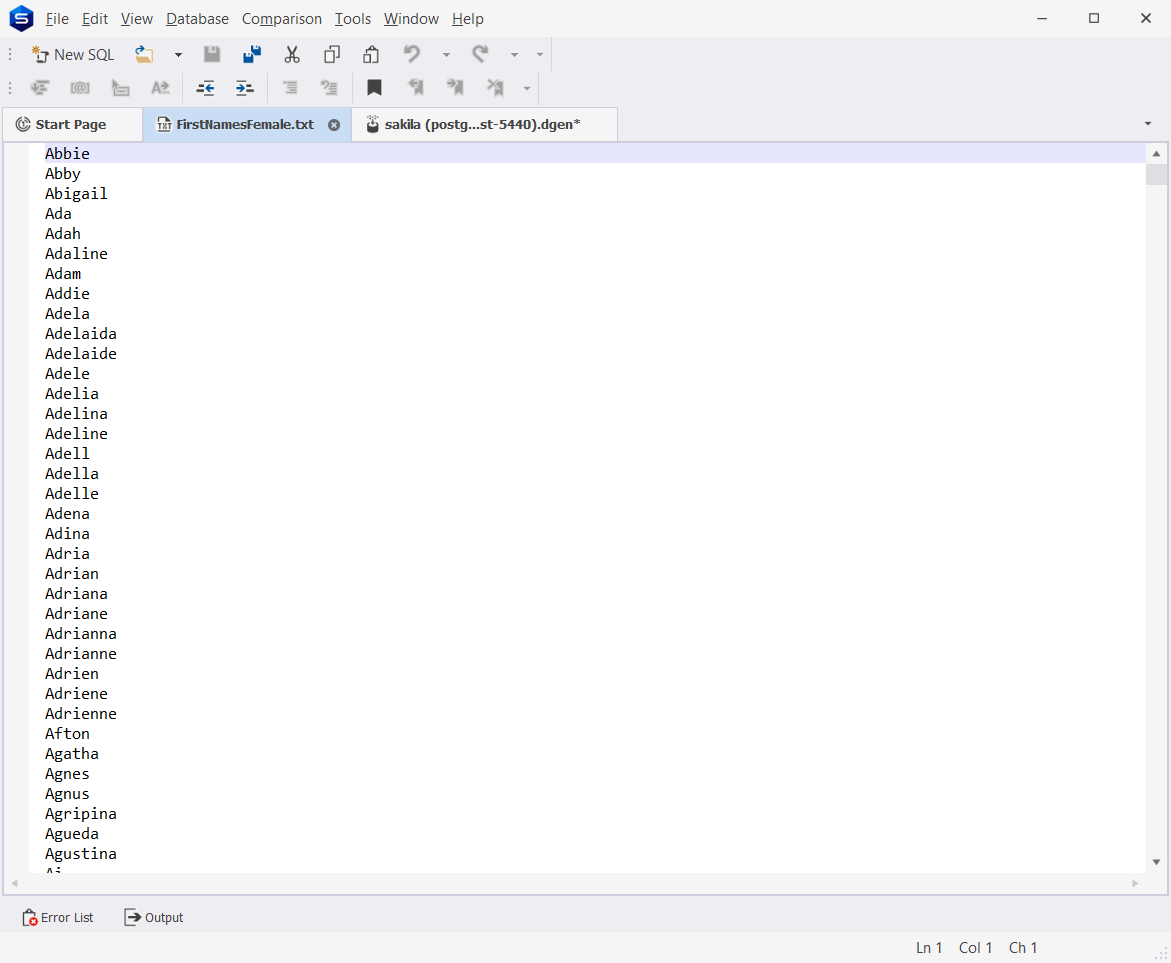
1. In the File settings section, double-click the file to open it in the Data Generator UI.
2. In the document that opens in a new window, make the necessary changes to a list of values.
3. Close the window with the list and click Yes to save the changes.
Alternatively, you can find the necessary file on your machine and make changes to it.
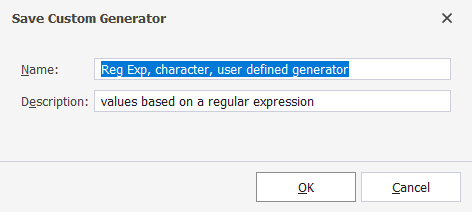
Save custom generators
1. On the Column generation seetings for column_name pane, select a generator from the Generator list and make the changes to it.
2. Next to the Generator list, click ![]() Save Generator as.
Save Generator as.
3. In the Save Custom Generator dialog that opens, specify a name and description of the generator and then click OK.
The saved generator will appear in the Generator > User-Defined list.