Sorting and Filtering Data in Master-Detail Browser
In dbForge Studio Master-Detail Browser resulting data displayed in the documnet Data view can be sorted and filtered. This topic explains how to perform each of these actions.
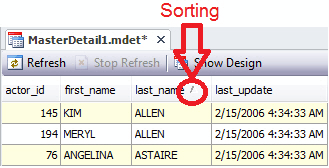
Sorting Data
Data can be sorted in both master and detail tables. To sort data by some particular column, click the column header. Clicking on the cell removes sorting from all other columns, sets sorting order to ascending if it has not been set before, or changes the sorting direction.
To assign secondary sorting, click on another column header, while holding down the Shift key. You can set any number of sorting columns. To stop sorting on a certain column, click it holding the CTRL key.
The Up arrow indicates ascending sorting.
The Down arrow indicates descending sorting.
No arrow indicates that no sorting is applied to the column.
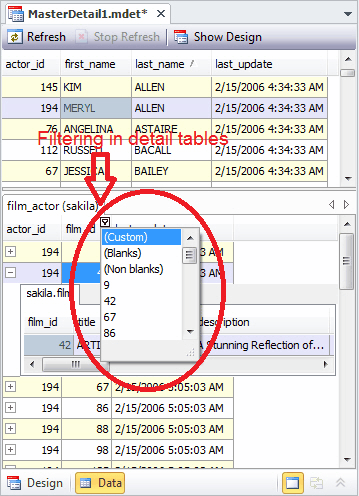
Filtering Data
Data can be filtered only in detail tables. To apply filtering to some column, click the  funnel button on the header of a column you want to apply filtering to. The drop-down list opens with a set of values encountered in this column and the universal items such as All, Custom, Blanks, and Non Blanks. To view only rows containing Blanks (NULLs), Non Blanks (not NULLs), or a certain value, select the corresponding item in the list. To set a custom filter, select (Custom), and create a filter in the opened Custom AutoFilter window.