Filtering Fields
You can use various types of filtering to display only required data in a pivot table.
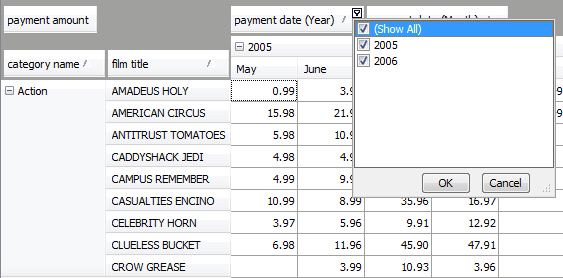
To filter values of any field, click the  Filter button on the field header and in the opened dialog box select only required values that you want to display. The Filter button will be highlighted with purple and the data will be filtered according to the selected criteria.
For example, to filter payment amount values to display only those that were made in 2005, you should click the Filter button on the header of the payment date (Year) field and uncheck 2006 in the dialog box.
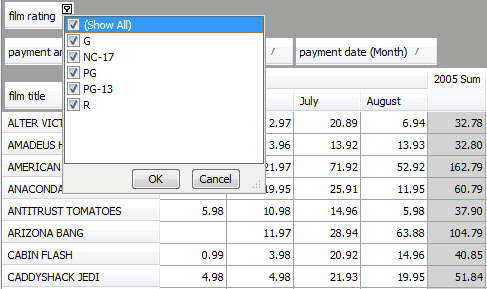
You can add a filter field to filter the whole data in the pivot table. Drag-and-drop a required field from the Data Source view to the filter area in the pivot table. In the picture below the film rating film was added to filter the list of films by their rating.
Also you can use the Pivot Grid Prefilter dialog box to apply advanced filtering conditions to filter the data. To open the dialog box, click the  Prefilter icon on the toolbar or right-clock the pivot table header and select Prefilter on the menu.
To create a filtering condition in the Prefilter dialog box, do the following:
- Click the
 button to add a new condition.
 - Click the field name and select a required one from the drop-down list.
-
Click the condition criteria operator (displayed using the green font color) and select a required one from the drop-down list.
- To add more conditions to this group, click the button again and specify the condition properties. To remove a condition, click the
 condition button or navigate to the condition and press DELETE.
 -
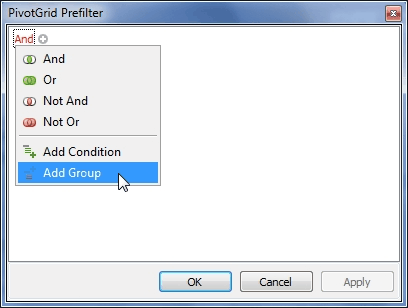
To add a new group of conditions, click the upper-level group operator and select Add Group on the menu. Then specify the condition properties. To remove a group, click its logical operator and select Remove Group on the menu.
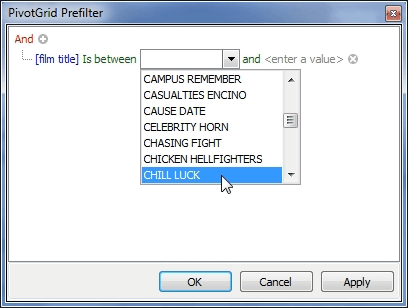
- The pivot table will display data matching the created filtering conditions. In the case described here, the list of film titles was filtered to see it starting with CHILL LUCK film title and ending with DANCING FEVER one. To edit the conditions, press the Edit Prefilter button. To see the data unfiltered, clear the check box next to the filtering condition. To cancel filtering, click the
 button.
