Creating a Master-Detail Report
This topic will guide you through the process of creating a master-detail report with dbForge Studio for MySQL.
Note that it is recommended that you review the How To: Create a Simple Data-Aware Report topic first. It will help you learn how to bind report to data with dbForge Studio.
1. Open the report definition created in the Creating a Simple Data-Aware Report topic by clicking Open file on the File menu.
2. To create a master-detail report, it’s required to add the customer table to the report. This table will be the detail table. To add the table, drag it from Database Explorer to the Data Source window.
3. Make the master table active by right-clicking the table name in the Data Source window and selecting Set Active Item on the shortcut menu:
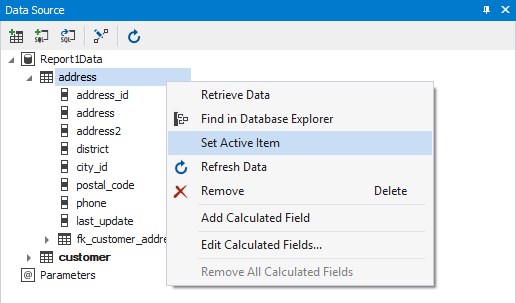
Note:
In the Data Source tree, the fk_customer_address node should be available. If it is not, refresh data in the Data Source tree by clicking the Refresh Data button on the Data Source toolbar.
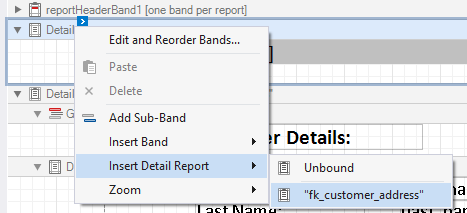
4. Right-click your report in the document area to invoke its shortcut menu. In this menu, point to Insert Detail Report and click fk_customer_address option to add a new detail report. Detail Report band will appear:
5. Right-click the detail report to invoke its shortcut menu, point to Insert Band and click Group Header. This will add the GroupHeaderBand to the detail report:
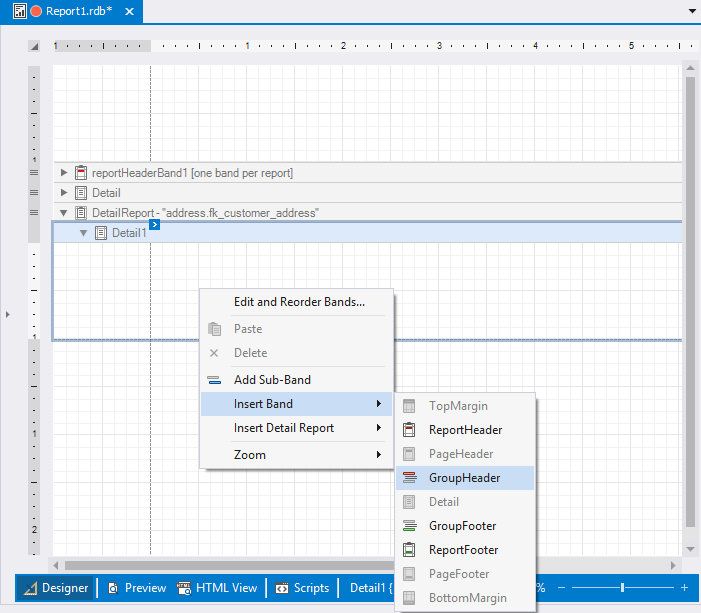
Note:
You can add the Label control to the added GroupHeader band and change text in it to Customer details.
6. Add the first_name, last_name, and email field from the fk_customer_address node of the Data Source tree to the Detail Report band of the report. Near each label with the bound field add labels with the text changed to Customer first name:, Customer last name:, E-mail:. Also you can drag the active field by dragging it with right mouse button. When you drop the field on the document area, shortcut menu will appear. Select the CheckBox control in this menu. Change the CheckBox text to Active.
Also drag the label with the Phone text in it and the one bound to the phone data field to the Detail band of the detail report to show the phone number as detailed information on customer.
7. Switch to the Preview tab at the bottom of the Document area:
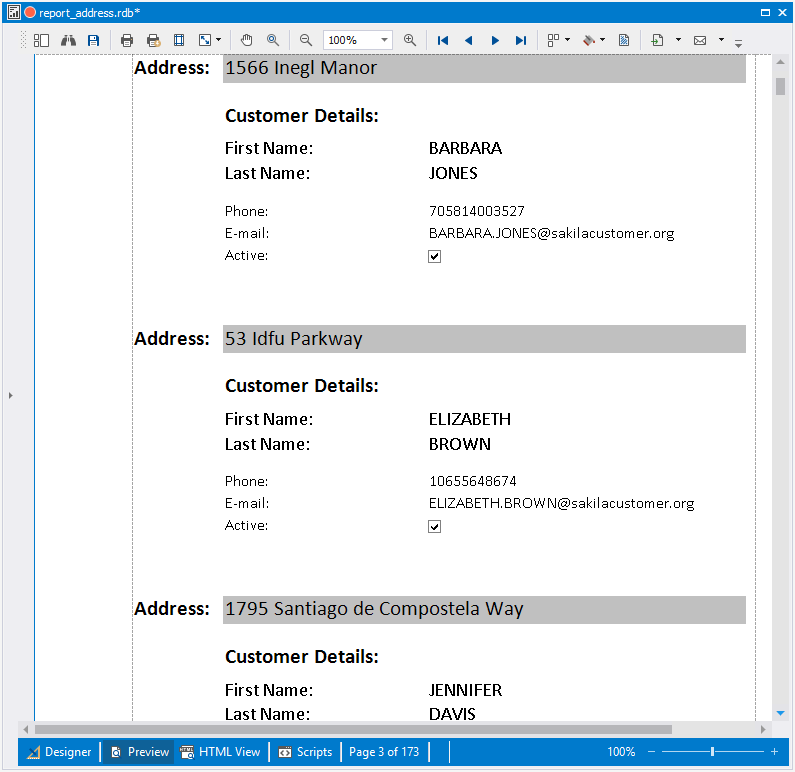
In this topic you’ve created a master-detail report.