Link a database to SVN
This topic explains how to link a database to a Subversion (SVN) repository.
To link a database to SVN
1. In Database Explorer, right-click the database you want to link to source control and select Source Control > Link Database to Source Control.
Alternatively, navigate to the main Database menu and select Link Database to Source Control.
2. On the Link page of the Link Database to Source Control dialog, click ![]() Create New Repository in the Source control repository field.
Create New Repository in the Source control repository field.
Note
The previously linked repository will be selected by default.
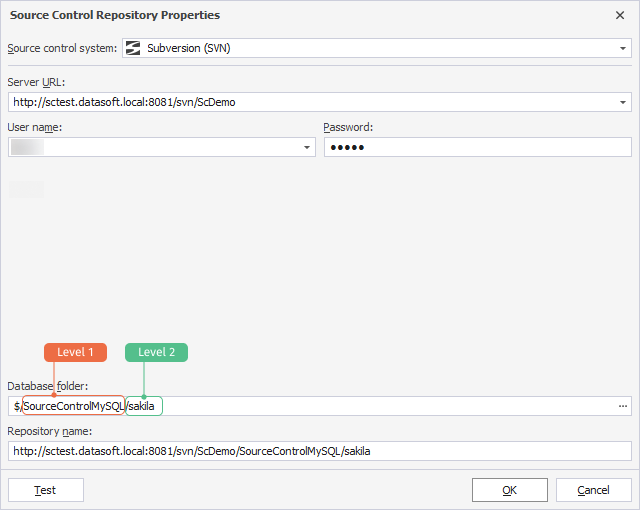
3. In the Source Control Repository Properties dialog, choose Subversion (SVN) as a source control system from the Source control system dropdown list and specify the following information:
- Server URL, User name, and Password for the SVN server.
- Database folder. To do this, click
 Browse to choose the folder where a SQL script will be stored.
 - Optional: The Repository name is automatically derived from the server URL. However, you can specify a different name of the repository.
You can contact your system administrator to get proper settings for Server URL, User name, and Password.
Note
When you create a new project, the Database folder parameter defines the directory, which contains only the database files. Any SQL files added to this directory are automatically integrated into the project’s analysis and comparison processes. However, duplicate files can lead to errors.
To avoid these issues, it is recommended to store database files separate from other files at different levels. For example, the Database folder parameter refers to the following path -
$/SourceControlMySQL/sakila, whereSourceControlMySQLkeeps all additional scripts and files, whilesakilastores only the database files that will be analyzed by a version-control system.
4. Optional: Click Test to verify that the database can be successfully connected to source control.
5. Click OK to apply the changes and close the Source Control Repository Properties dialog.
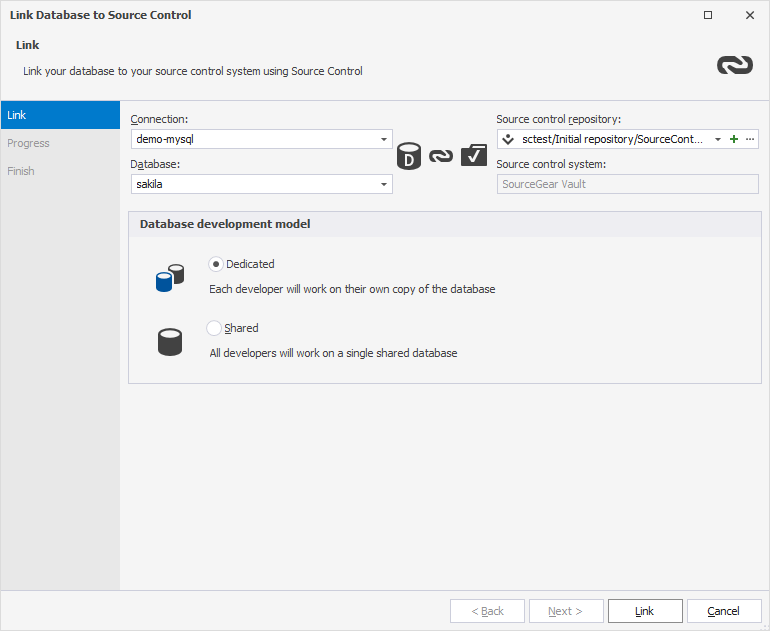
6. Select a database development model: dedicated or shared.
7. Click Link to establish the connection between the database and source control.
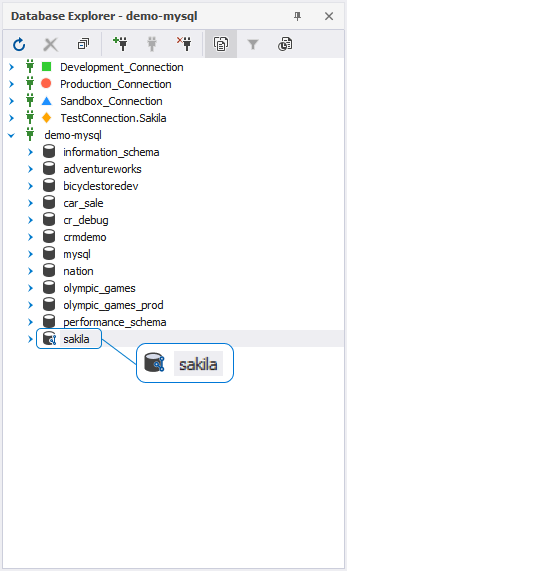
The Refresh progress window opens automatically, showing the stages of the refresh operation. The linked database gets the following icon in Database Explorer: