Link a database to Perforce
This topic explains how to link a database to Perforce (P4).
To link a database to Perforce
1. In Database Explorer, right-click a database you want to link to source control and select Source Control > Link Database to Source Control.
Alternatively, navigate to the main Database menu and select Link Database to Source Control.
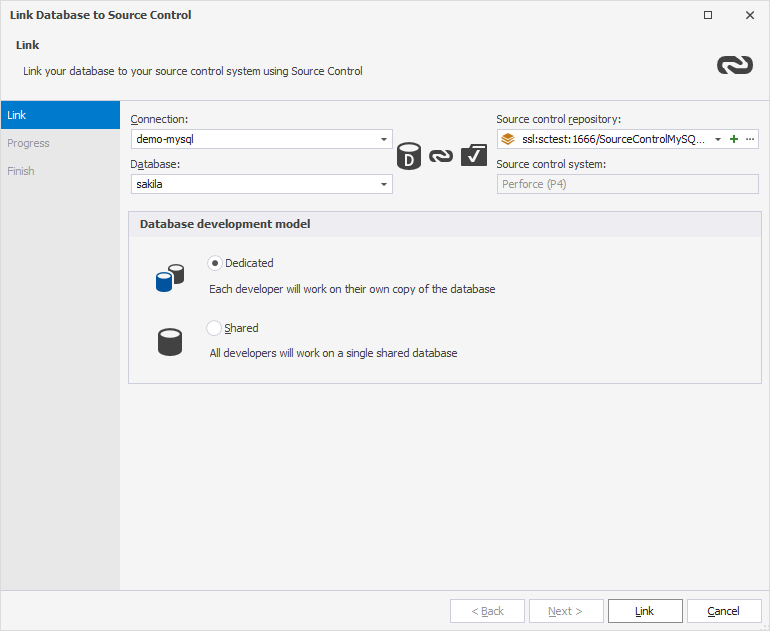
2. On the Link page of the Link Database to Source Control dialog, click ![]() Create New Repository in the Source control repository field.
Create New Repository in the Source control repository field.
Note
The previously linked repository will be selected by default.
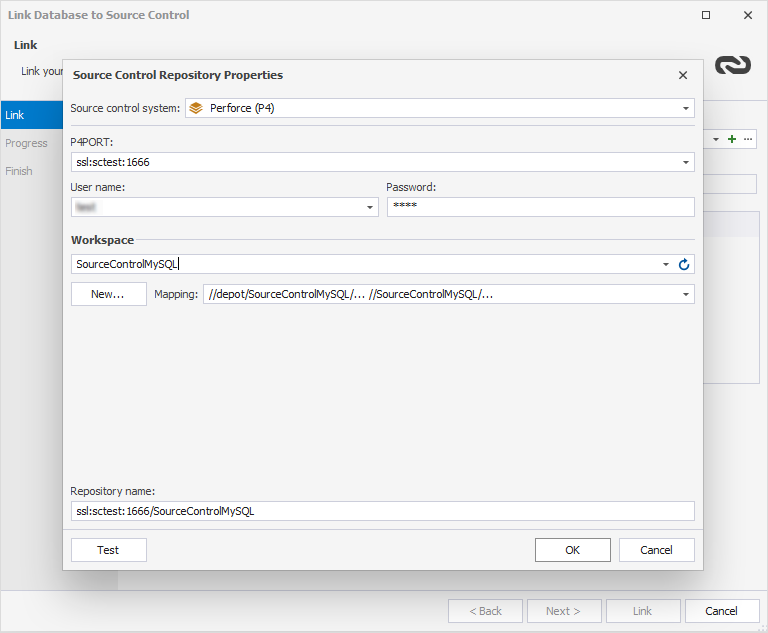
3. In the Source Control Repository Properties dialog, choose Perforce (P4) as a source control system from the Source control system dropdown list and do the following:
- Specify P4PORT, User name, and Password for the Perforce server.
- In the Workspace field, create a new workspace or select an existing one from the dropdown list.
- By default, the repostiory name will be automatically set after specifying the workspace.
Note
It is important to ensure that the Source Control feature of dbForge Studio uses its own workspace for each database link.
It is not recommended to use this workspace from other applications.
To get proper settings for P4Port, Username, Password and Depot, contact your system administrator.

4. Optional: Click Test to verify that the database can be successfully connected to source control.
5. Click OK to apply the changes and close the Source Control Repository Properties dialog.
6. Select a database development model: dedicated or shared.
7. Click Link to establish the connection between the database and source control.

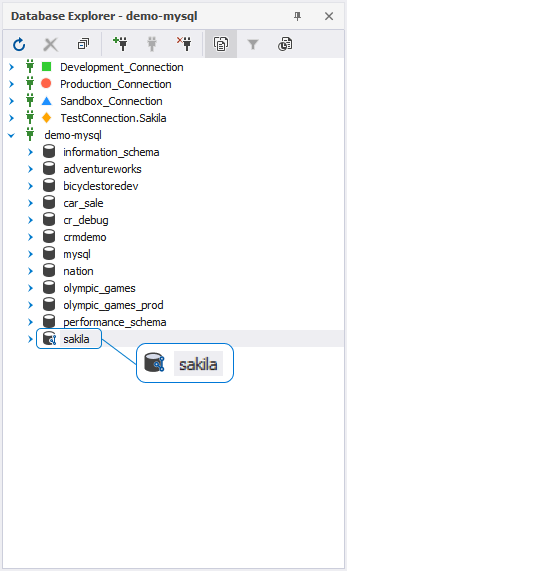
The Refresh progress window opens automatically, showing the stages of the refresh operation. The linked database gets the following icon in Database Explorer:

To create a new workspace
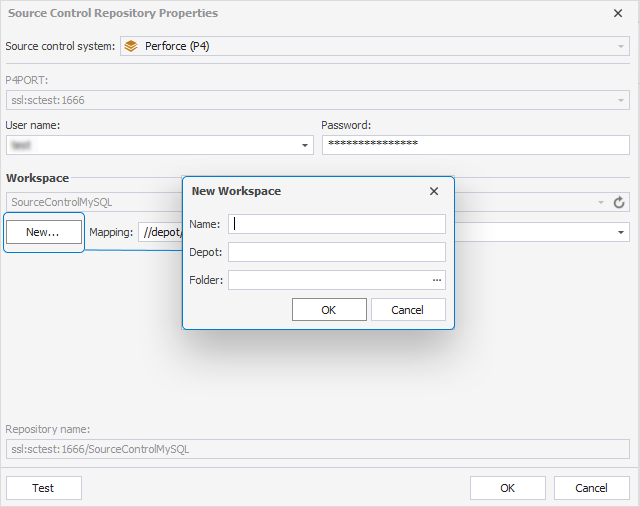
- Under Workspace, click New.
- In the New Workspace dialog, specify a name of the new workspace, an existing Depot, and a path to the Folder with database scripts. Click … Browse to select an existing folder or create a new one.

Note
dbForge Studio will work with scripts from this folder only. If you leave the Folder field empty, it will be considered that the whole depot contains database scripts. In this case, database scripts will be located in one of the Devart folders.
To select an existing workspace
- Select an existing workspace from the dropdown list. Workspace also specifies the local folder where dbForge Studio will store database scripts.
- Optional: Select Mapping from the dropdown list. Mapping specifies the depot and the remote folder to be used by dbForge Studio.
Note
Usage of existing workspace is not recommended due to possible conflicts with other applications or links.
For the correct work of the Source Control feature of dbForge Studio, you and your colleagues must use identical settings for P4Port, Depot and Folder when configuring a new Workspace.