HubSpot

ExpandedToggleIcon        Connection Dialog


To connect to HubSpot, select Authentication Type and then specify the required parameters or perform a web login depending on the Authentication Type selected.

The following Authentication Type options are available:

OAuth - The OAuth 2.0 authentication through Refresh Token, set by default
Private App - The Private App authentication through the unique Access Token for a specific app
API Key - The API key authentication. For information on how to get a HubSpot API key, visit this HubSpot knowledgebase article. (Pay attention that this type of authentication has been deprecated since 2022).


The OAuth 2.0 authentication


For the default RefreshToken (OAuth 2.0) authentication, perform the following steps:

1.Click the Web Login button
2.In the opened login page in the browser, sign in to HubSpot.
3.Select your account to use.
4.In the opened page, click Grant access to approve the access request.

In addition to the required parameters, Advanced connection options may be set for fine-grained connection tuning.


The Private App authentication

Private App is a way of accessing specific data from a user's HubSpot account via API. Users may select each private app's permissions on requesting or changing data in the user's HubSpot account. The Access Token is generated uniquely for a specific app.


Creating a private App


To create and set up the private app, follow the steps below:


1. In the HubSpot account, click the Settings icon in the main navigation bar.

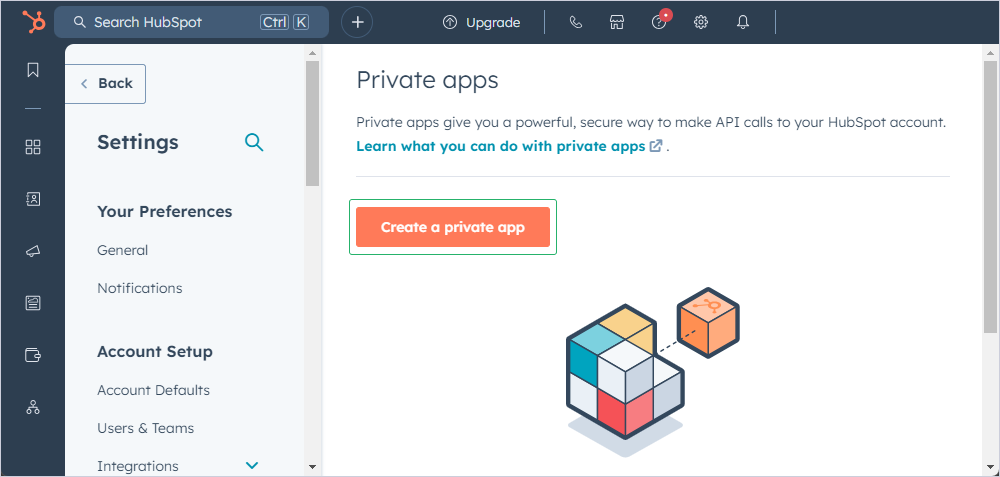
2. In the left sidebar menu, navigate to Integrations > Private Apps.

3. Click Create a private app.


create-private-app


On the Basic info tab, configure the details of your app:


4. Enter the app's name.

5. To upload the desired logo for your app, hover over the logo and click the upload icon.

6. Enter a description for your app.

description

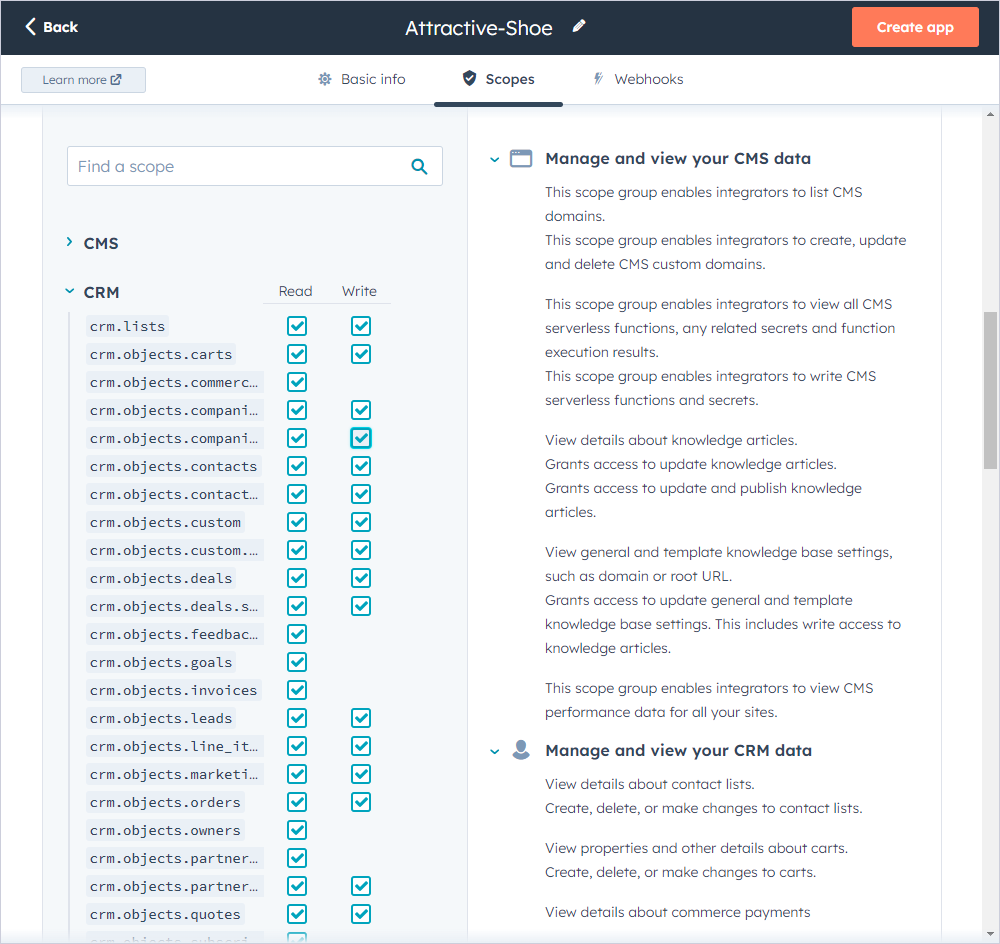
7. Go to the Scopes tab and select the checkboxes for each scope, which you desire your private app to have. If you don't know which scopes to choose, it is recommended that you select all available checkboxes. Otherwise, some data may not be available.

select-checkboxes

8. After making all the necessary changes, click Create app.

create-app

9. To proceed, in the Create a new private app dialog that appears, click Continue creating.
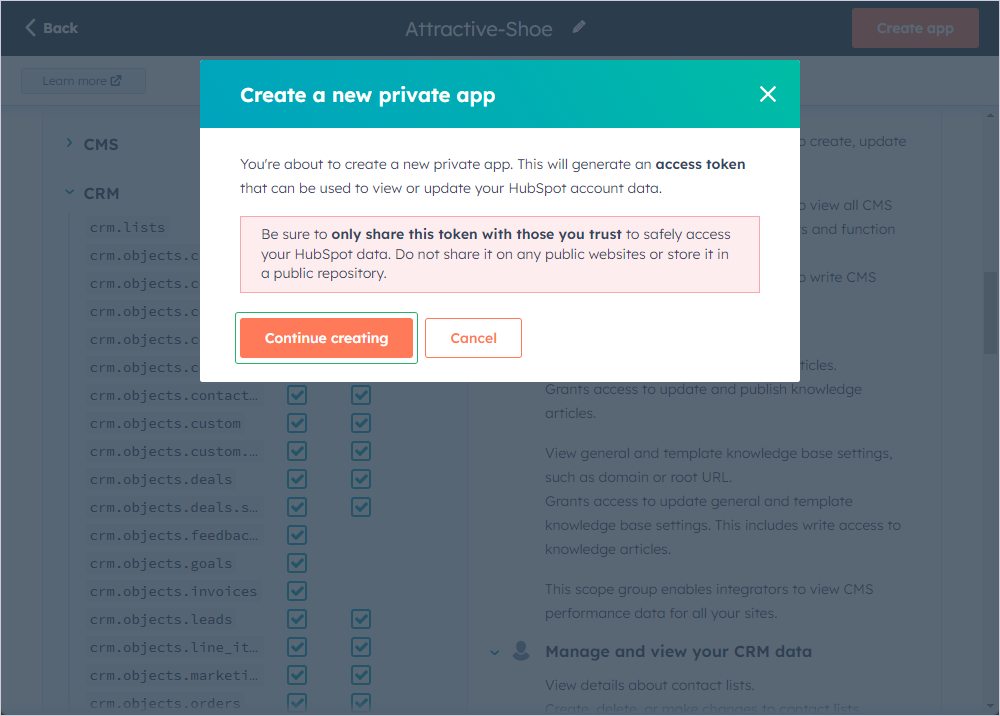
continue-creating

10. To obtain the access token and start using API, go to your private app page and click Show token. As a result, the Copy button will be activated allowing you to copy your private app access token for further use.
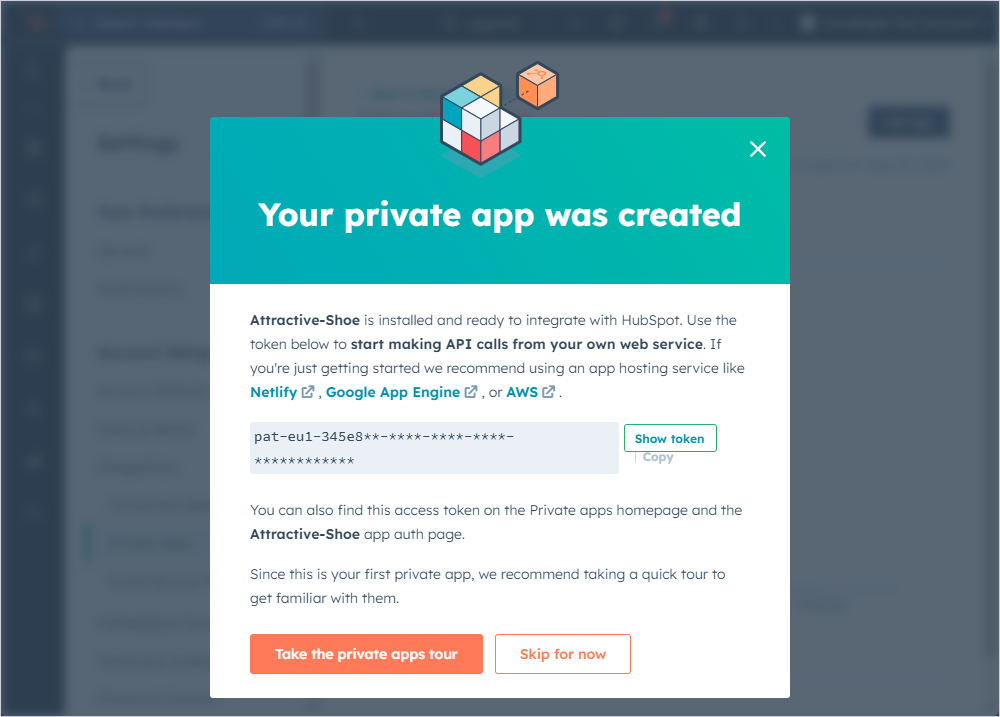
show-token

Once copied, you can use your private app access token for creating the ODBC connection.


11. Select Private App from the drop-down menu next to Authentication in the driver configuration dialog box.


12. To save the DSN, insert the copied access token of your private app in the corresponding property field and click OK.


ExpandedToggleIcon        Advanced Connection Options

The following table describes the options that you can include in the Connection String using the Advanced Connection Editor dialog box:


Option

Description

Access Token

The Private App access token. Available when the Private App authentication type is selected.

API Key

A key that grants access to your HubSpot account.

Authentication Type

Determines the authentication type to use - APIKey or RefreshToken (OAuth 2.0).

Client Id

The Client ID obtained from the app settings in the HubSpot Developer account.

Client Secret

The Client Secret obtained from the app settings in the HubSpot Developer account.

Connection Lifetime

When a connection is returned to the pool, its creation time is compared with the current time, and the connection is destroyed if that time span (in seconds) exceeds the value specified by Connection Lifetime. The default value is 0 (connection always returns to pool).

Connection Timeout

The length of time (in seconds) to wait for a connection to the server before terminating the attempt and generating an error. The default value is 60.

Default Command Timeout

The time in seconds to wait while trying to execute a command before terminating the attempt and generating an error. The default value is 60.

Failover Retries

The number of retry attempts to re-run a command in case when the command failed because of an exception, that indicates that the reason of the failure may be temporary. The default value is 7.

Local SQL Engine

Determines whether to enable local SQL processing (enabled by default). Local SQL processing allows performing complex SELECT statements that cannot be directly compiled to HubSpot API calls. In this case all the data from the mentioned cloud objects is queried to the local cache, and then the query is performed against the cache.

If local SQL processing is disabled, only simple SELECT statements that can be directly translated into HubSpot API calls can be used. More complex SELECT statements will fail.

Max Pool Size

The maximum number of connections allowed in the pool. Setting the Max Pool Size value in the connection string can affect performance. The default value is 100.

Min Pool Size

The minimum number of connections allowed in the pool. The default value is 0.

Persist Security Info

Indicates if security-sensitive information, such as the password, is not returned as part of the connection if the connection is open or has ever been in an open state.

Pooling

If true, by default, the connection is drawn from the appropriate pool or is created and added to the appropriate pool.

Proxy Host

The host name or IP address of proxy server.

Proxy Password

The password for the proxy server account.

Proxy Port

The port number of the proxy server. The default value is 3128.

Proxy User

The proxy server account name.

Readonly

Indicates whether the connection is read-only (allows only SELECT statements).

Refresh Token

OAuth 2.0 refresh token for HubSpot. Obtained automatically when you perform Web Login.

Token Server

Refresh Token may expire after just 24 hours. SSIS Data Flow Components for HubSpot can query new tokens automatically and store them between sessions if you set this parameter. This parameter specifies the location to store new tokens between sessions. You can specify a file or a registry key to store tokens. For example, "file://D:\temp\oauth_token_1234.txt" or "reg://HKEY_CURRENT_USER\Software\Devart\dotConnect\OAuth_12345"

UTC Dates

If set to True, dates will be converted to UTC format during import, and the date values entered by the user (in SELECT statements, etc.) are considered UTC dates when sending them to the data source.