OAuth 2.0 (Open Authorization 2.0) is an open standard for access delegation, commonly used to grant third-party applications limited access to a user’s resources without exposing their credentials. It allows secure access to a resource on behalf of a user while maintaining data protection and minimizing security risks.
OAuth 2.0 requires a browser for one-time user consent. The user must authorize the application’s request to access their data through a browser. Once consent is granted, the application can use the refresh token to maintain access without requiring further browser-based authentication.
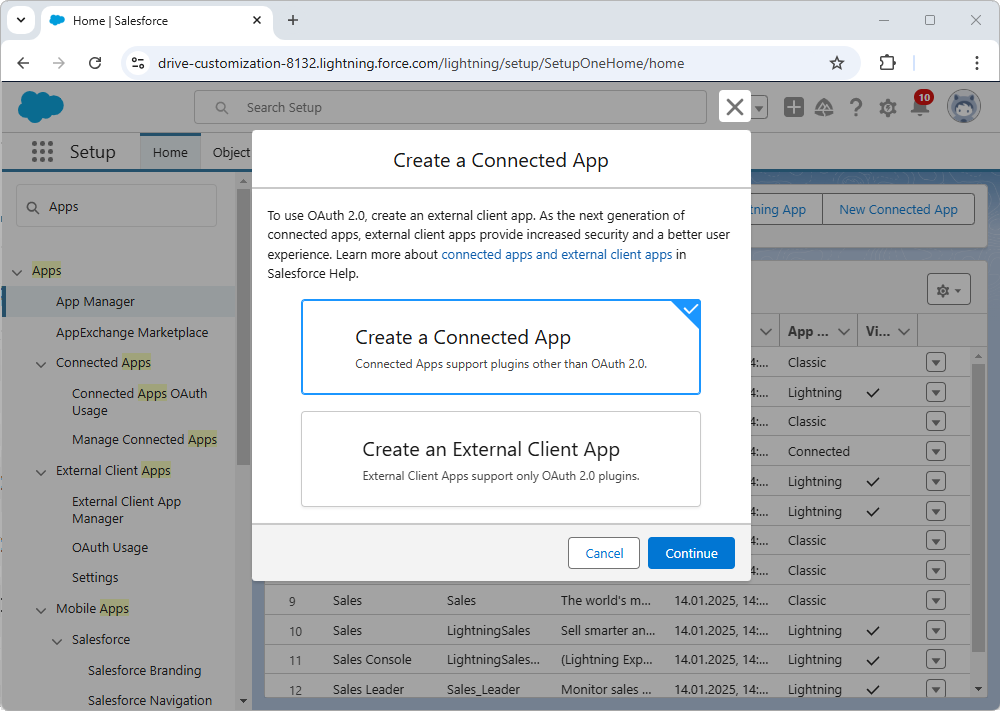
Salesforce supports two approaches for configuring OAuth access:
| • | Connected Apps – The standard option for most OAuth integrations. A connected app is typically used for user-based authentication flows, where a user signs in through a browser, grants consent, and the application receives OAuth tokens such as an access token and refresh token. |
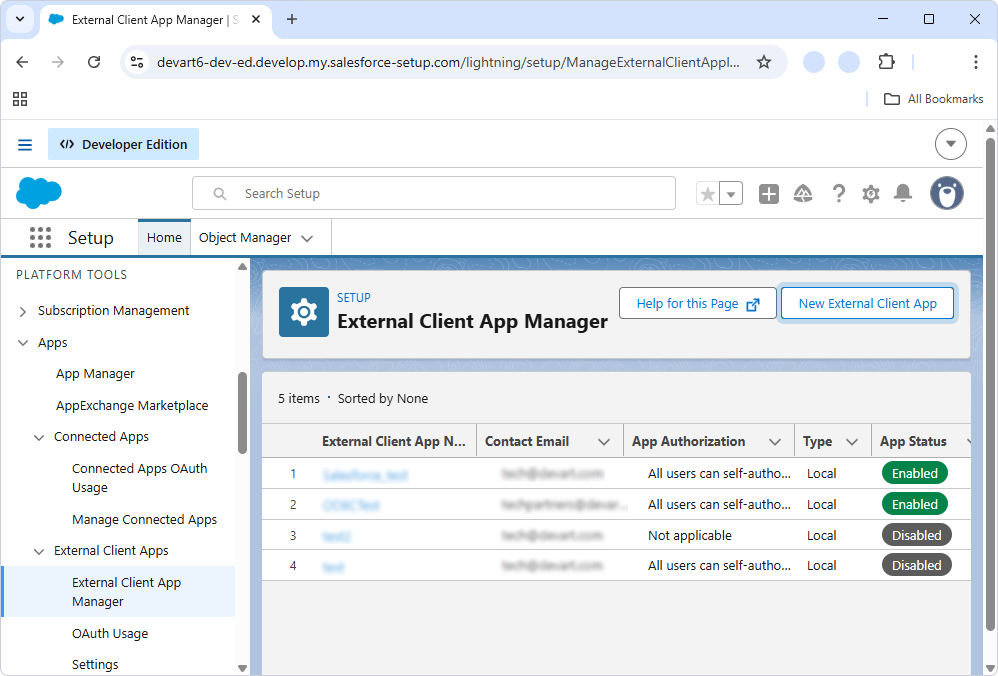
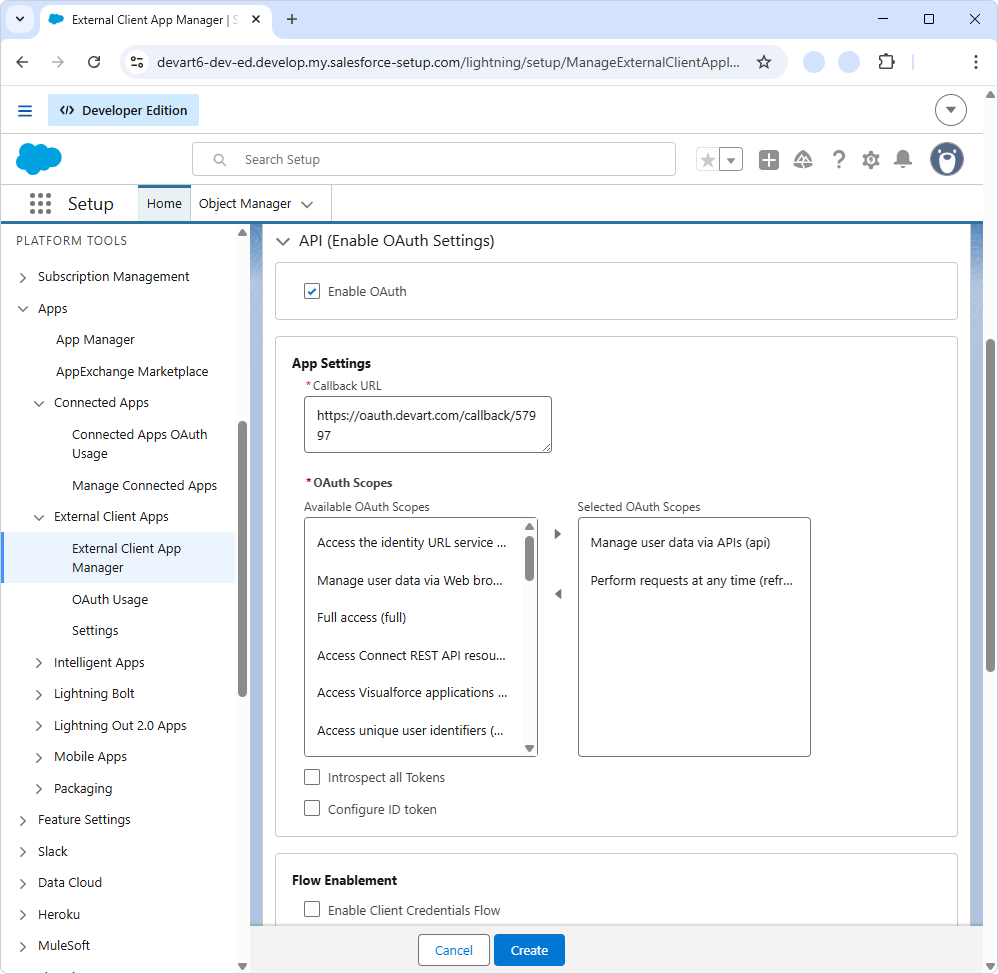
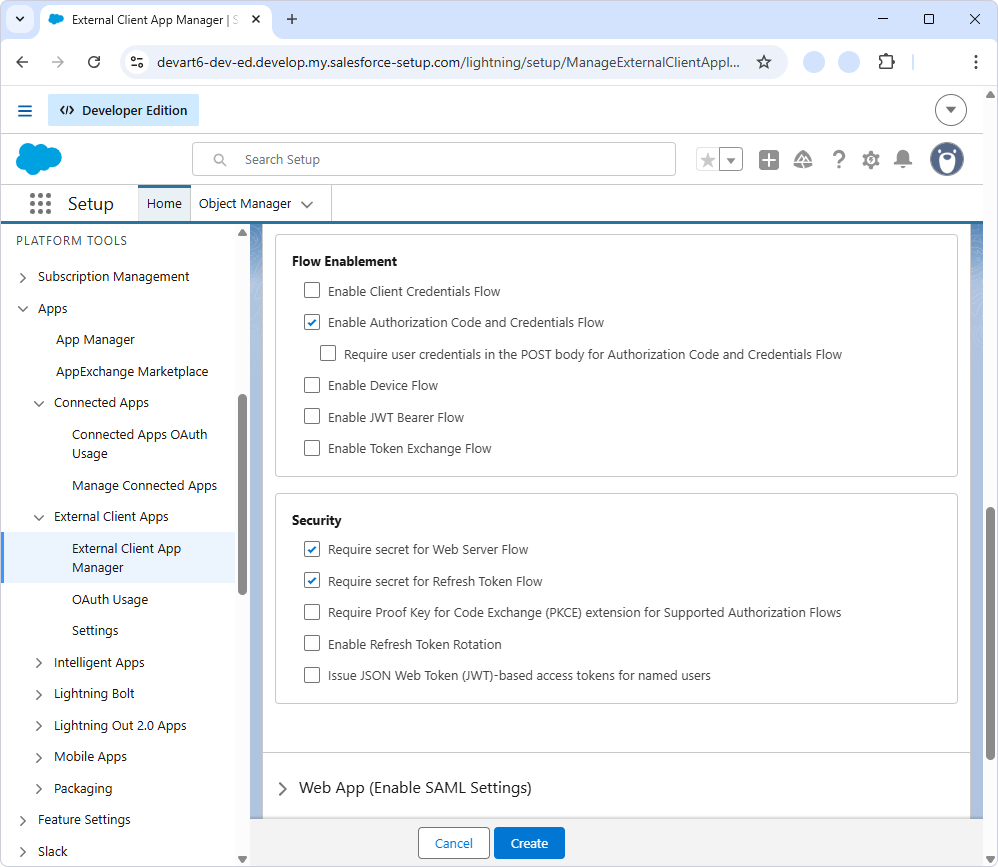
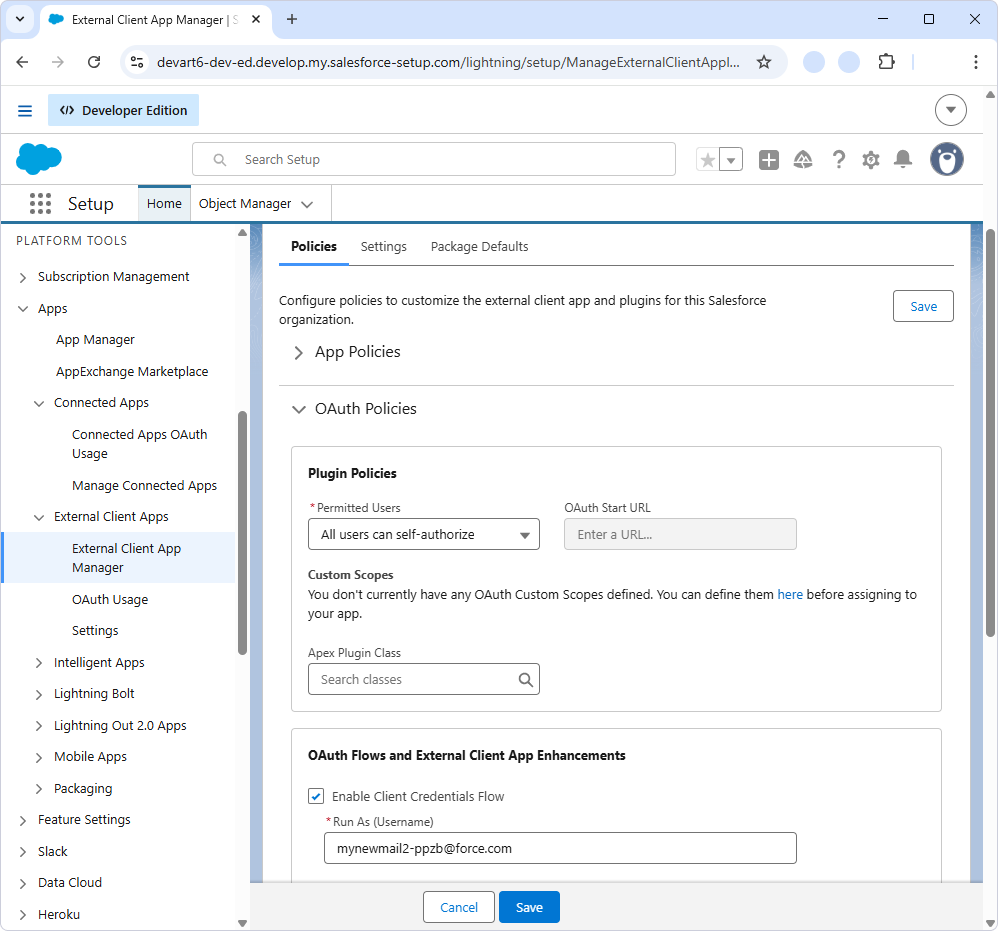
| • | External Client Apps – An alternative option that supports additional OAuth scenarios, including server-to-server authentication through the client сredentials flow. This approach provides more granular control over OAuth flow enablement, client secret requirements, and policy settings for issuing tokens on behalf of a specified user. |
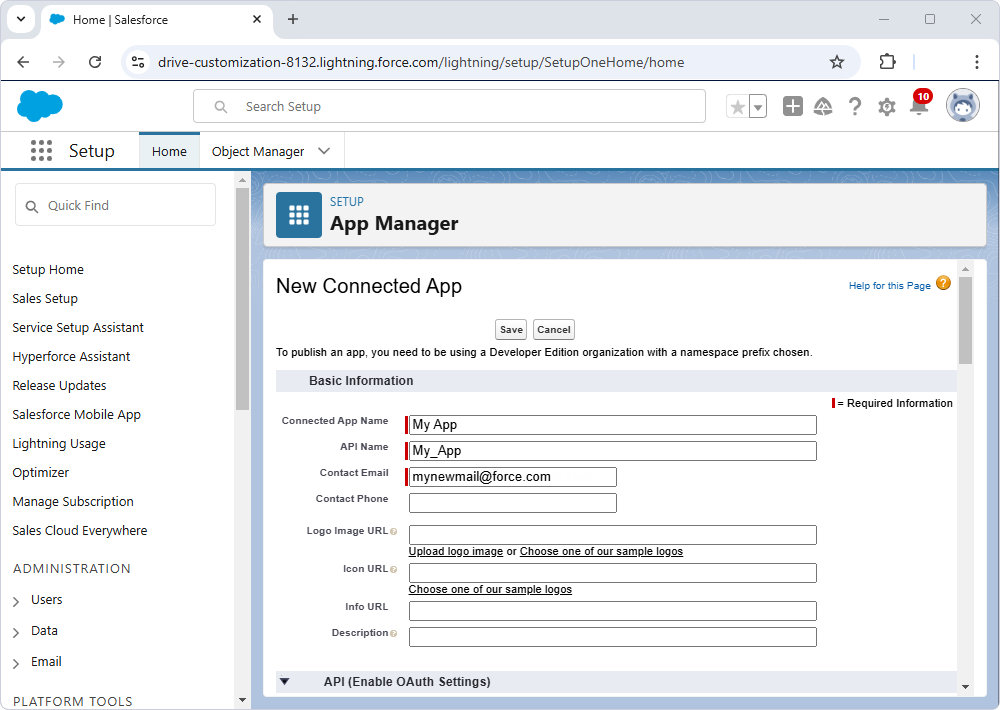
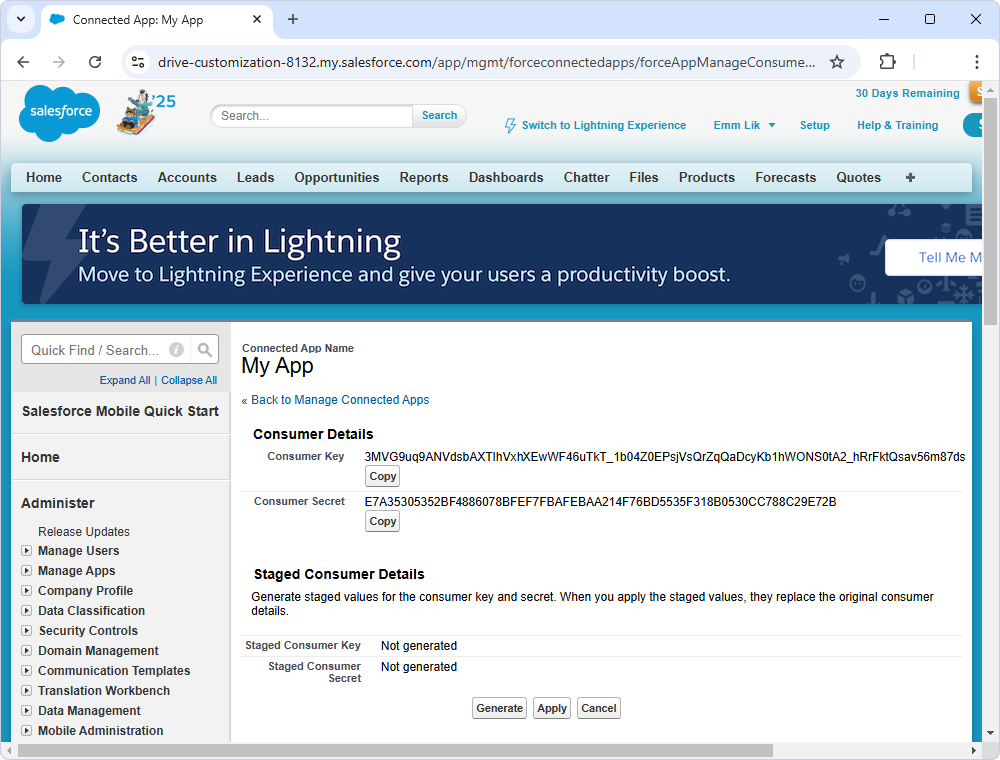
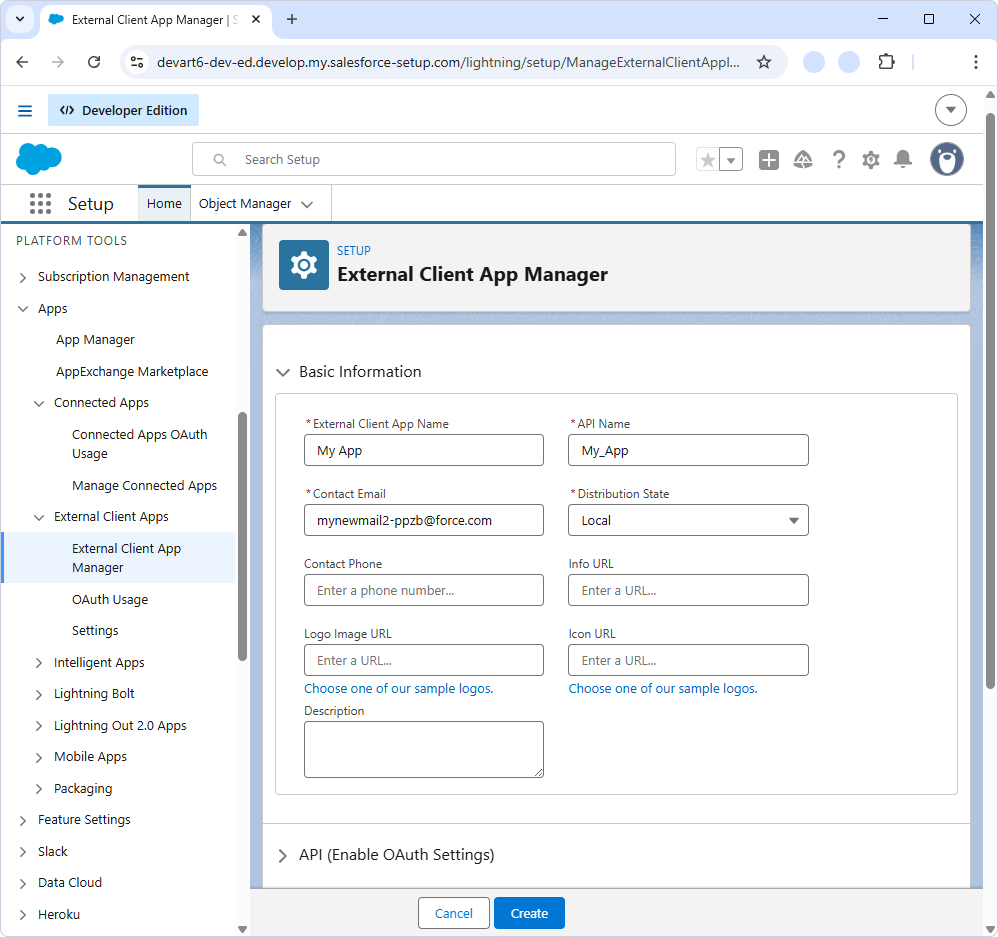
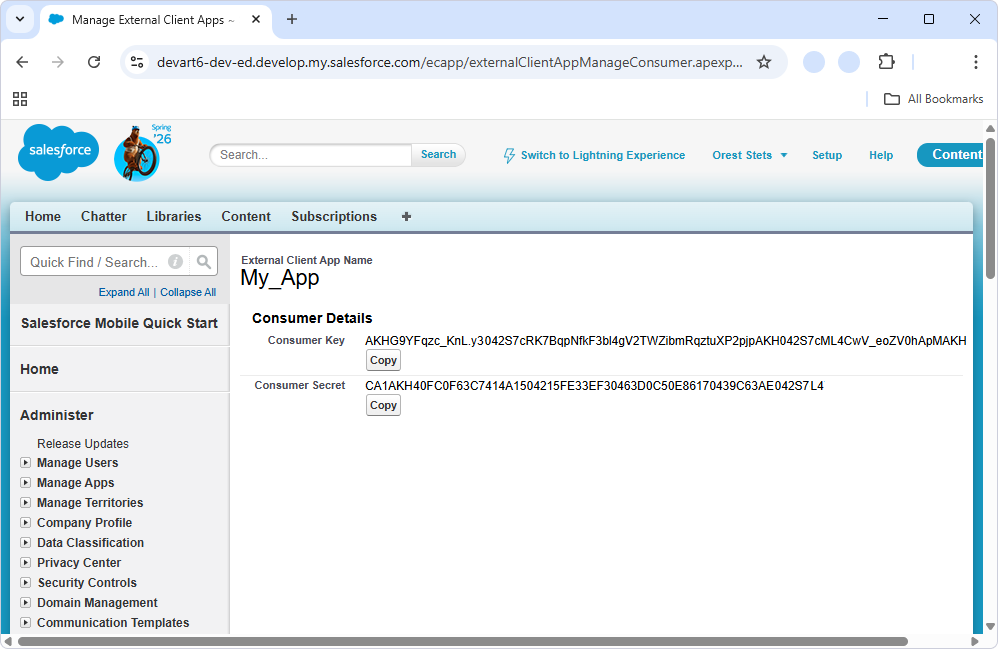
To use OAuth authentication with a custom app, create a Salesforce connected app or an external client app and obtain its Consumer Key and Consumer Secret.
|
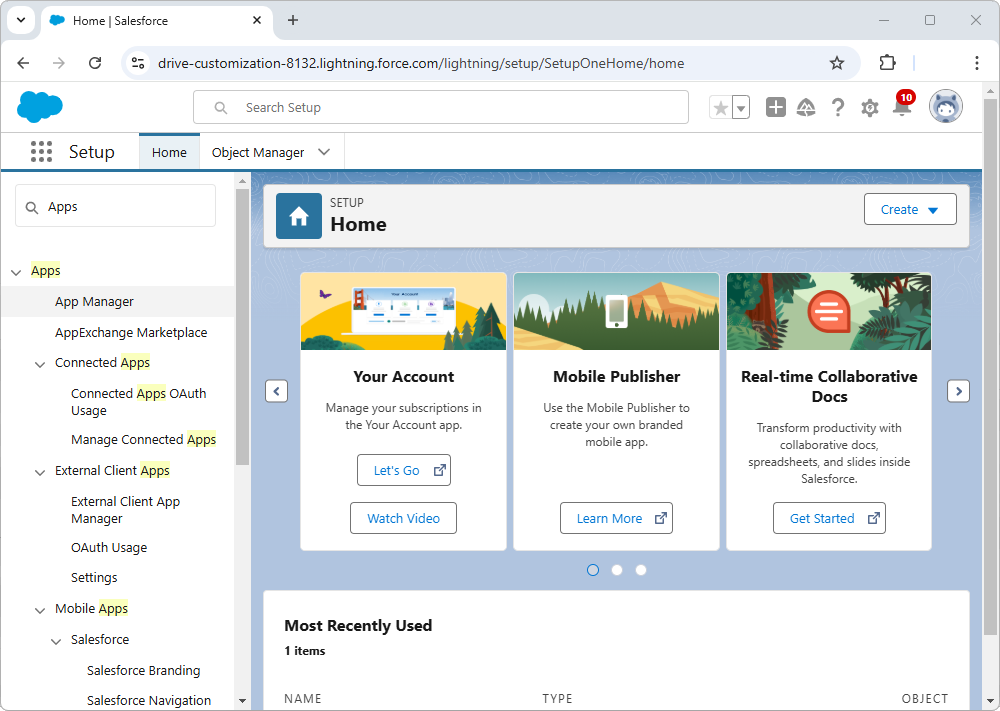
 Create a connected app in Salesforce