Add a Subversion repository
Schema Compare allows you to establish the connection to a Subversion repository when the source control is selected as source or target.
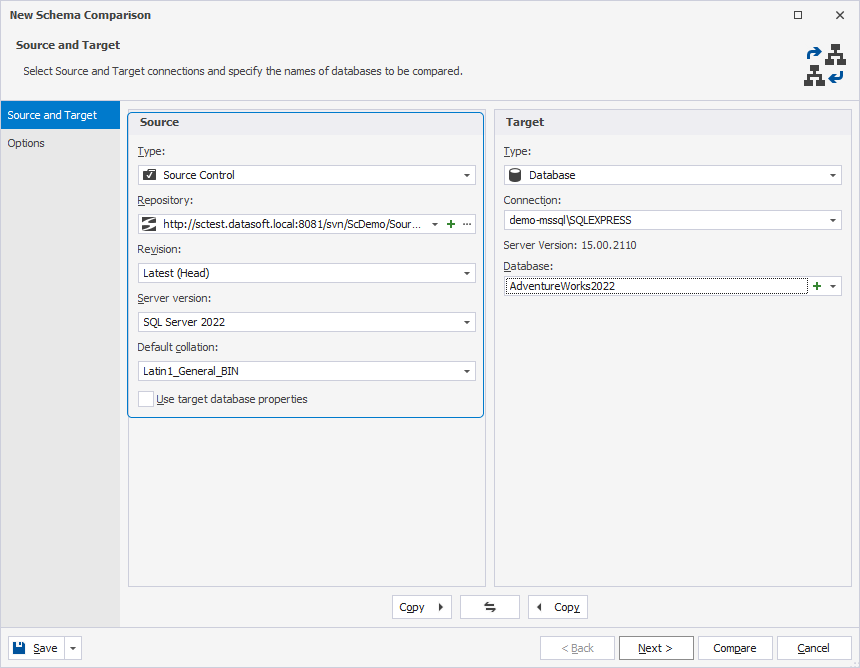
To add a Subversion repository as source
1. In the upper-right corner of the Start Page or on the toolbar, click New Schema Comparison to open the New Schema Comparison wizard.
2. On the Source and Target page of the wizard, select Source Control as a source type.
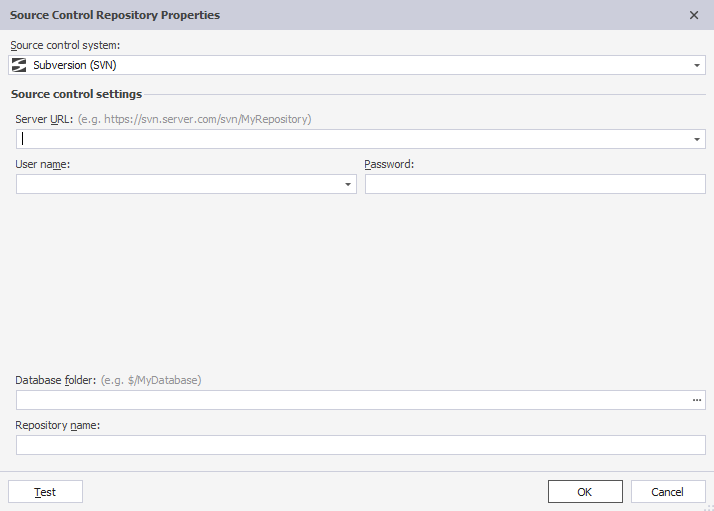
3. In the Repository menu, click + New to open the Source Control Repository Properties dialog.
4. In the Source Control Repository Properties dialog that opens, select Subversion (SVN) as a source control system from the Source control system dropdown list and specify the following information:
- Server URL, User name, and Password for the SVN server.
- Database folder. To do this, click
 Browse to choose the folder where SQL scripts will be stored.
 - Optional: The Repository name is automatically derived from the server URL. However, you can specify a different name of the repository.
Note
Contact your system administrator to get proper settings for Server URL, User name, and Password.
Optional: Click Test to check the connection. The pop-up window notifying you that the connection has been successfully established appears. Click OK to close the window.

5. Click OK to close the Source Control Repository Properties dialog.

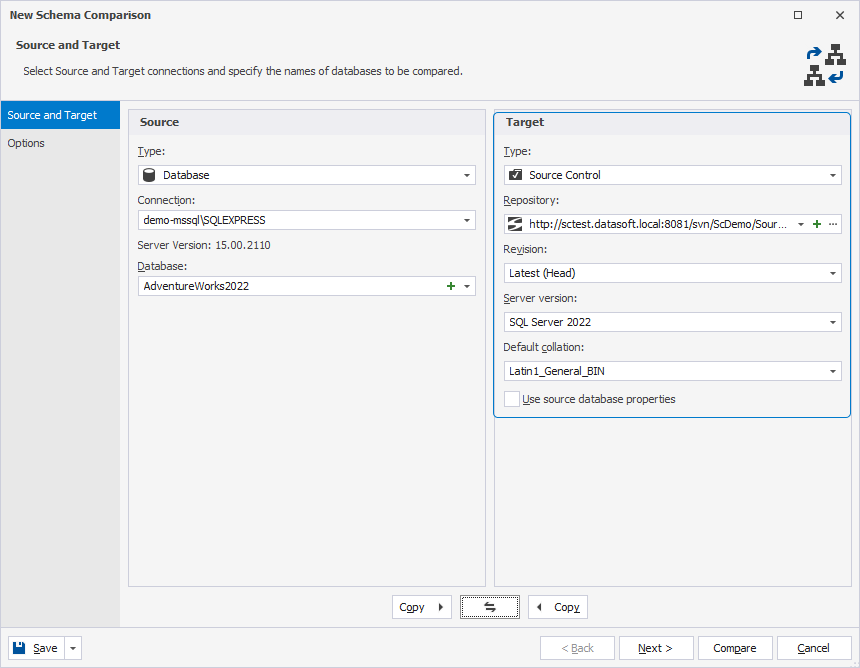
To add a Subversion repository as target
1. In the upper-right corner of the Start Page or on the toolbar, click New Schema Comparison to open the New Schema Comparison wizard.
2. On the Source and Target page of the wizard, select Source Control as a target type.
3. In the Repository menu, click + New to open the Source Control Repository Properties dialog.
4. In the Source Control Repository Properties dialog that opens, select Subversion (SVN) as a source control system from the Source control system dropdown list and specify the following information:
- Server URL, User name, and Password for the SVN server.
- Database folder. To do this, click
 Browse to choose the folder where SQL scripts will be stored.
 - Optional: The Repository name is automatically derived from the server URL. However, you can specify a different name of the repository.
Note
Contact your system administrator to get proper settings for Server URL, User name, and Password.
Optional: Click Test to check the connection. The pop-up window notifying you that the connection has been successfully established appears. Click OK to close the window.

5. Click OK to close the Source Control Repository Properties dialog.
