Installation using the installation wizard
dbForge tools can be installed using the installation wizard, or from the command line, or via PowerShell.
To install Schema Compare for PostgreSQL:
1. Run schemacomparepostgresql.exe to begin installation.
2. On the Welcome to dbForge Schema Compare for PostgreSQL page, click Install.
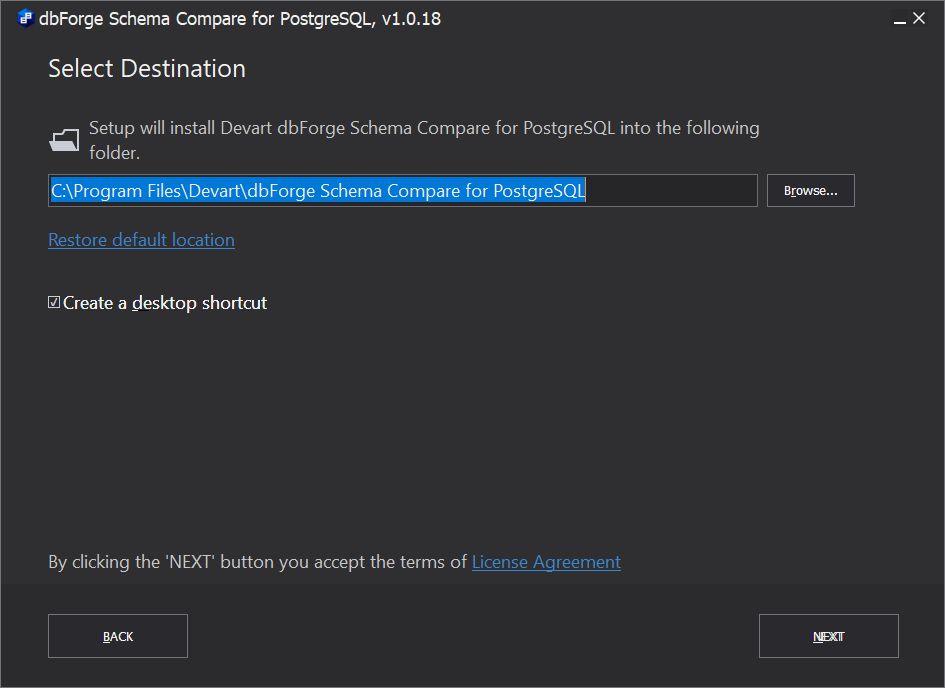
3. On the Select Destination page, you can:
-
Select the directory where dbForge Schema Compare for PostgreSQL will be installed. To change the default directory, click Browse. To restore the default directory, click Restore default location.
-
Create a desktop shortcut.
-
Click the License Agreement link to learn the End-User Agreement for dbForge Schema Compare for PostgreSQL.
If you agree to the Devart dbForge Schema Compare for PostgreSQL License Terms, click Next.
4. On the File Associations page, select file extensions that will be associated with this application when it is installed on your computer. Click Next.
5. On the Startup Optimization page, select the option that fits your needs best. Click Next.
6. Optionally, on the Installing page, you can interrupt the installation by clicking the Cancel button.
7. On the final page, click Finish to exit Setup wizard. Optionally, you can select the Launch dbForge Schema Compare for PostgreSQL option to start the application immediately after installation.