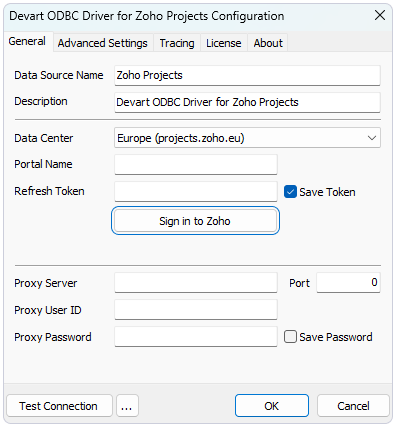
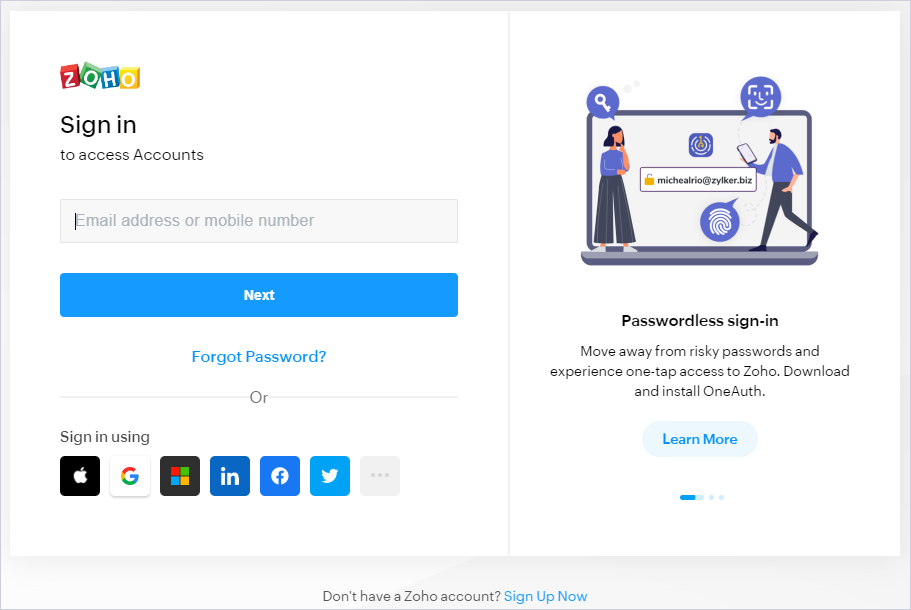
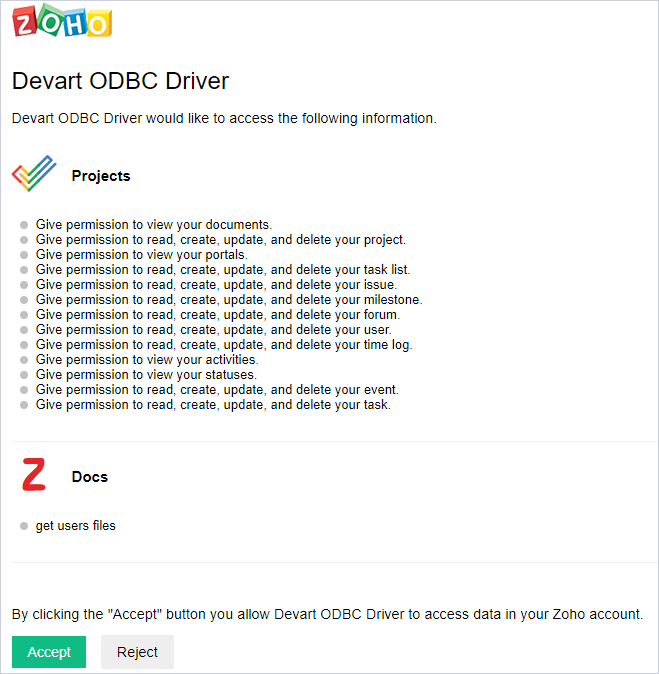
To generate a Zoho Projects Refresh Token, perform these steps:
-
Run the ODBC Administrator utility and open the Configuration dialog of the driver.
-
Click the Sign In to Zoho button.
-
In the appeared Web Login dialog, enter your Zoho account credentials and click Sign in
-
Then click the Accept button.
-
The token is automatically generated and inserted in the corresponding field of the driver configuration window.
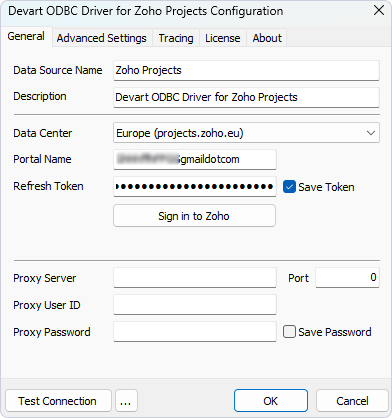
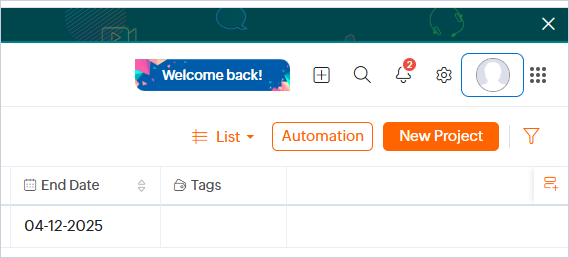
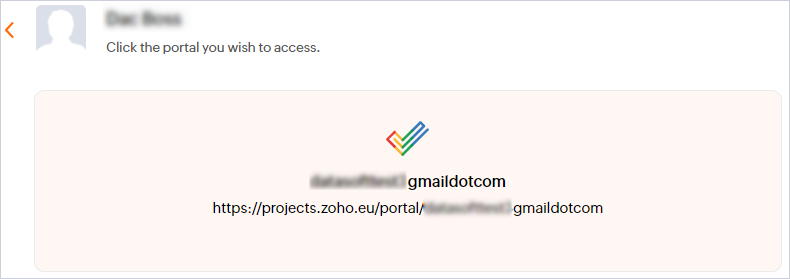
To obtain a portal name, go to Zoho Projects dashboard either manually or using the following link. In the dashboard, perform the following steps:
-
Click the Profile Icon in the top-right corner of your Zoho Projects dashboard:
-
In the appeared pop-up window, click the My Portal button:
-
On the next page you will see the list of your portals. Copy the Portal Name to use for connection creation:
-
Insert the Portal Name into the corresponding connection field:
