Connecting to Stripe from QlikView using ODBC Driver for Stripe
This tutorial describes how to connect and configure QlikView to retrieve data from Stripe for further analysis. QlikView is a data visualization tool that connects and pulls data from different popular databases like MySQL, MongoDB, Oracle, SQL Server, Postgres, etc. to present it in a single view. The business intelligence platform identifies relationships in your data and discovers patterns and opportunities to support your decision making.
QlikView supports the ODBC connectivity interface for communication with external data sources. An ODBC data source must be configured for the database you want to access. You can create an ODBC connection using a DSN during the ODBC driver installation or later.
To connect to an ODBC data source from QlikView using our driver for Stripe, perform the steps below:
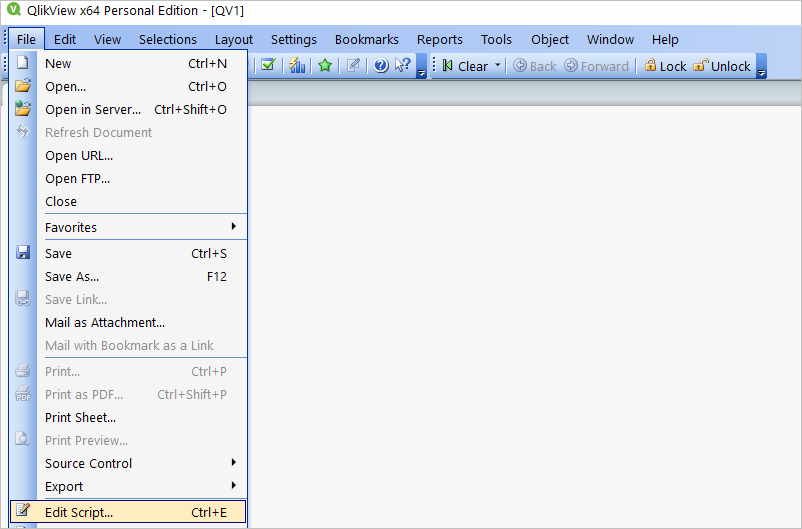
- Open the QlikView client application and click File > New. Close the Getting Started wizard and open File > Edit Script (CTRL+E).
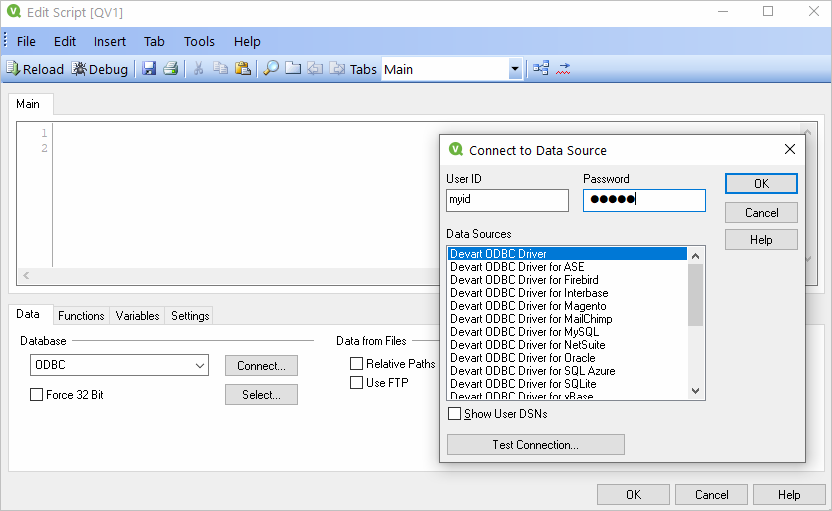
- In the Data tab, choose ODBC from the Database drop-down and click Connect. Select the Data Source you created earlier, type in the User ID and Password if your database is password-protected. You can test the connection by choosing Test Connection. The Connection Test succeeded message should appear. Click OK to connect to your data source.
- To retrieve the data from your data source, you can enter an SQL query and press F5. You will be suggested to choose fields to be displayed.
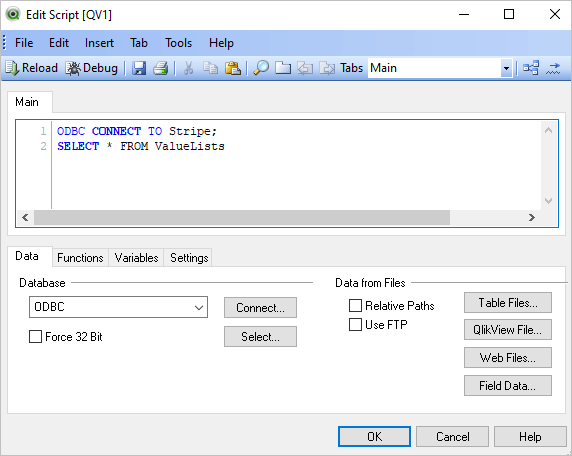
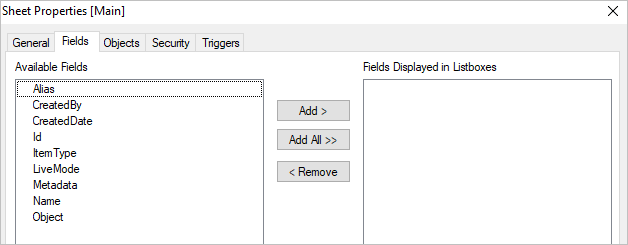
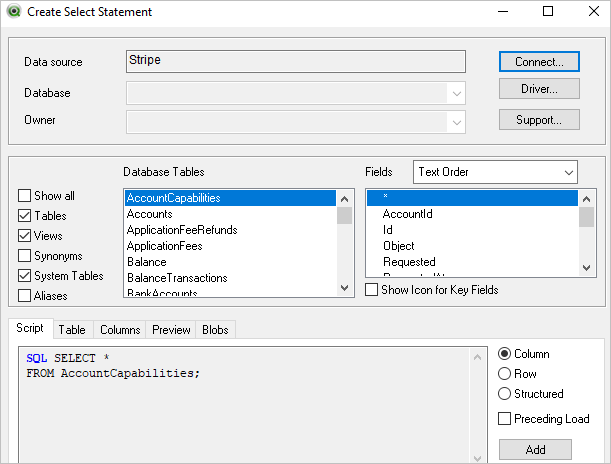
- Alternatively, you can click Select, and QlikView will show you the database structure window where you can compose a SELECT statement for the data to be fetched. You can choose a different database from the database drop-down list. Select the necessary tables and fields. You can retrieve date from multiple tables and fields by selecting them and clicking Add. When you are ready with your SELECT statement, click OK. You will get back to the main script editor with your SQL statement. Press F5 to execute the script and select the fields to be displayed in QlikView.
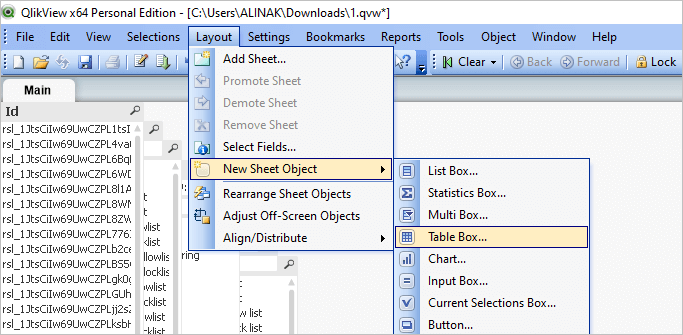
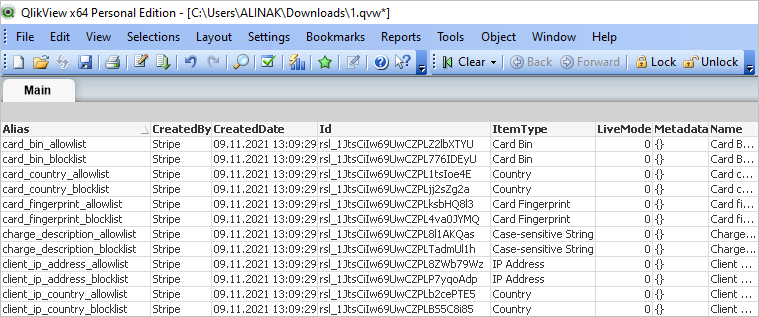
- Once the data has been fetched, you can choose a table layout to present the data in a table. Choose Layout > New Sheet Object > Table Box. Select the fields to be added to the tablebox and click OK.
