Connect Microsoft Visual Studio to SQLite
This topic describes how to connect Microsoft Visual Studio to an SQLite database using an ODBC driver.
Visual Studio is a powerful development environment that provides tools for editing, debugging, and compiling code, as well as creating applications. These applications can connect to databases and services on a local machine, across a network, or in any cloud environment—private, public, or hybrid. To connect Visual Studio to a data source such as SQLite, you can use Devart ODBC driver for SQLite.
Create a DSN for SQLite
Before you start, you need to configure a DSN for SQLite in the ODBC Data Source Administrator. It’s required to establish a connection to an ODBC database in Visual Studio. You can find the instructions for your OS in the following topics:
- Configure a Windows DSN for SQLite.
- Create a DSN in the iODBC Administrator.
- Configure an ODBC Driver Manager on Linux.
Connect Visual Studio to SQLite
1. Open Microsoft Visual Studio.
2. Open Server Explorer: On the View menu, select Server Explorer.
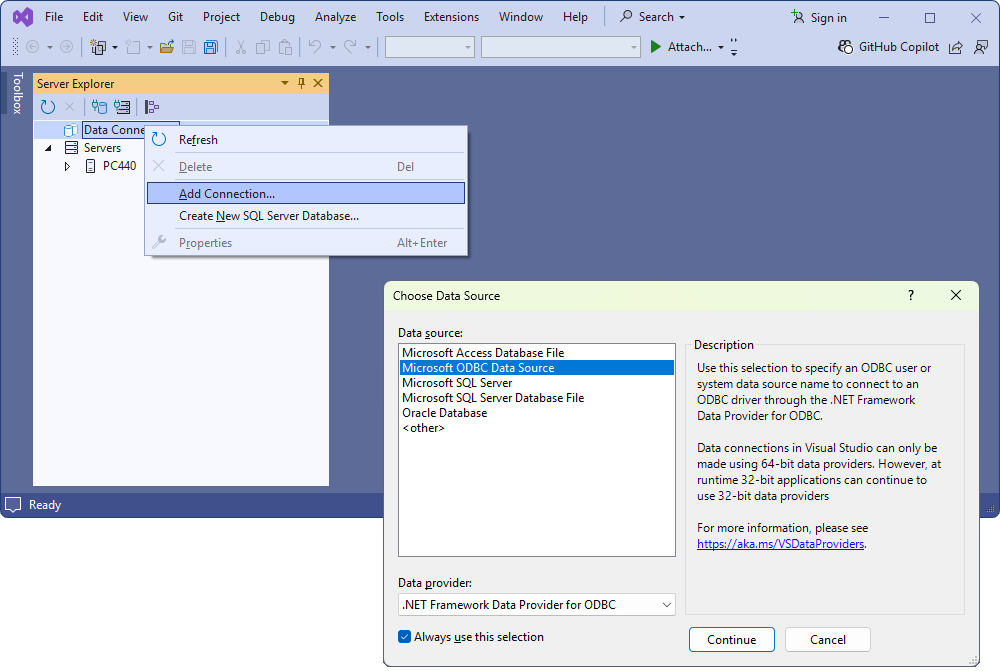
3. In Server Explorer, right-click Data Connections and select Add Connection.
4. In the Choose Data Source dialog, select Microsoft ODBC Data Source and click Continue.
5. In the Data source specification section, select your SQLite DSN from the Use user or system data source name dropdown list.
6. Optional: Click Test Connection to verify connectivity.
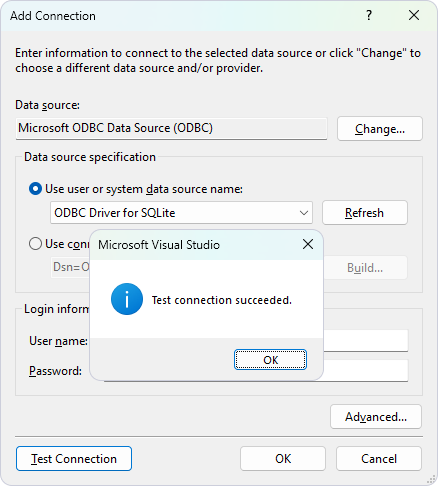
7. Click OK.
The new connection appears under Data Connections in Server Explorer.
