ODBC Driver for Snowflake

Creating the MST File Using Orca - ODBC Driver for Snowflake

Creating the MST File Using Orca

To customize the installation of the ODBC Driver for Snowflake, you first need to edit the Windows Installer Package (MSI) by creating an MST file. This will allow for customized installation of an original Windows Installer (MSI) Package.

An MST file, or Windows Installer Setup Transform file, contains program configuration settings. In our case, the MST file for the ODBC Driver for Snowflake will include the correct license information. This MST file is used together with the original MSI package in the Group Policy software distribution system.

There are many tools available for customizing MSI file settings, so you can choose the one that best suits your needs. In this example, we'll be using Orca, which is available as part of the Windows SDK Components for Windows Installer Developers. For more information about Orca, visit the official Microsoft website

    To start the process of MST file generation using the Orca editor, follow the steps below:
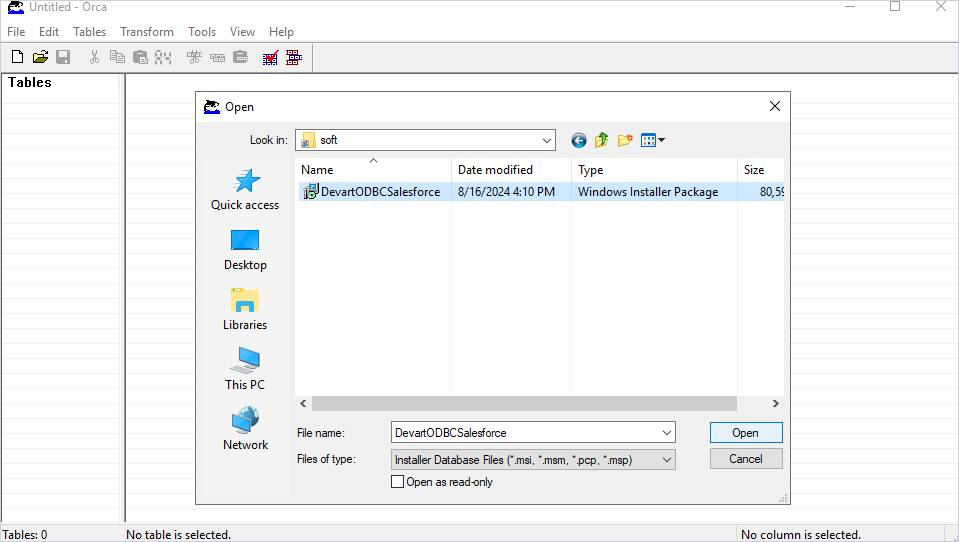
  1. Launch the Orca application, then open the required MSI file by selecting Open in the File menu or click the Open icon on the toolbar below.

    Opening an MSI file with Orca

  2. The MSI file for the ODBC Driver for Salesforce is taken as an example to illustrate the Group Policy installation process. Use the same steps described in this section when installing the ODBC Driver for Snowflake.

  3. As a result, the Tables menu on the left side of the main application window will display the properties of the selected MSI file.
  4. Next, navigate Transform -> New Transform.

    Clicking the Transform tab -> New Transform

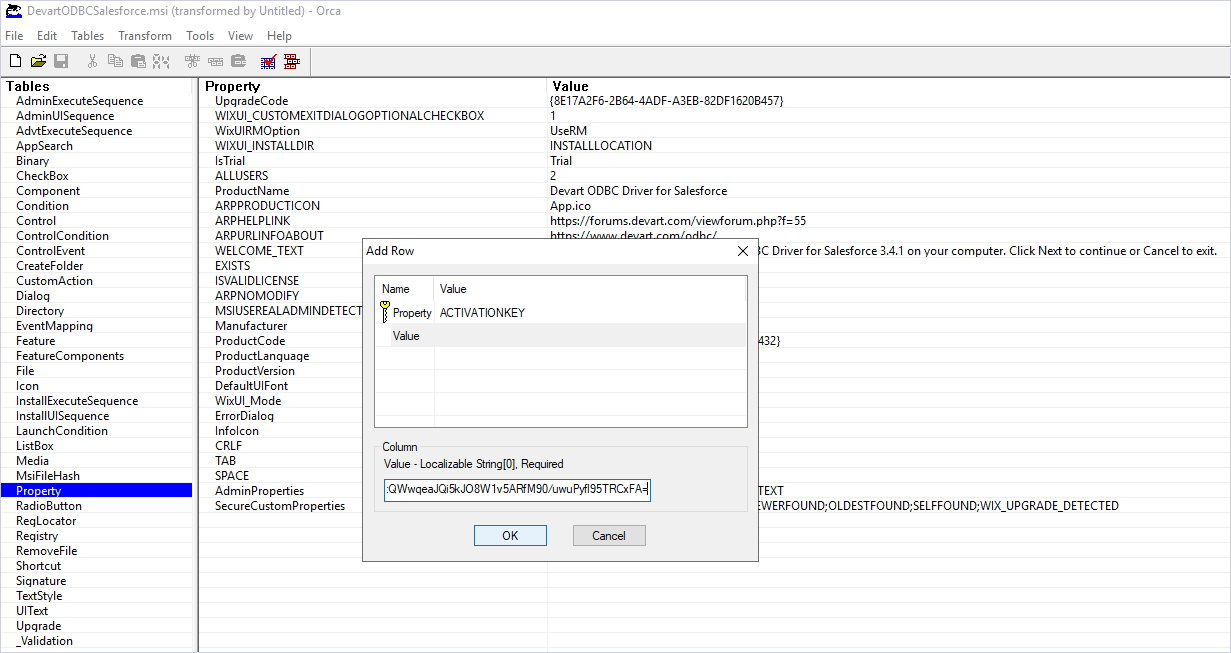
  5. To proceed, select Property from the Tables menu, then double-click any empty row on the right side of the application window.

    Configuring the Add Row dialog

    In the Add Row dialog that opens, make the following settings and press OK to apply the changes:
    • Property - enter ACTIVATIONKEY with capital letters only.
    • Value - enter the valid OEM license key for the ODBC Driver for Snowflake.
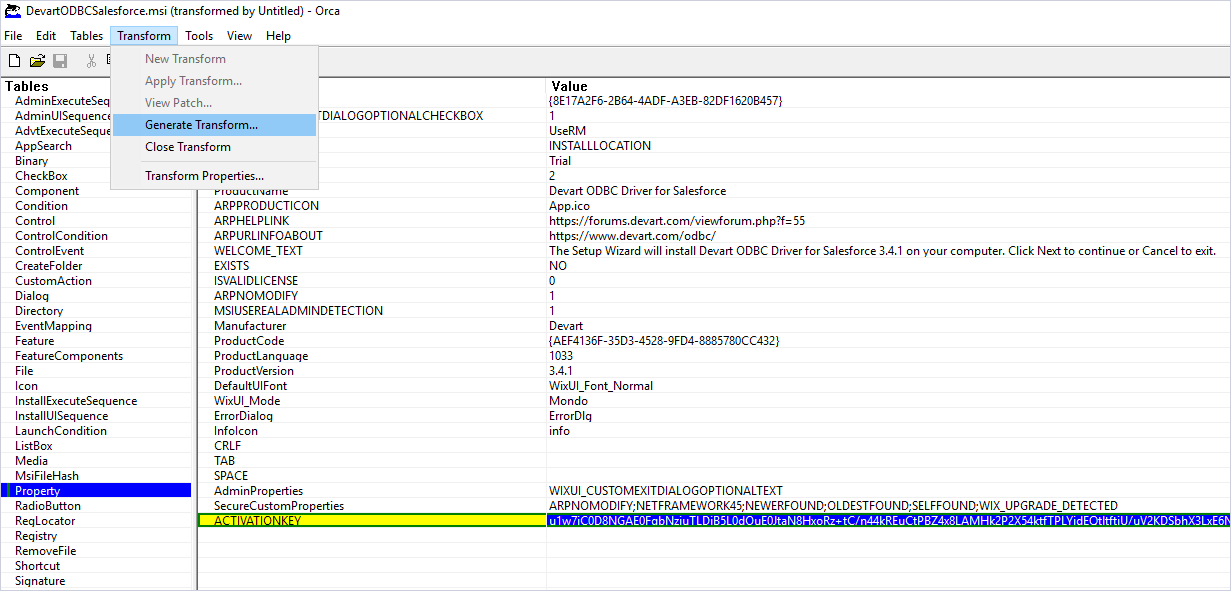
    As shown in the following screen, a new property, ACTIVATIONKEY, has been added, with the license key displayed in the value column next to it.
  6. Once the configuration changes have been made, select Transform -> Generate Transform.

    Clicking the Transform tab -> Generate Transform

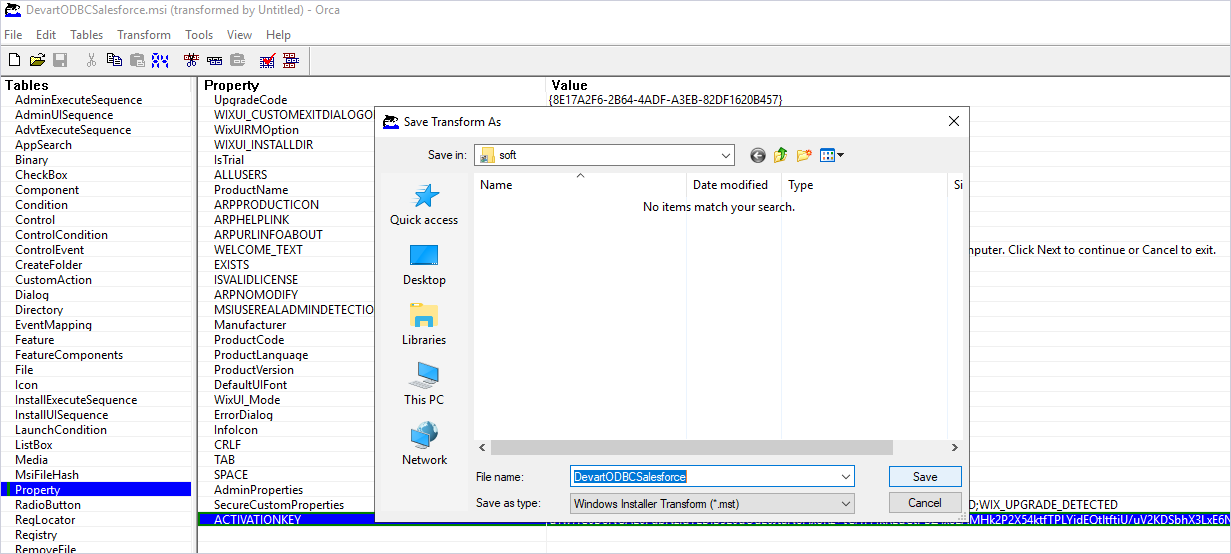
  7. In the Save Transform As dialog that appears, enter a suitable name for the new MST file and click Save to apply your settings.

    Saving a Transform As

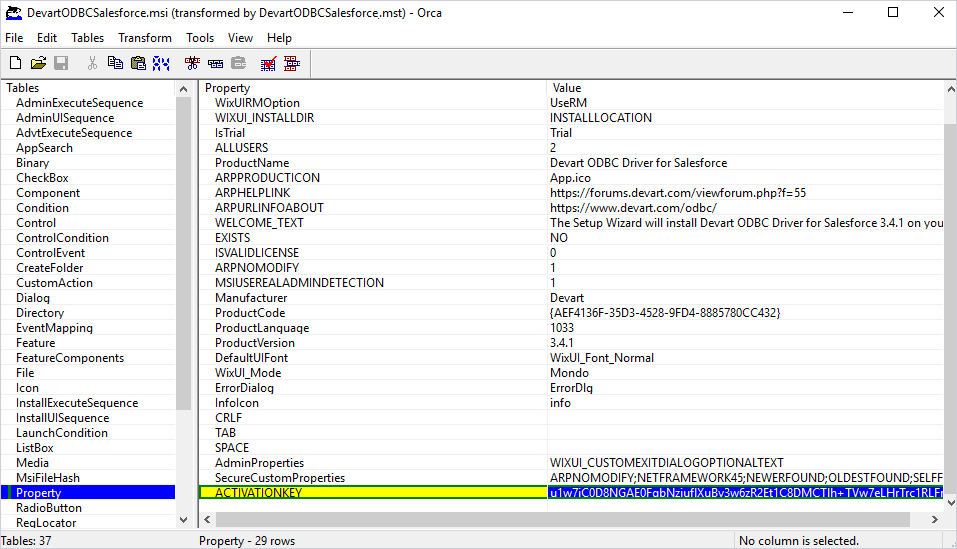
  8. If successful, the encryption message DevartODBCSalesforce.msi (transformed by DevartODBCSalesforce.mst) - Orca will be displayed at the top of the Orca application window.

    MSI Transformed by MST

In case of a positive outcome, the newly created MST file will be located in the folder you specified, alongside the MSI file.

© 2015-2024 Devart. All Rights Reserved. Request Support ODBC Forum Provide Feedback