Connecting to NetSuite Using Token-Based Authentication
You can connect to NetSuite using Token-Based Authentication (TBA) by providing your account ID, consumer key, consumer secret, and access token.
This authentication method ensures secure access without requiring user credentials, enhancing both security and automation in your integration.
Perform the following actions to enable the token-based authentication in NetSuite.
Enabling the Token-Based Authentication
-
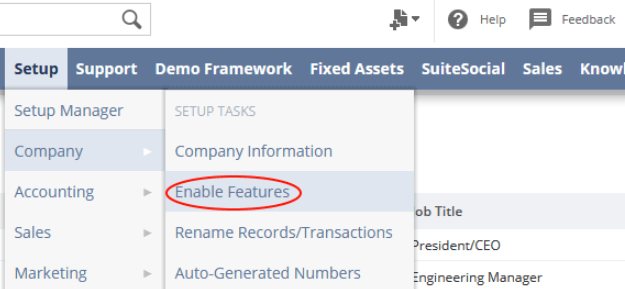
Select Setup > Company > Enable Features.
-
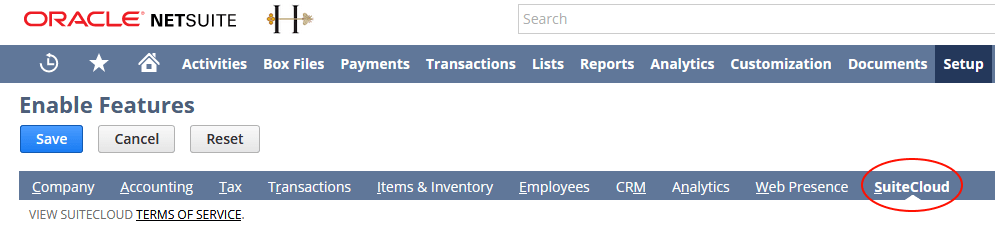
Then click SuiteCloud.
-
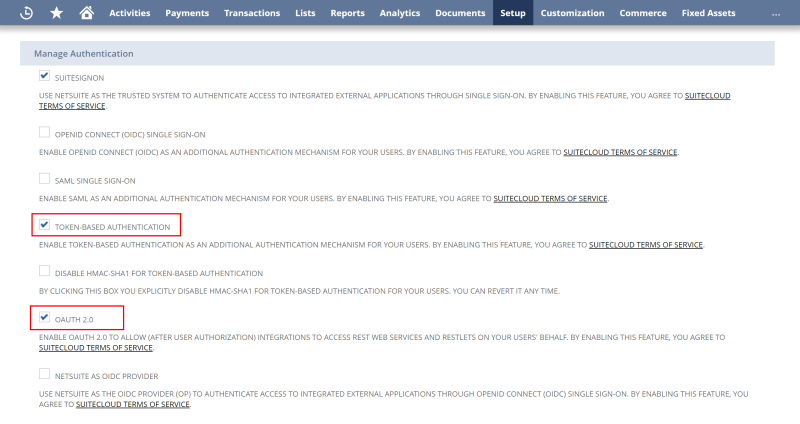
In Manage Authentication, select the Token-Based Authentication checkbox.
Creating a Role
Create a role with the necessary permissions for the objects you would like to use.
-
Select Setup > User/Roles > Manage Roles > New.
-
Assign the necessary permissions for the integration with the ODBC driver.
Note: You can grant the following permissions in
Setup:
- SOAP Web Services
- User Access Tokens
- Custom Record Types
- Custom Lists
- Custom Fields
All available permissions can be found in the
Transactions and
Lists panes of NetSuite. At a minimum,
SOAP Web Services and
User Access Tokens permissions are required.
-
Select Lists > Employees > Edit User > Access Roles > Roles, then assign this role to the required user.
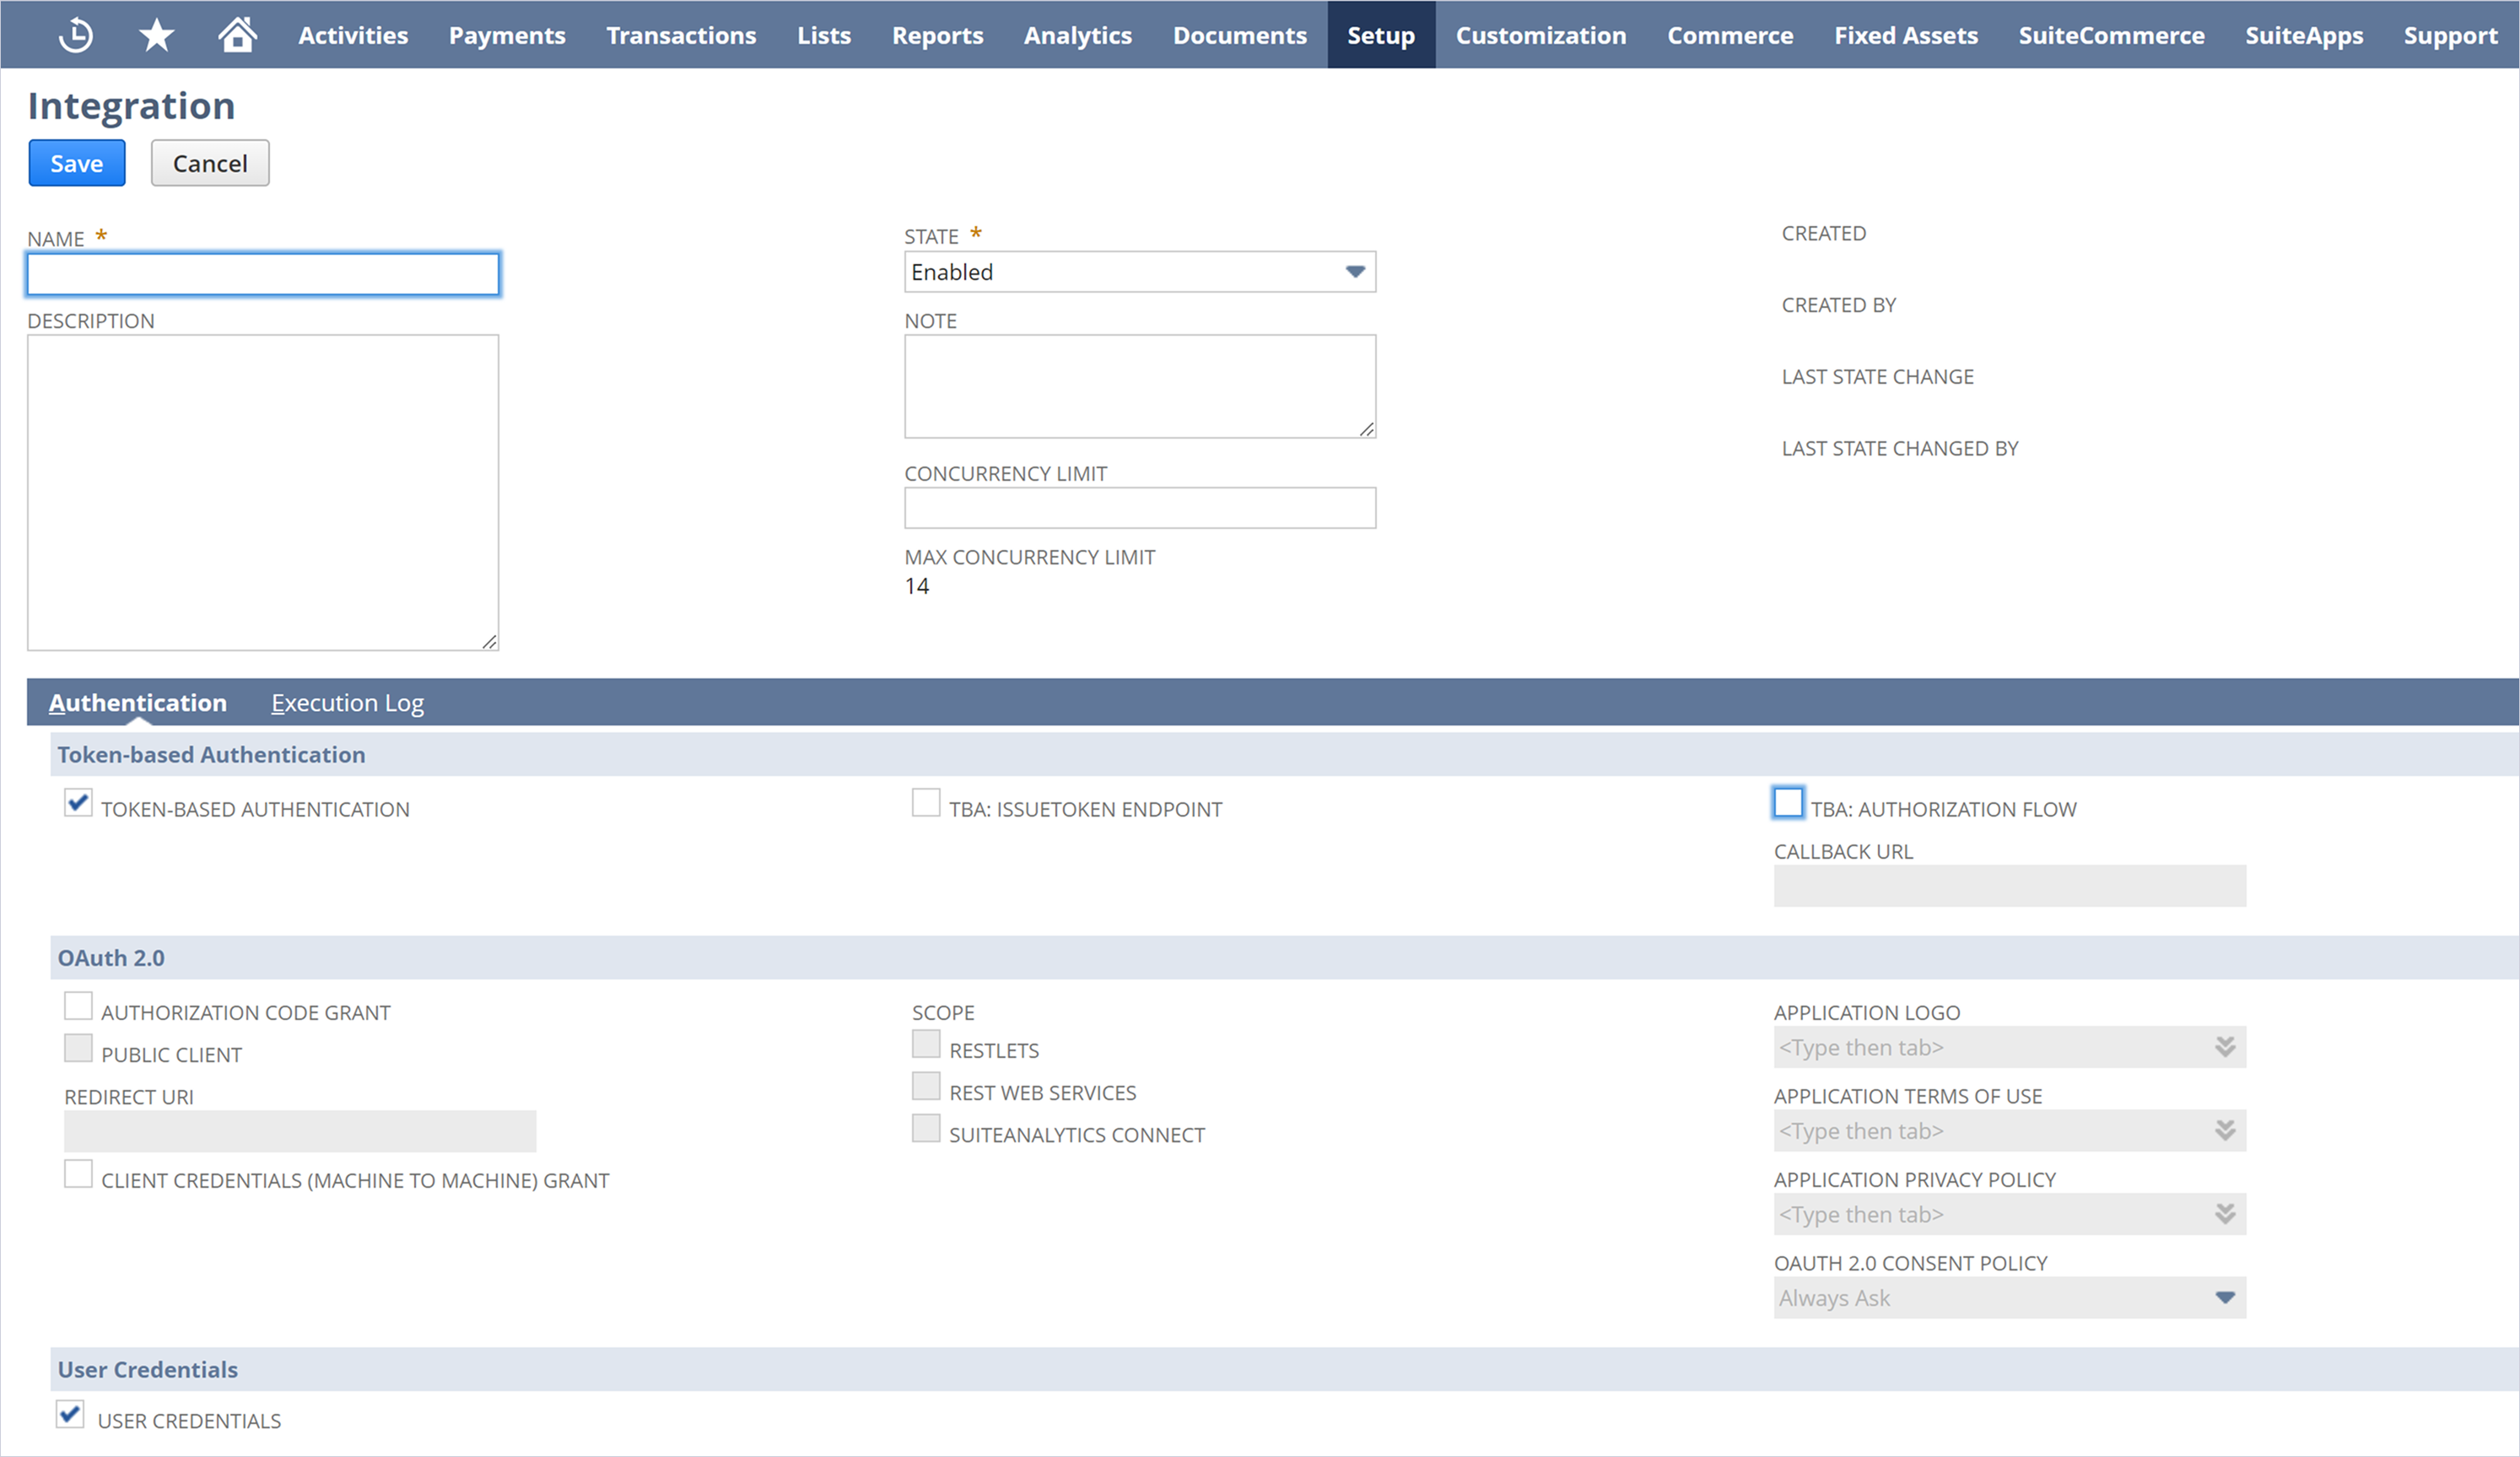
Creating an Integration Record
-
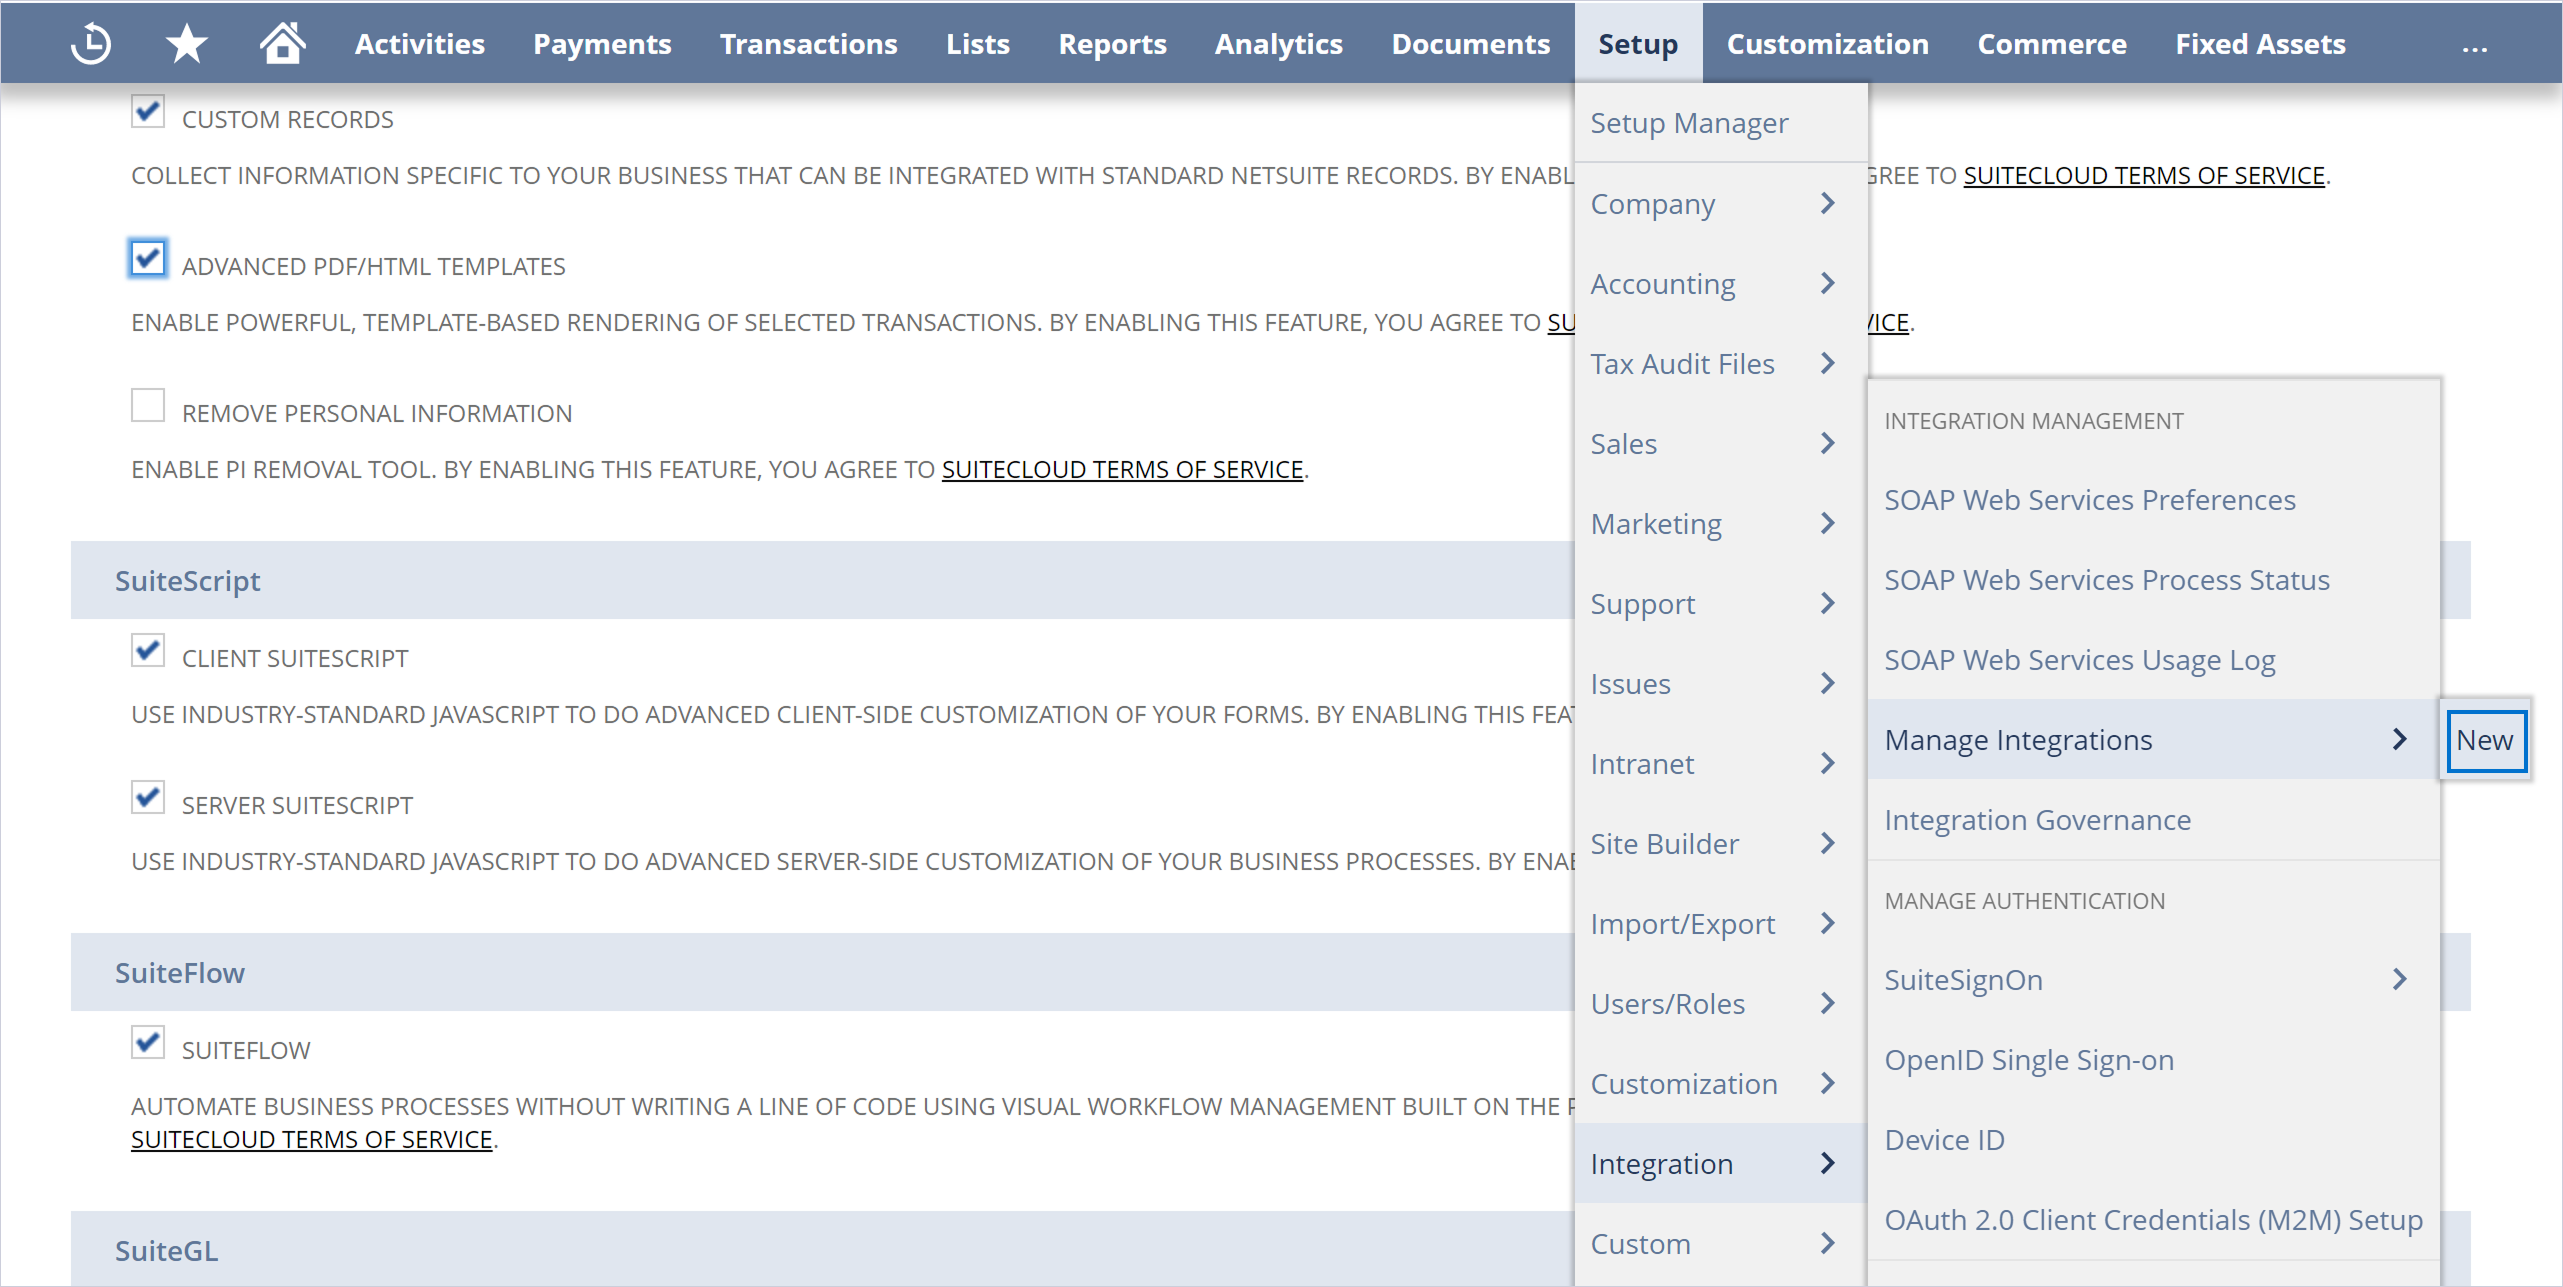
Select Setup > Integration > Manage Integrations > New.
-
Enter a Name for the application, select Token-Based Authentication, and deselect TBA: Authorization Flow.
-
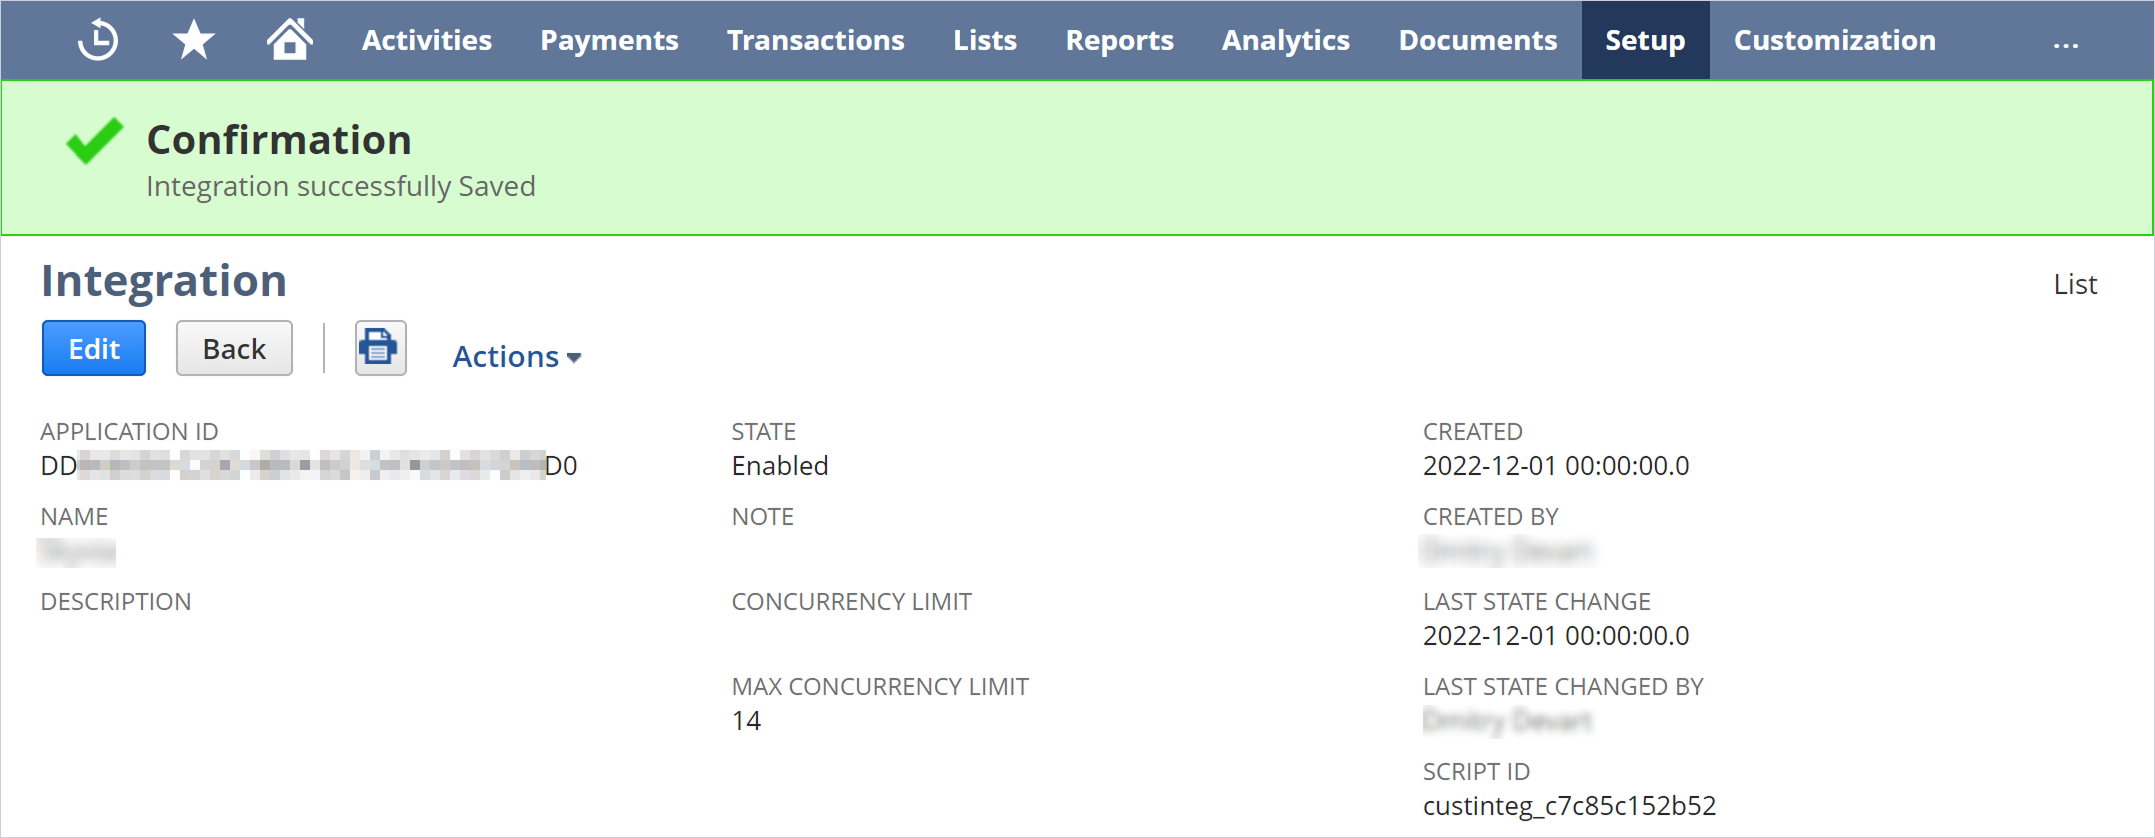
Click Save.
-
In the Confirmation window, copy the Application ID at the top of the Integration pane.
-
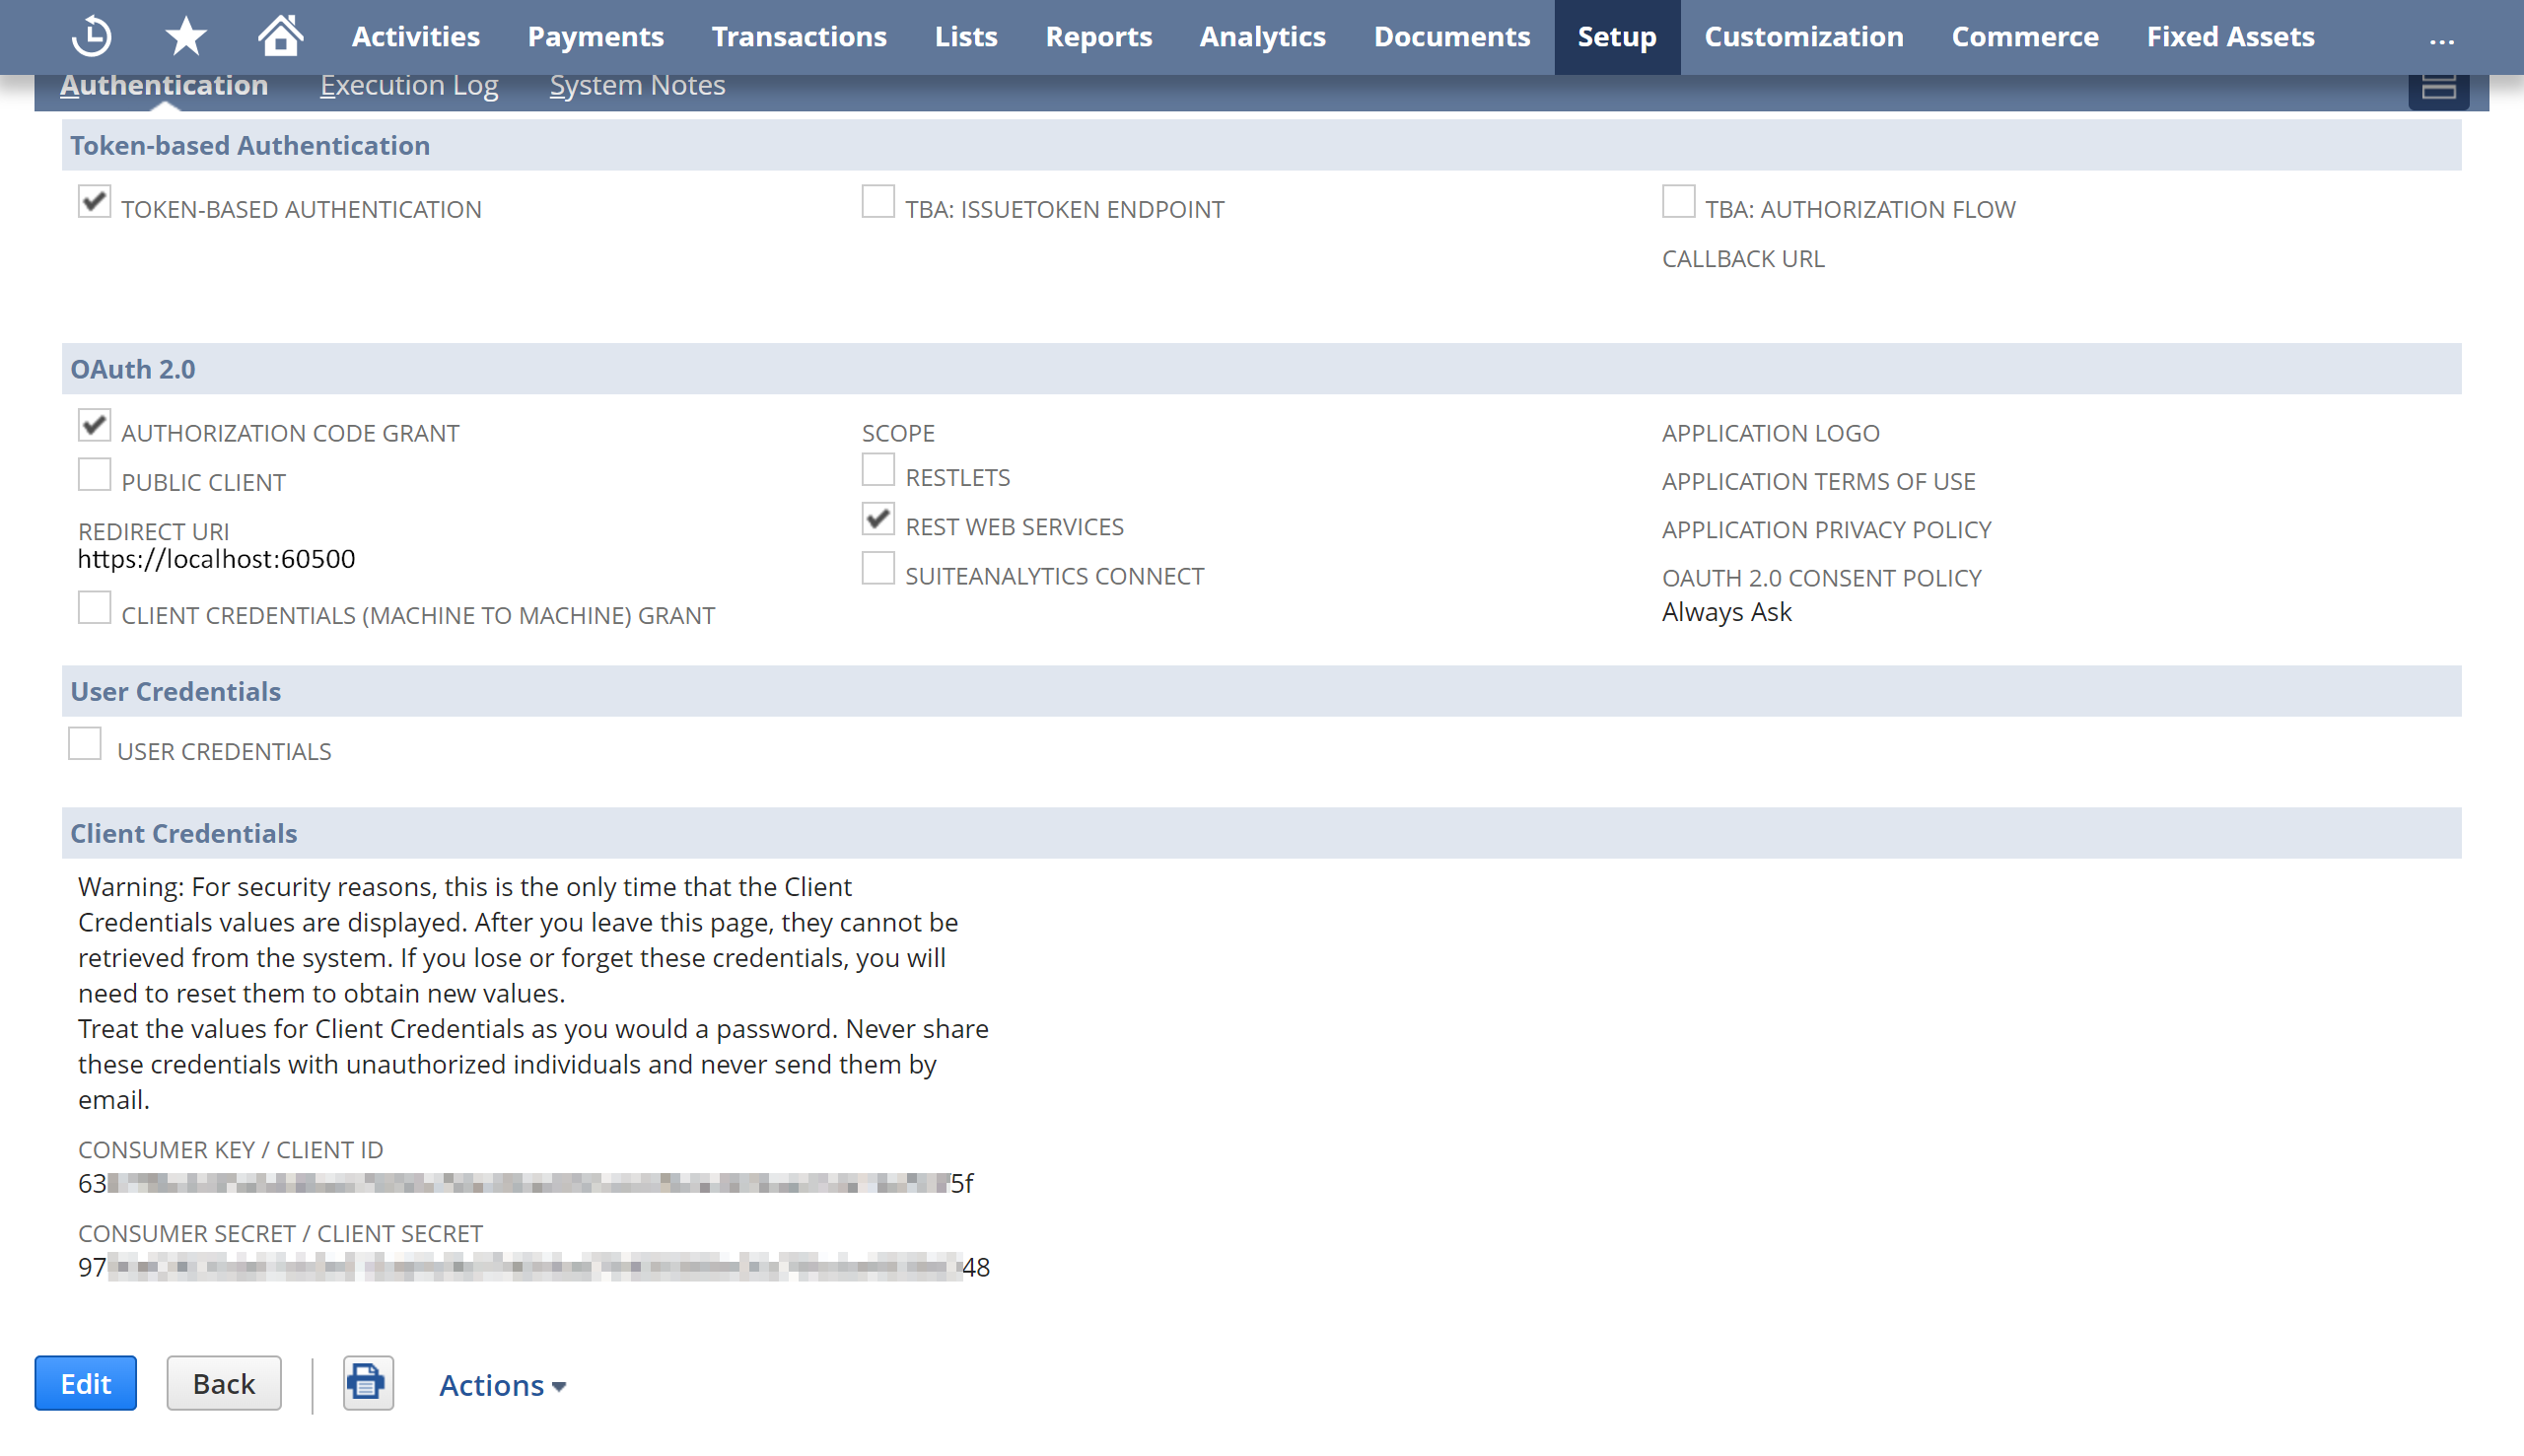
Next, copy the generated Consumer Key / Client ID and Consumer Secret / Client Secret.
Save these values somewhere because you will not be able to retrieve them after leaving this page. If you need these values again, you will have to re-generate them, which makes the old ones stop working.
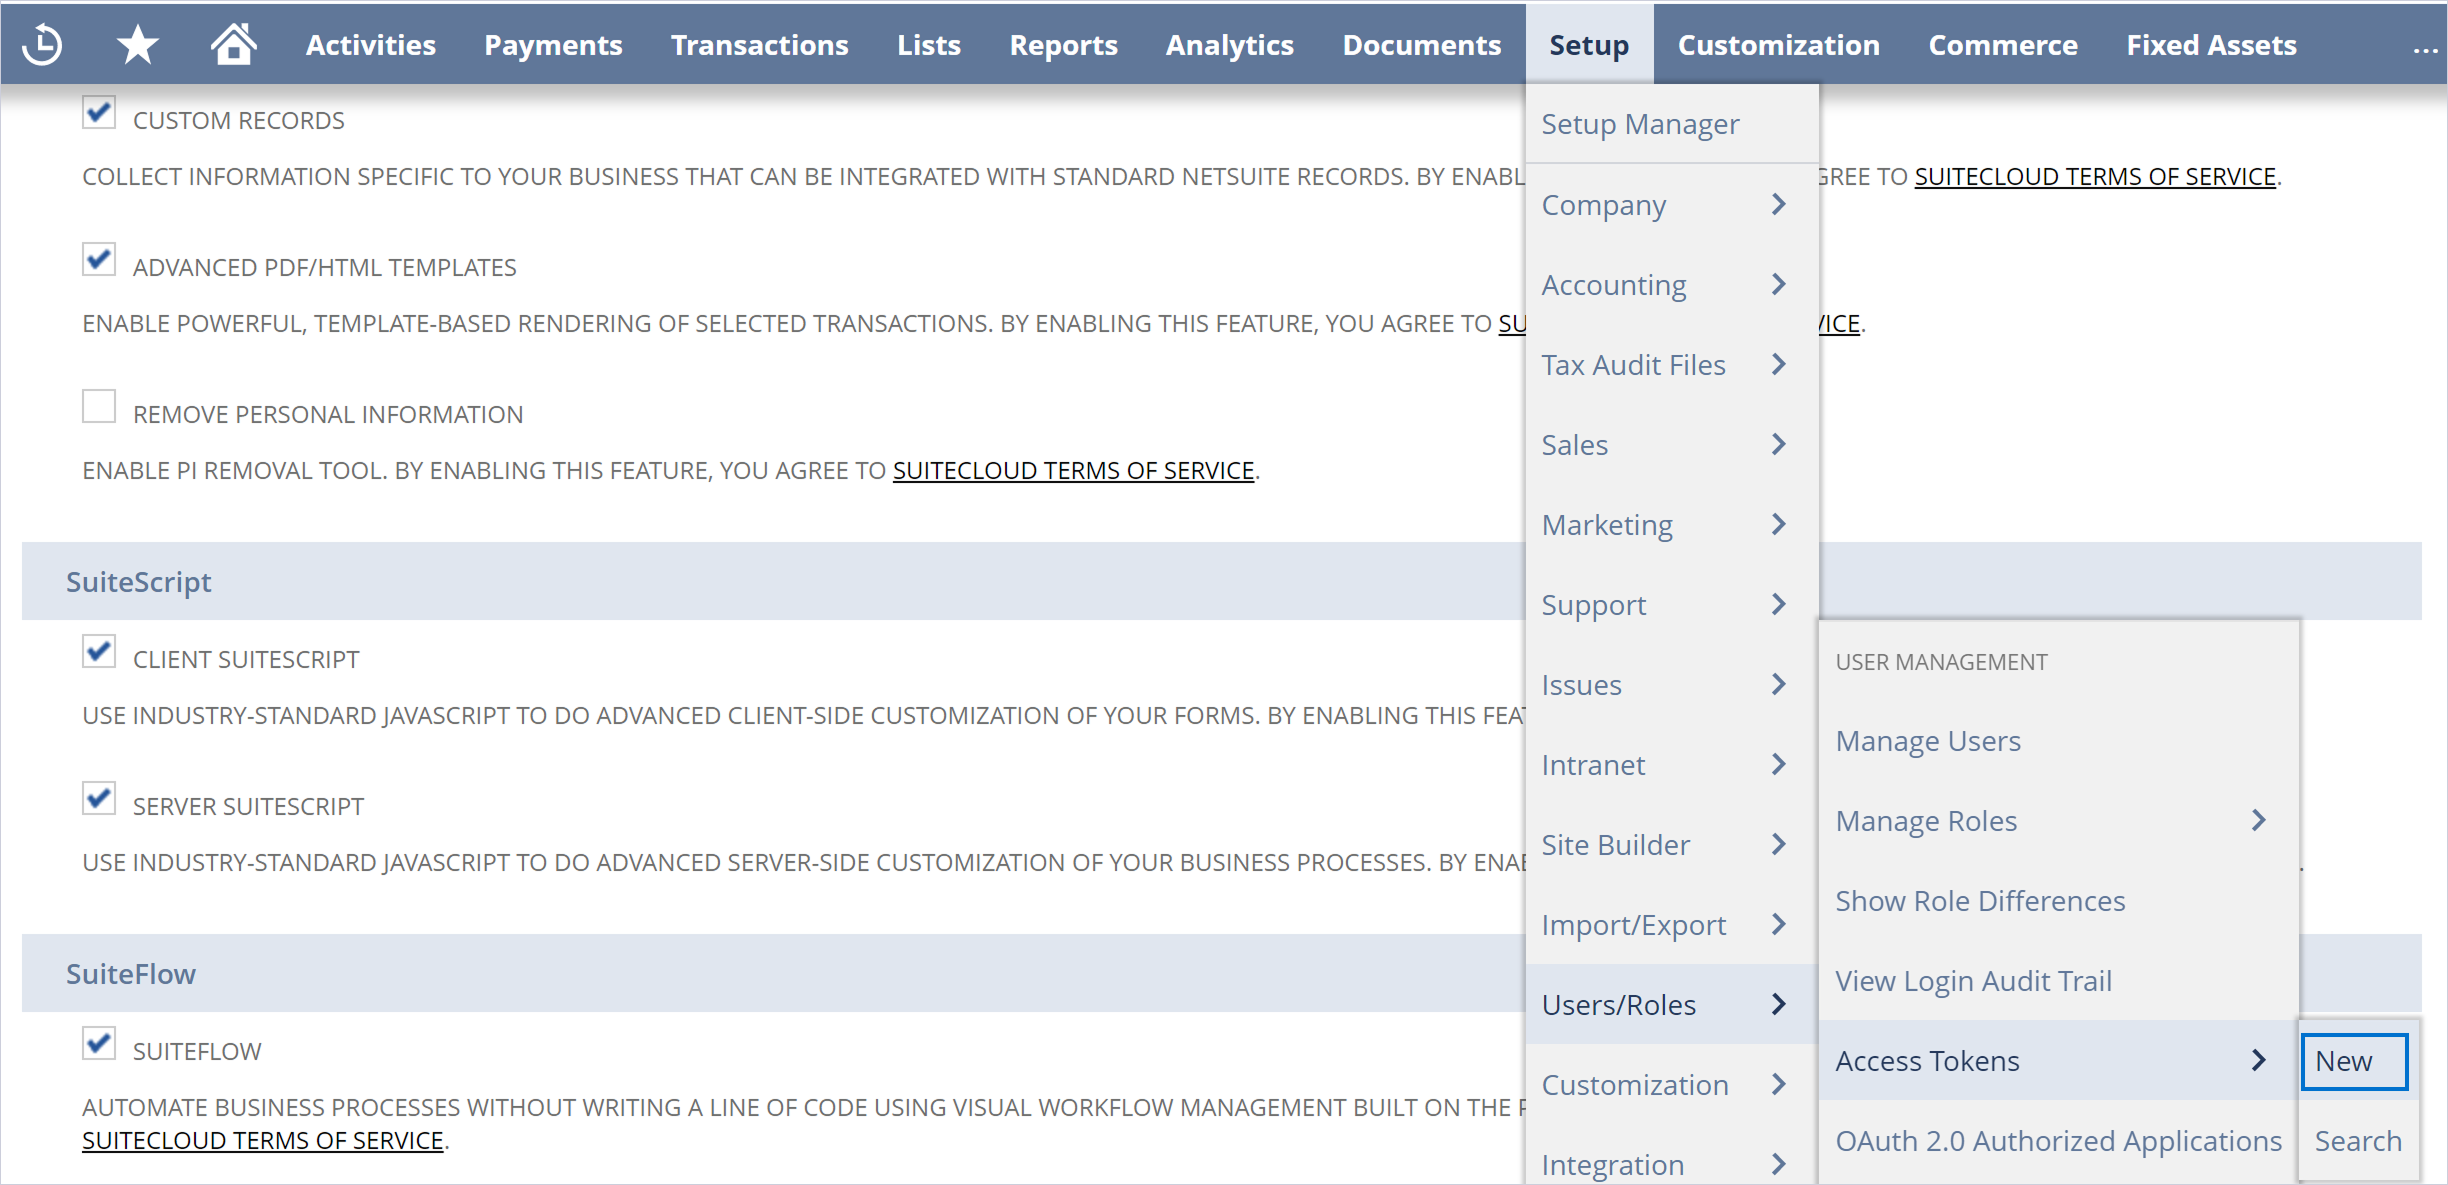
Creating an Access Token
-
Select Setup > Users/Roles > Access Tokens > New.
-
Select the Integration record, User, and Role created in the previous steps.
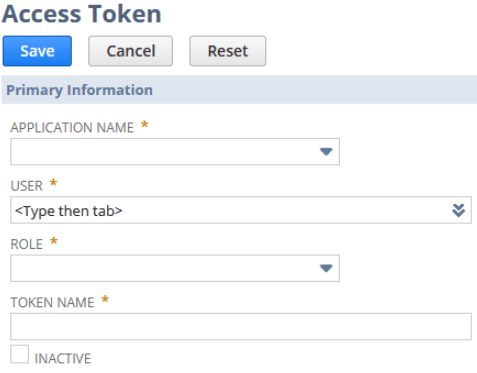
-
Click Save.
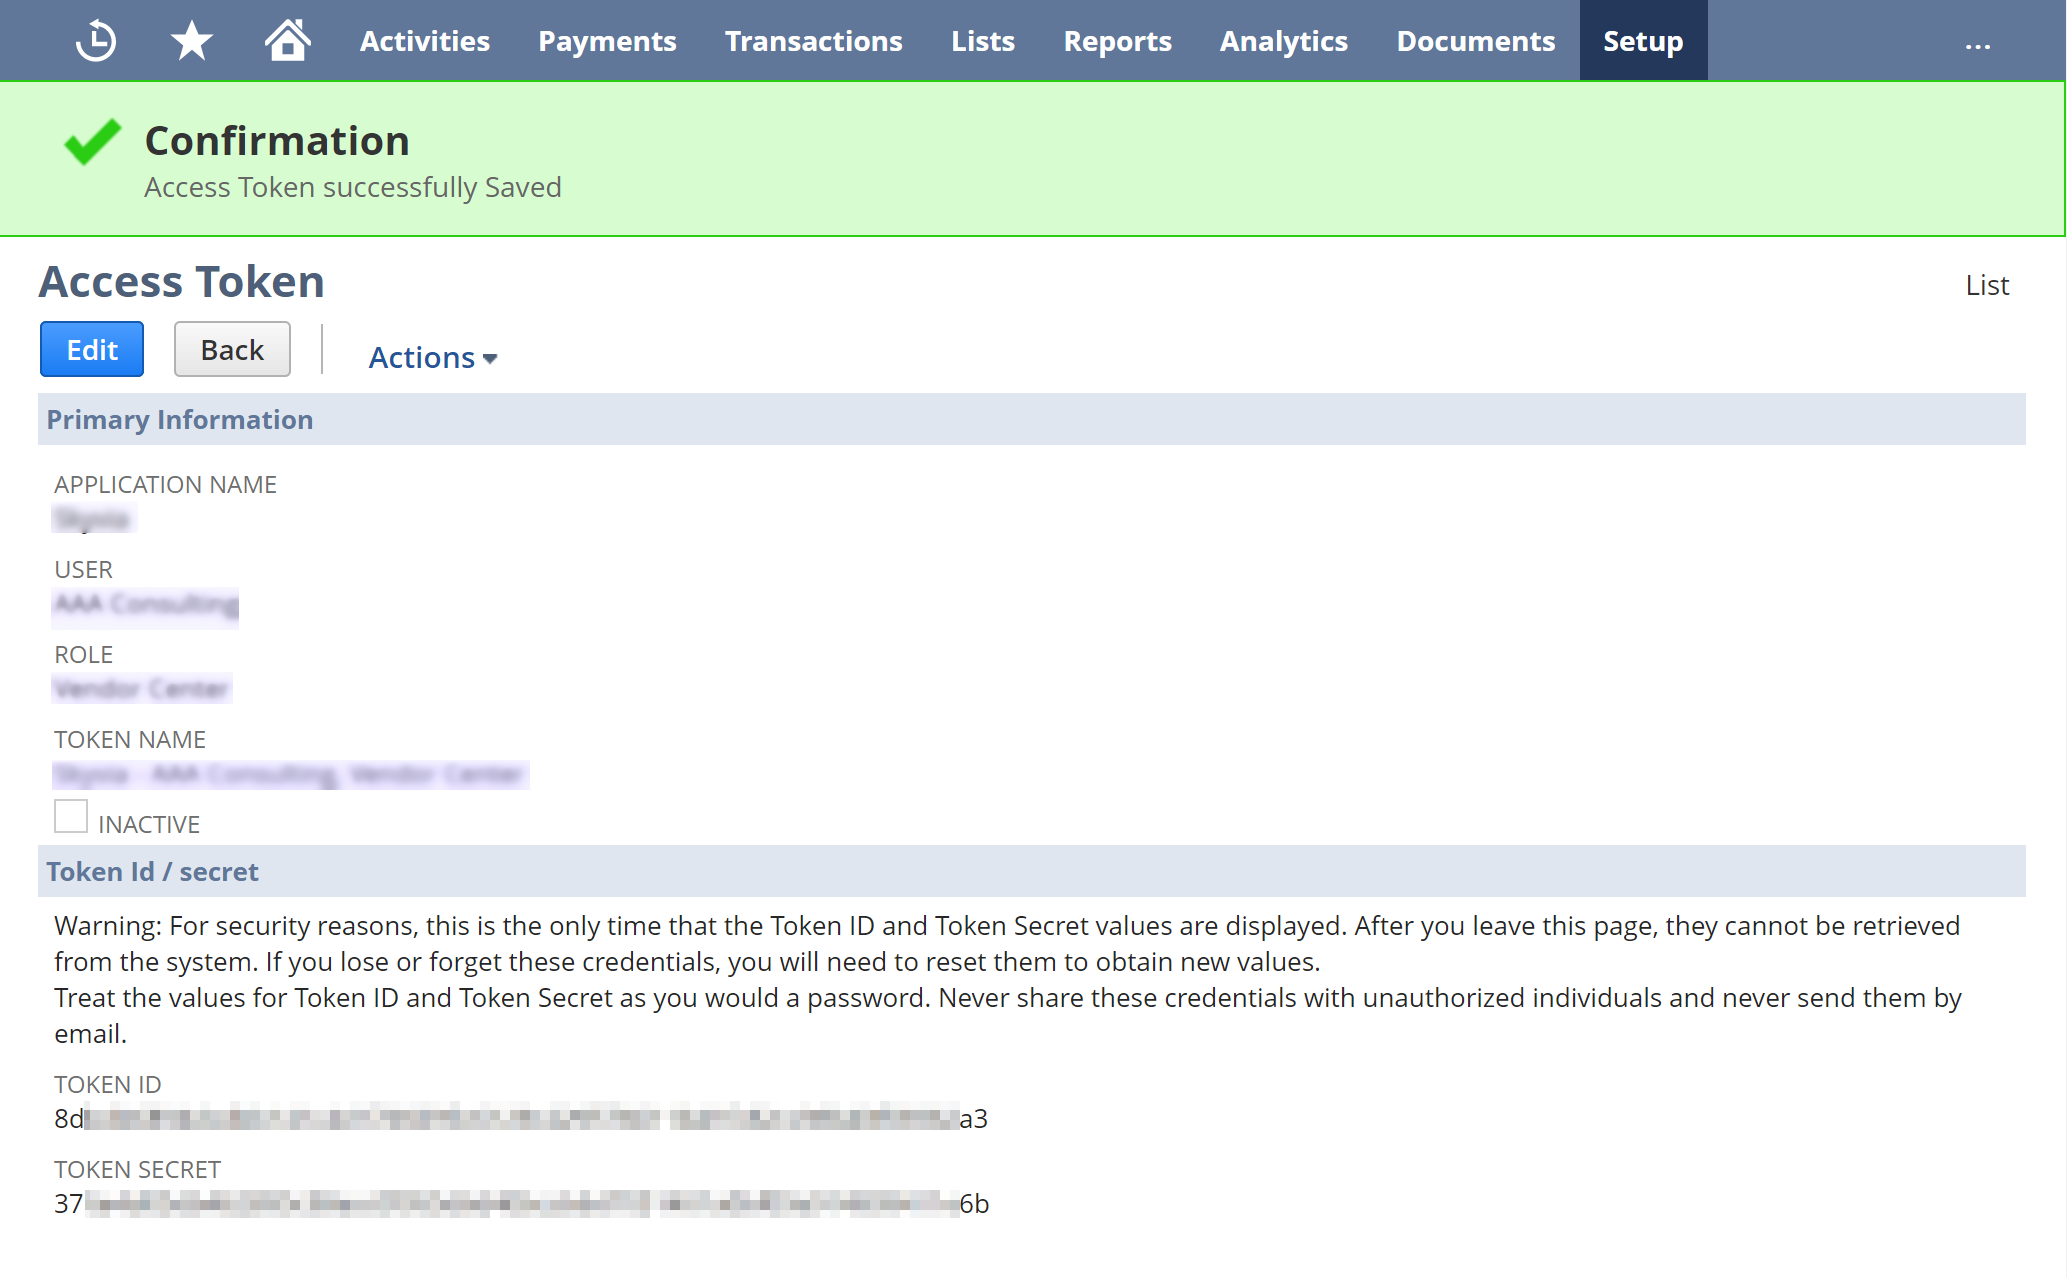
-
In the Confirmation window, copy the generated Token ID and Token Secret.
Save these values somewhere because you will not be able to retrieve them after leaving this page. If you need these values again, you will have to re-generate them, which makes the old ones stop working.
On finishing the steps outlined earlier, fill in the necessary fields with the obtained Consumer Key / Client ID, Consumer Secret / Client Secret, Token ID, and Token as you configure your DSN settings.
See Also
Windows DSN Configuration