|
|
Windows DSN Configuration - ODBC Driver for Dynamics 365 |
|
|
|
Windows DSN Configuration - ODBC Driver for Dynamics 365 |
|
After installing the driver, create a DSN for Dynamics 365 in the ODBC Data Source Administrator.
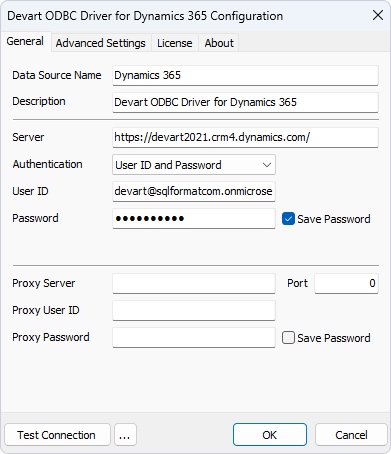
ODBC Data Sources in the Windows search box and choose the application that matches the bitness of the third-party application (32-bit or 64-bit). You can also open ODBC Data Sources from Control Panel > Administrative Tools. Note that before Windows 8, the icon was named Data Sources (ODBC).C:\Windows\SysWOW64\odbcad32.exe to create a 32-bit DSN or C:\Windows\System32\odbcad32.exe to create a 64-bit DSN.Basic Authentication
If you choose this authentication type, enter the username and password for your Dynamics 365.
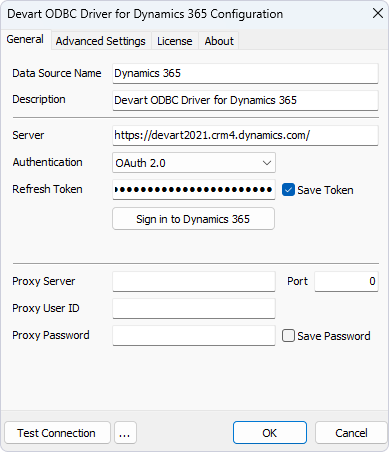
Token-Based Authentication
If you authenticate with OAuth2, click Sign In with Dynamics 365, enter your credentials, and grant the requested permissions to generate a refresh token.