ODBC Driver for Delighted

Connecting OpenOffice and LibreOffice to Delighted via ODBC Driver


Connecting to Delighted from OpenOffice and LibreOffice using ODBC Driver for Delighted

The article describes how to use Apache OpenOffice and LibreOffice to access ODBC data sources using the respective driver. You can access Delighted data from Open Office Base or LibreOffice Base — desktop database management systems. Note that the Windows version of OpenOffice is 32-bit, and you may get the error “The specified DSN contains an architecture mismatch between the Driver and Application” when trying to access a data source through a 64-bit ODBC Driver. To get rid of the error message, set up the 32-bit version of the driver.

To connect to an ODBC data source from OpenOffice or LibreOffice using our driver for Delighted, perform the steps below:
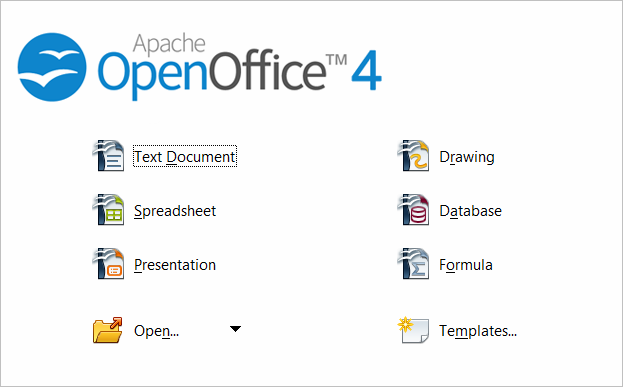
  1. Start OpenOffice or LibreOffice, click Database to open the Database Wizard.
  2. Open Office ODBC Database

    Alternatively, you can launch the Database Wizard from OpenOffice or LibreOffice Calc, Writer or any other tool by choosing File > New > Database.
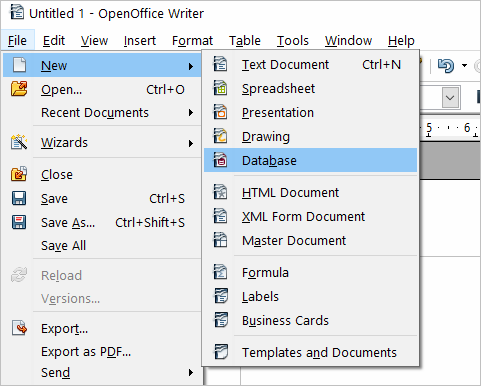
    Open Office Writer New DB

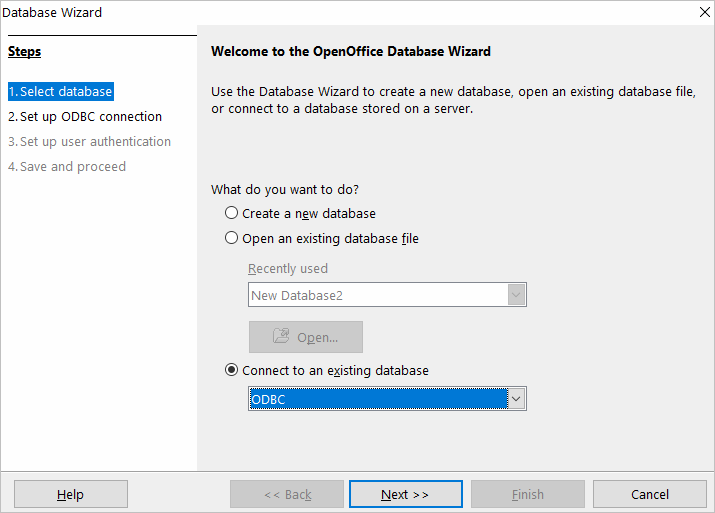
  3. In the Database Wizard dialog box, click Connect to an existing database, select ODBC from the drop-down list, and click Next.
  4. Open Office Database Wizard

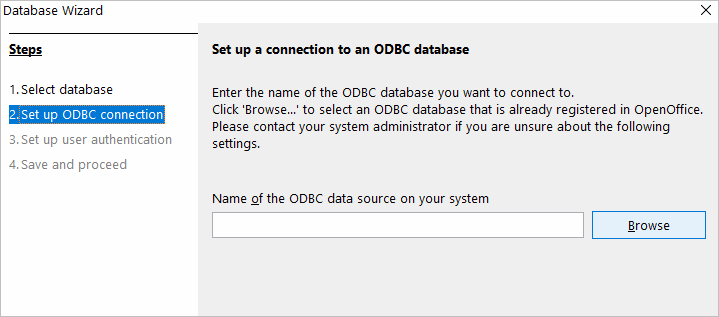
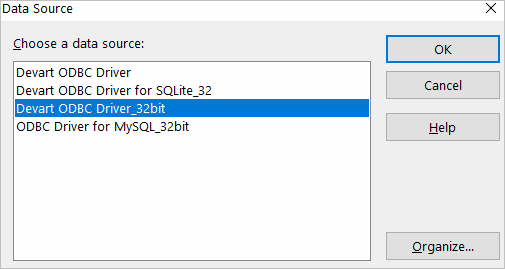
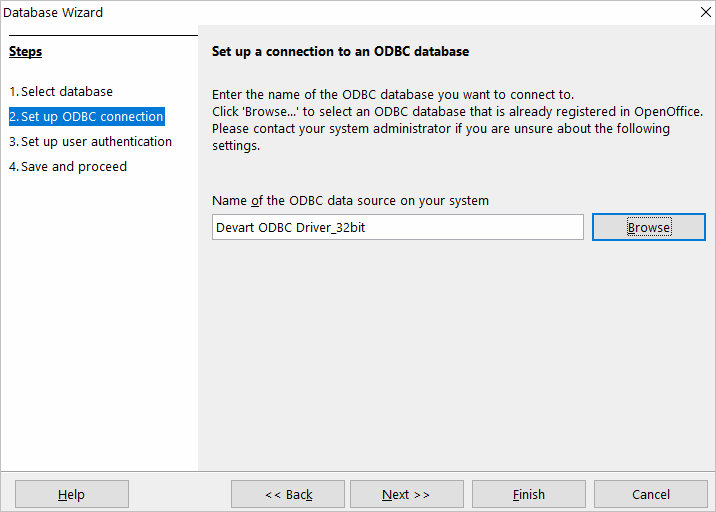
  5. Specify the name of the data source you want to connect to. You can either type the name of your data source into the field, e.g. ODBC Driver for Delighted, or you can click Browse, double-click the data source you need, and then click Next.
  6. Open Office ODBC Connection

    Open Office Data Source

    Open Office ODBC Driver

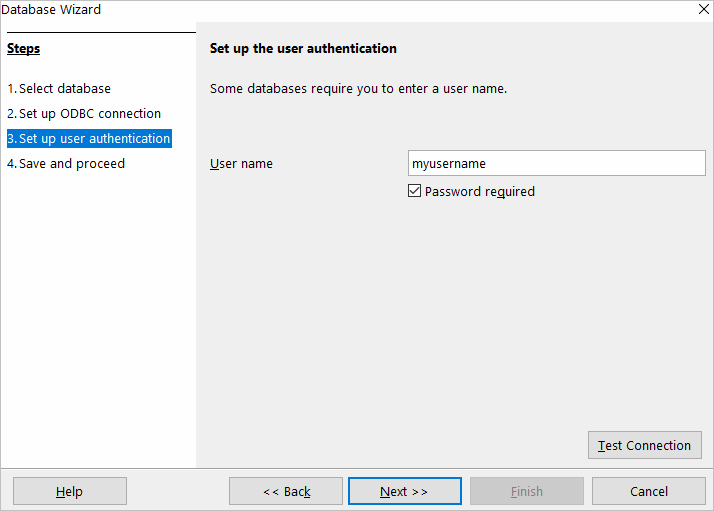
  7. If your database requires a user name, type it into the User name field. If you are connecting to a password protected database, check the Password required field. Alternatively, you can specify these parameters in the data source settings of your ODBC Driver for Delighted and leave these fields empty in Database Wizard.
  8. Open Office User Authorization

    To test the connection to your data source, click Test Connection, input your credentials and click OK.
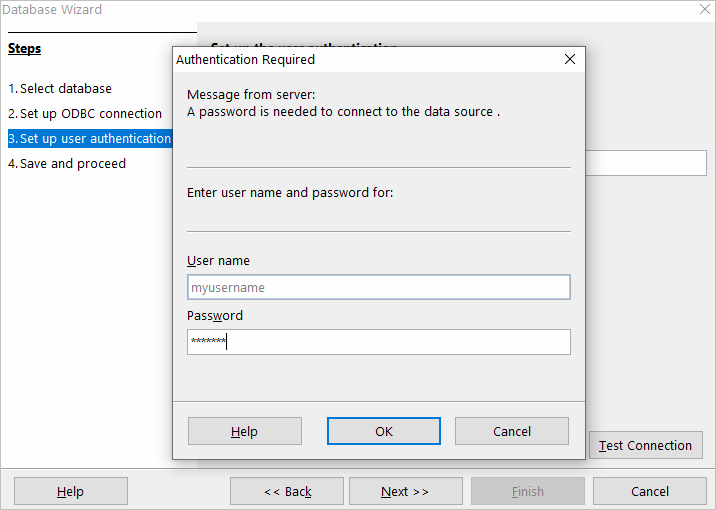
    Open Office ODBC Password

    If you have entered valid credentials, you will see a success message. Click Next to proceed to the final step.
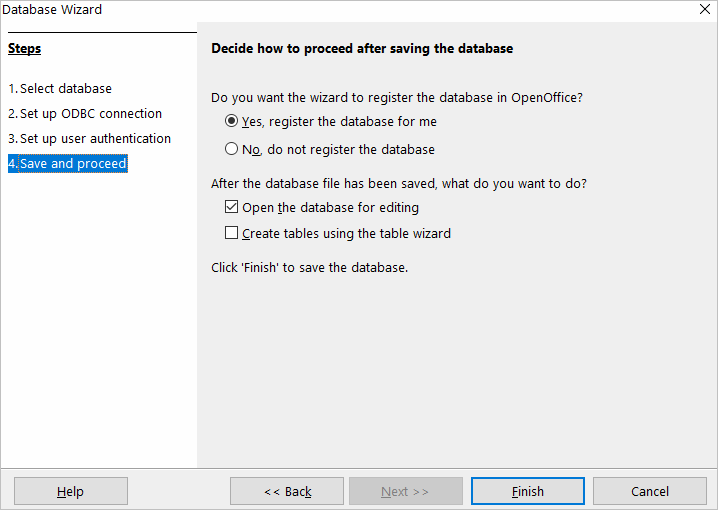
  9. You can keep the default selection in this dialog box and click Finish.
  10. Open Office Register Database

    You will be prompted to give a name to your new database and select the directory where you want to store it.
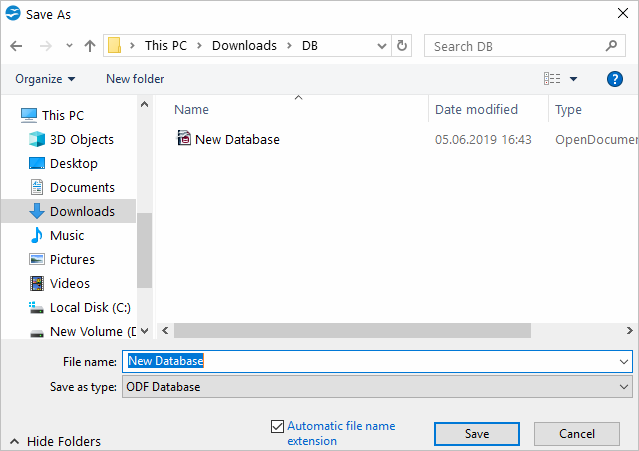
    Open Office Save Database

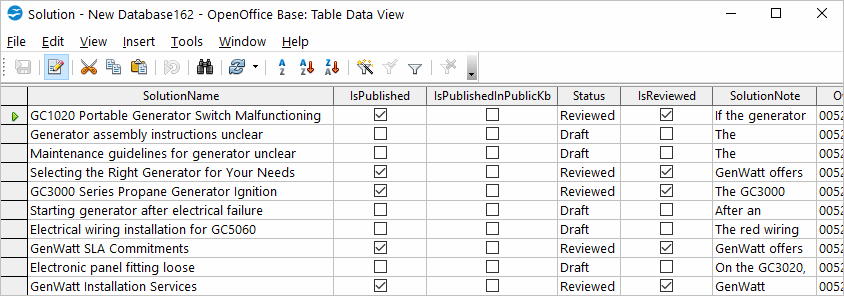
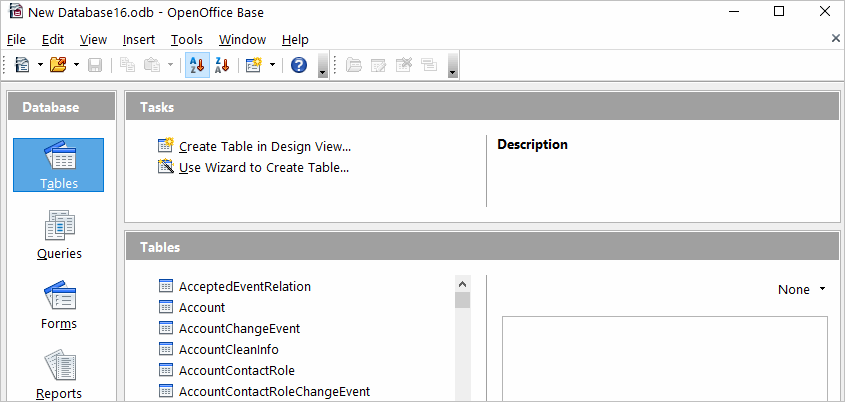
  11. When the database opens, you will see the list of tables from your data source diplayed in OpenOffice or LibreOffice Base workspace. To view the data from a specific table, double-click the table name.
  12. Open Office Table List

    Open Office Table Data View

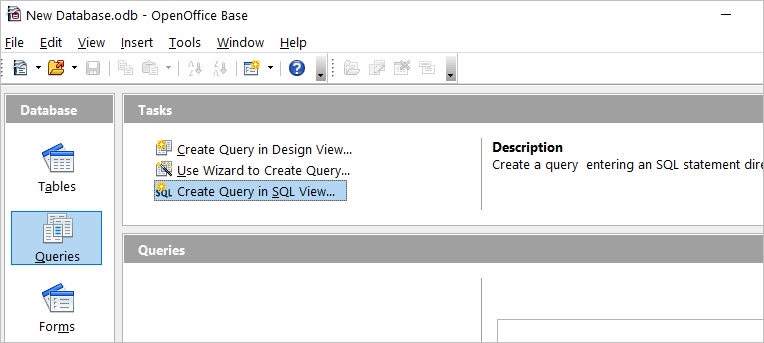
  13. To create an SQL query, click Queries in the Database pane, then click Create Query in SQL View…
  14. Open Office Create Query

    Enter your query in the query text box and click Run Query (F5). The date will be fetched from the database and displayed in Open Office or LibreOffice, respectively.
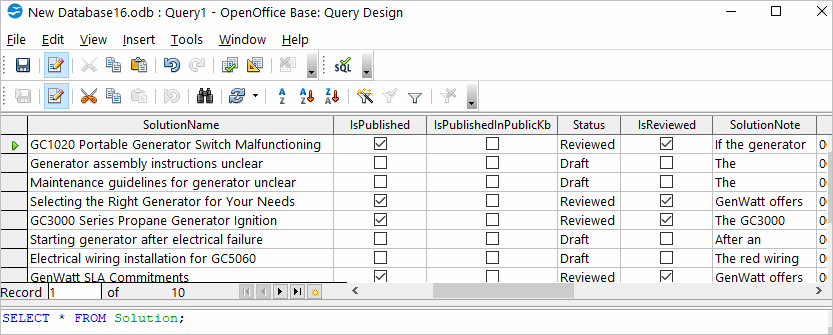
    Open Office Query Result

© 2015-2025 Devart. All Rights Reserved. Request Support ODBC Forum Provide Feedback