Windows DSN Configuration
After installing the driver, create a DSN for Google BigQuery in the ODBC Data Source Administrator.
-
Open the ODBC Data Source Administrator.
- Type
ODBC Data Sources in the Windows search box and choose the application that matches the bitness of the third-party application (32-bit or 64-bit). You can also open ODBC Data Sources from Control Panel > Administrative Tools. Note that before Windows 8, the icon was named Data Sources (ODBC).
- Alternatively, you can run
C:\Windows\SysWOW64\odbcad32.exe to create a 32-bit DSN or C:\Windows\System32\odbcad32.exe to create a 64-bit DSN.
- Select the User DSN or System DSN tab. Most applications work with both types, yet some applications require a specific type of DSN.
- Click Add. The Create New Data Source dialog will appear.
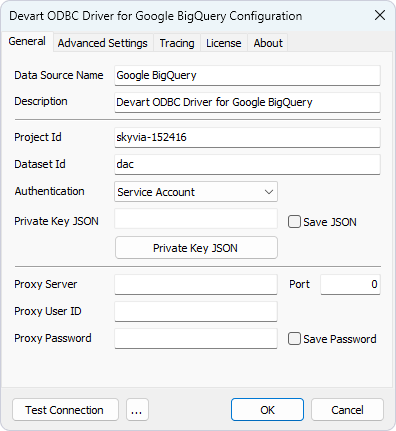
- Select Devart ODBC Driver for Google BigQuery and click Finish. The driver setup dialog will open.
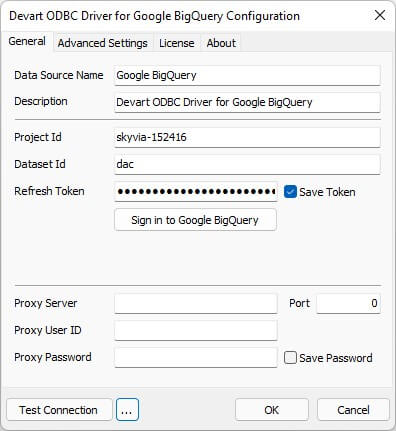
- Enter your Project Id and Dataset Id.
-
In Authentication, select the authentication method used to connect to Google BigQuery.
- User Account: Select this option to authenticate with your personal Google account. Click Sign in to Google BigQuery.
Refresh Token is automatically filled in. Select Save Token to remember the refresh token.

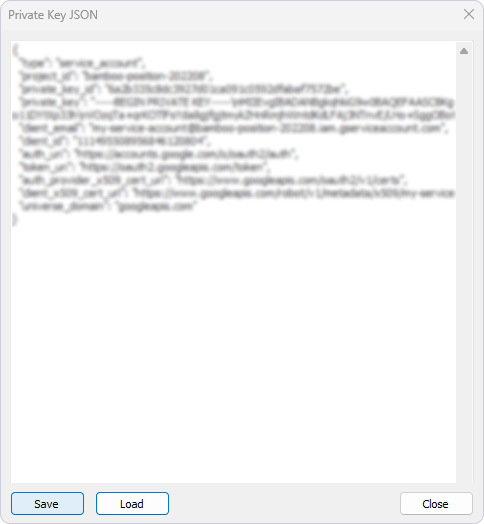
- Service Account: Select this option to authenticate using a Google Cloud service account. This method is typically used for automated processes or server-side connections and requires a service account key file. Click Private Key JSON.

In the Private Key JSON dialog that opens, click Load, select the file with the JSON key, then click Save.

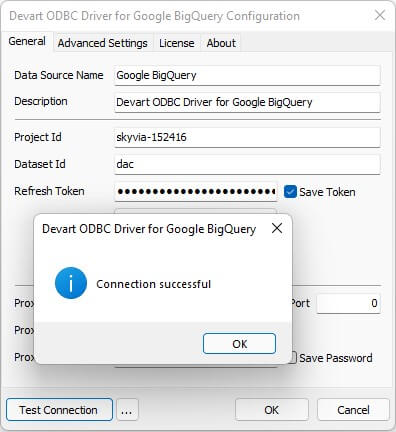
- Optional: Click Test Connection to verify the connection settings.
- Click OK to save the DSN.

See Also
Connection String Parameters