Connect Excel to Salesforce using Get & Transform (Power Query)
You can import Salesforce data into Excel using Get & Transform (Power Query):
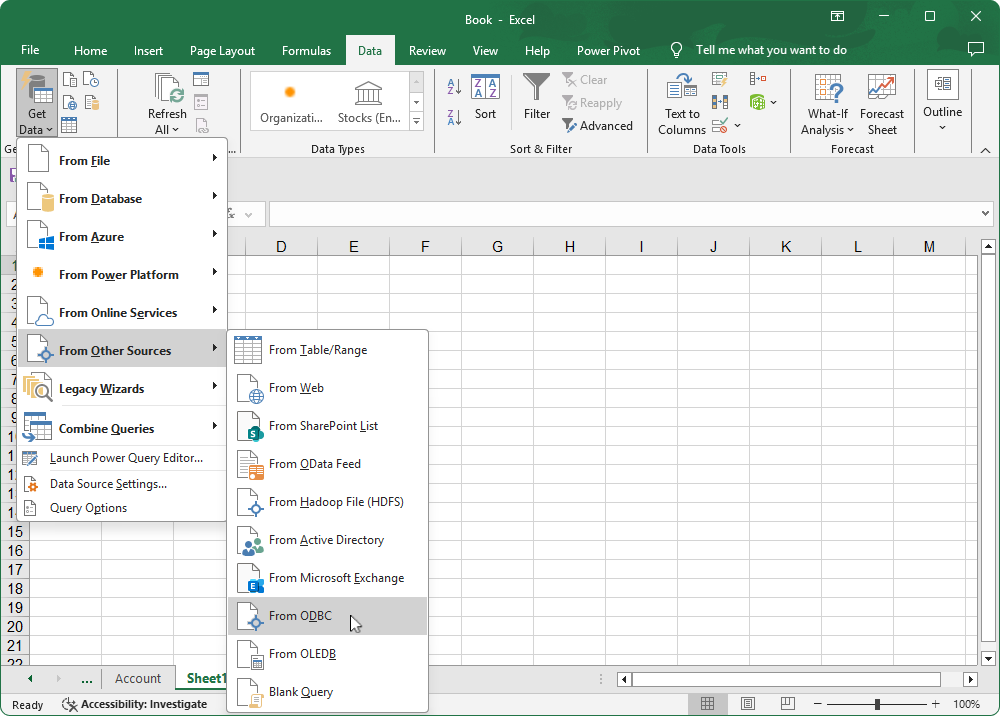
1. Select Data > Get Data > From Other Sources > From ODBC.
Note
If you’re using Excel 2016, select Data > New Query > From Other Sources > From ODBC.
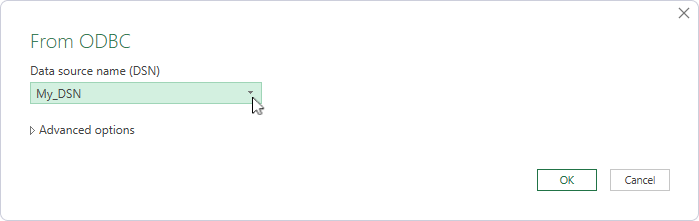
2. Select your Data source name (DSN), then click OK.
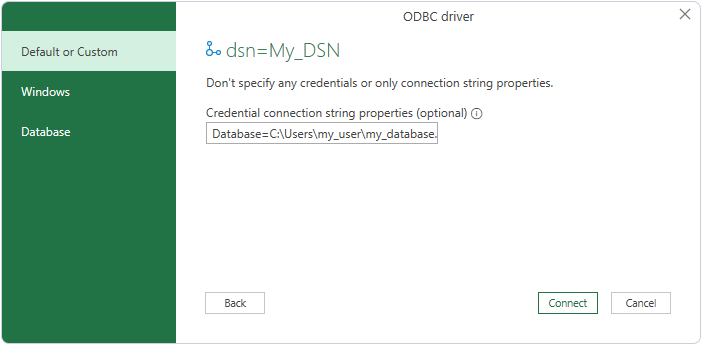
3. Select Default or Custom, then click Connect.
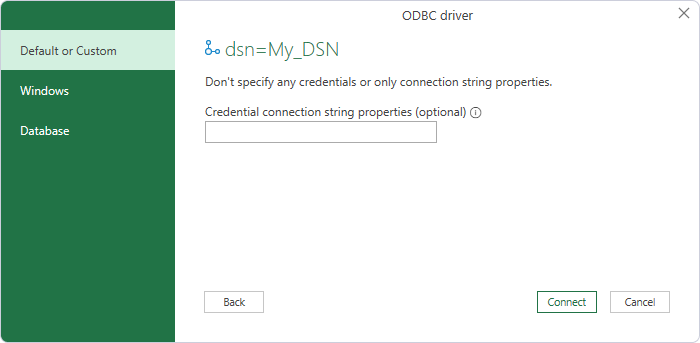
If you didn’t save your Salesforce credentials during the DSN setup, you can enter them and any other optional settings in the Credential connection string properties (optional) field.
4. Select the table you want to import.
Tip
To import multiple tables, select Select multiple items.
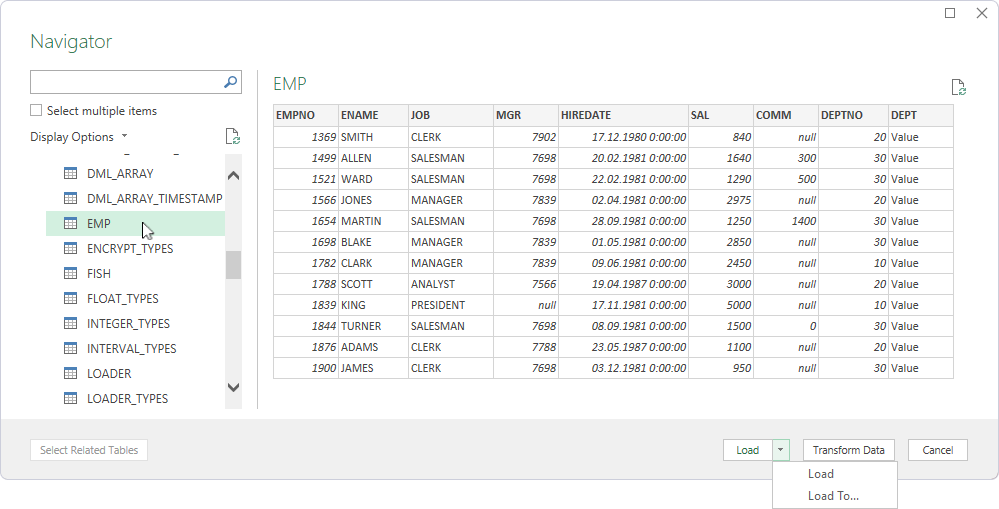
5. Select how you want to import data:
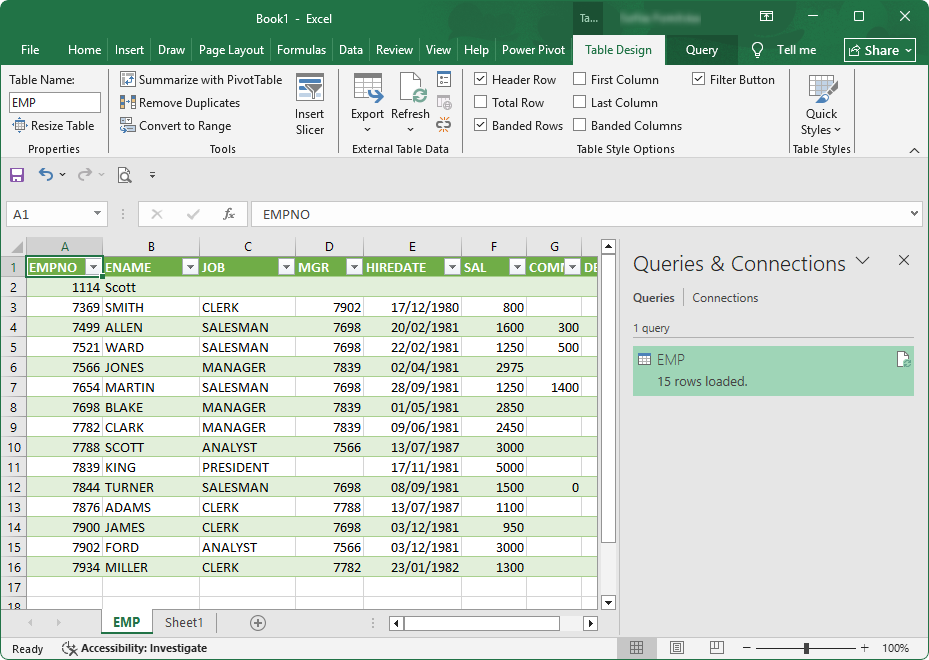
- Click Load.
The data is displayed in a worksheet.
-
Click Load To.
1. Select how you want to view the data and where it should be loaded.
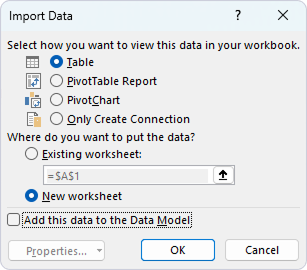
- Table – Imports data into a new worksheet and displays it as a table.
- PivotTable Report – Imports data into a new worksheet and displays it as a pivot table report.
- PivotChart – Imports data into a new worksheet and displays it as a pivot chart.
- Only Create Connection – Creates a connection without importing the data into an Excel worksheet.
- Existing worksheet – Enables loading the imported data into an existing worksheet.
- New worksheet – Enables loading the imported data into a new worksheet.
- Add this data to the Data Model – Enables loading the data into a data model.
2. Click OK.
The data is displayed in a worksheet.