Connect Excel to Salesforce using Data Connection Wizard (Legacy)
You can import Salesforce data into Excel using the Data Connection Wizard (Legacy):
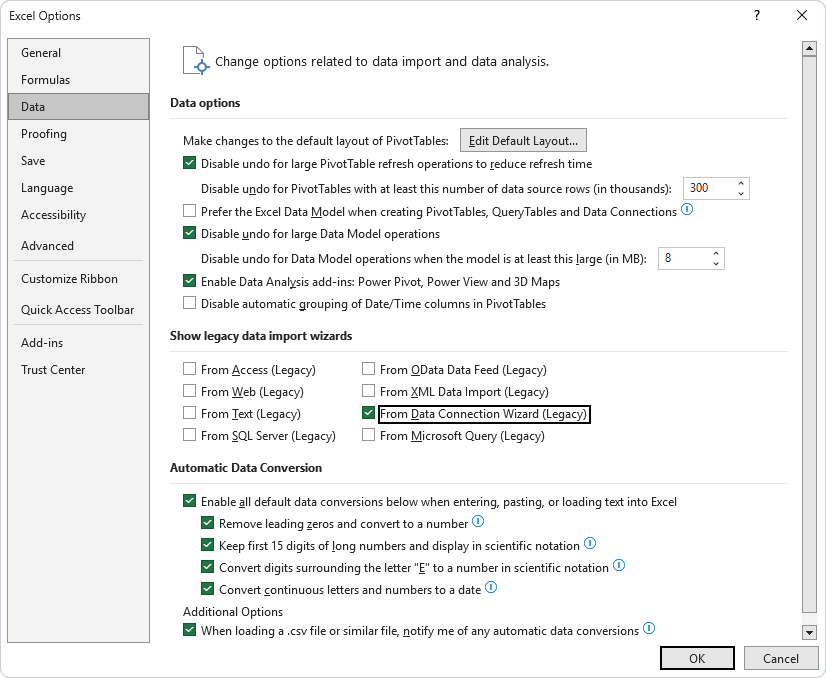
1. Select File > Options.
2. Select Data.
3. Under Show legacy data import wizards, select From Data Connection Wizard (Legacy).
Note
If you’re using Excel 2016, skip steps 1-3 and start by selecting Data > Get External Data > From Other Sources > From Data Connection Wizard.
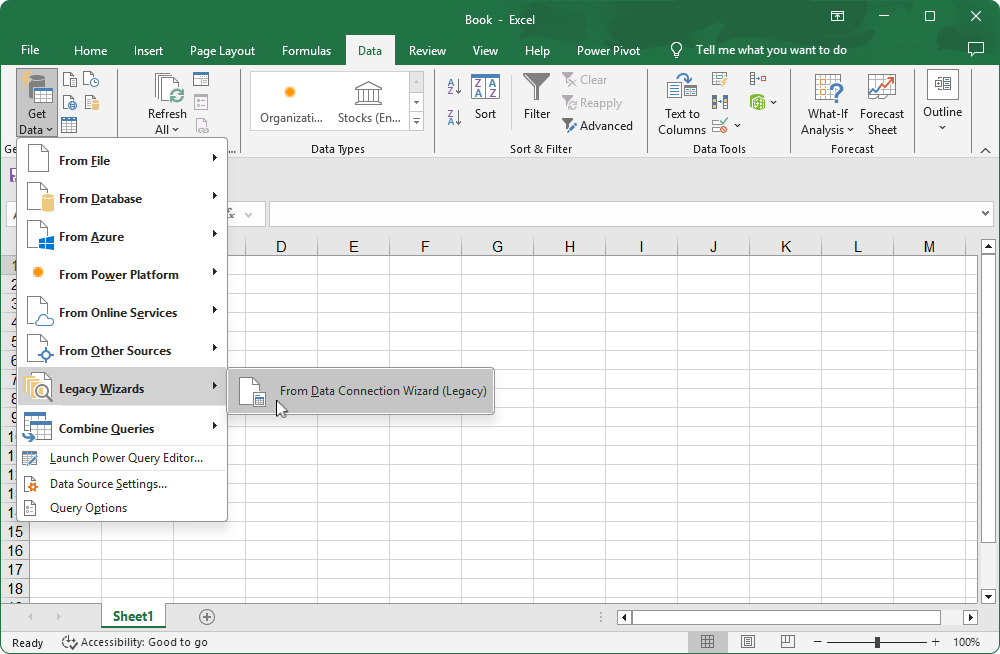
4. Select Data > Get Data > Legacy Wizards > From Data Connection Wizard (Legacy).
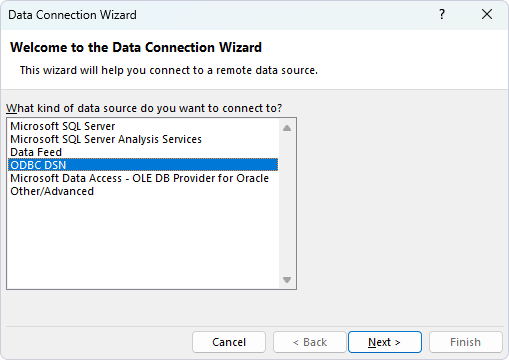
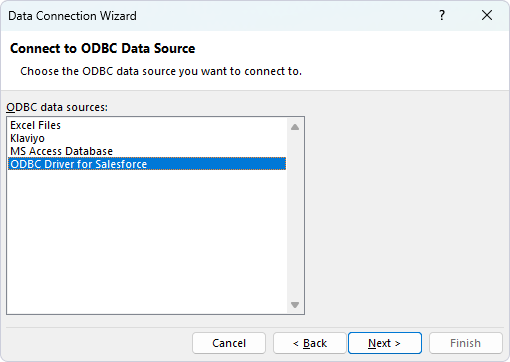
5. Select ODBC DSN, then click Next.
6. Select your DSN, then click Next.
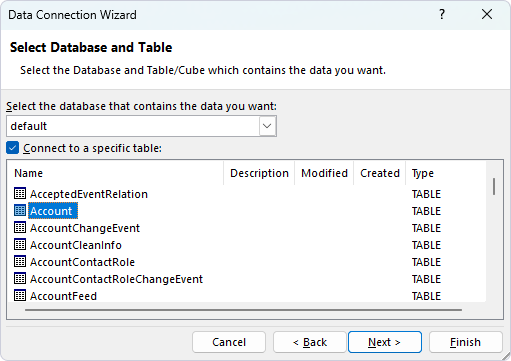
7. Select the table you want to import data from, then click Next.
8. Enter a name for a new Office Data Connection (ODC) file or select an existing ODC file, then click Finish.

9. Select how you want to view the data and where it should be loaded.
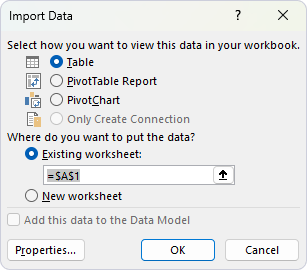
- Table – Imports data into a new worksheet and displays it as a table.
- PivotTable Report – Imports data into a new worksheet and displays it as a pivot table report.
- PivotChart – Imports data into a new worksheet and displays it as a pivot chart.
- Only Create Connection – Creates a connection without importing the data into an Excel worksheet.
- Existing worksheet – Enables loading the imported data into an existing worksheet.
- New worksheet – Enables loading the imported data into a new worksheet.
- Add this data to the Data Model – Enables loading the data into a data model.
10. Click OK.
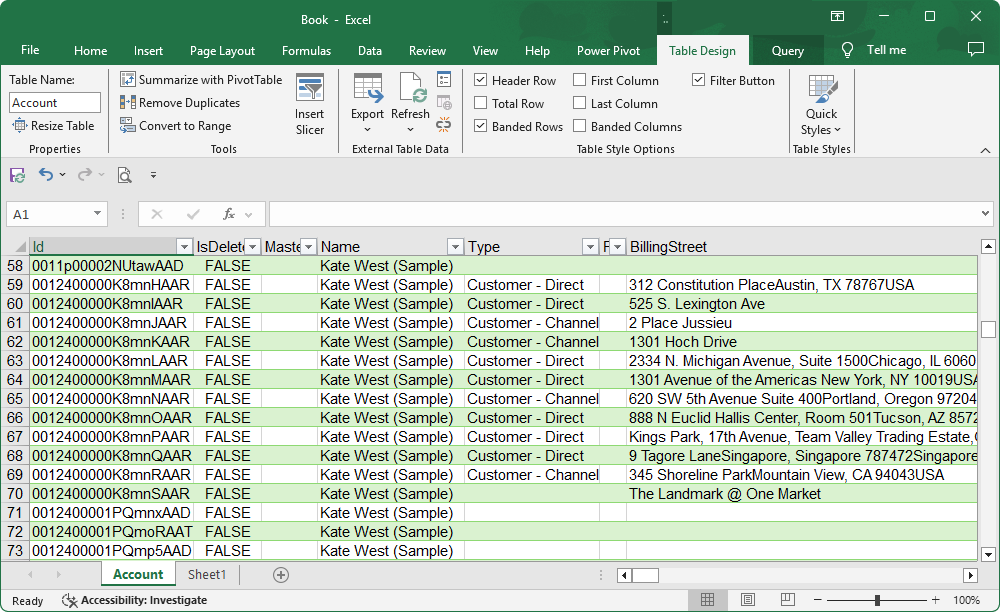
The data is displayed in a worksheet.